
Cinnamon Rolls:
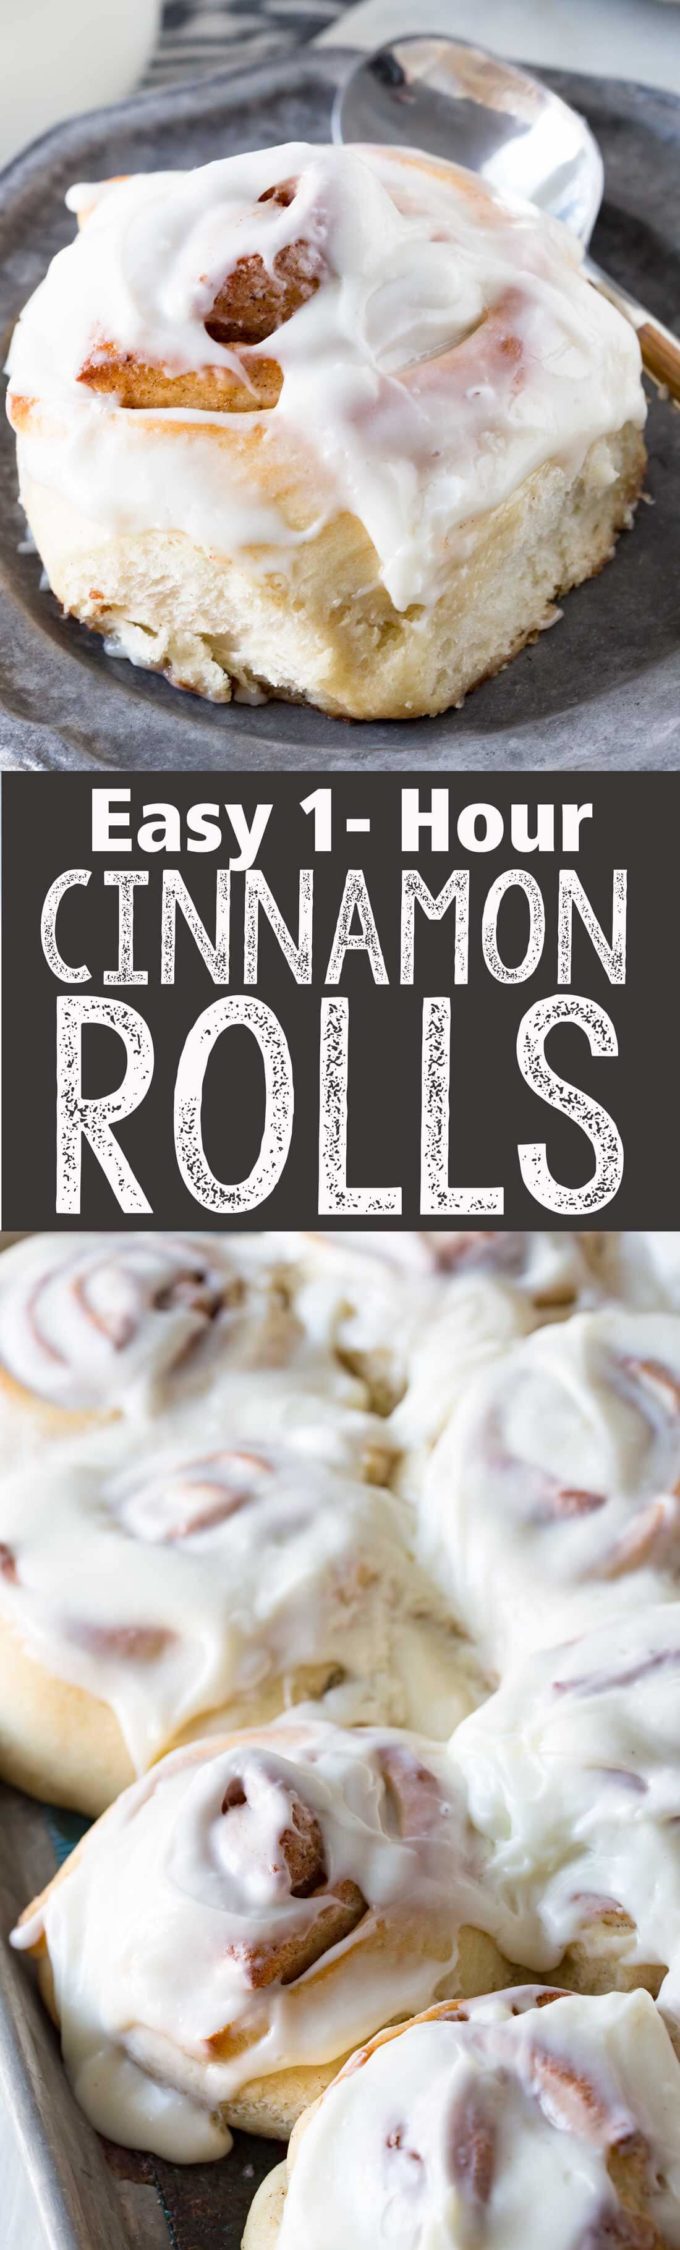
These fluffy, tender, and flavorful cinnamon rolls are everything you want, including this sinfully delicious, cream-cheese frosting. We are hooked on them and hope you will love this cinnamon roll recipe and its quick prep time!
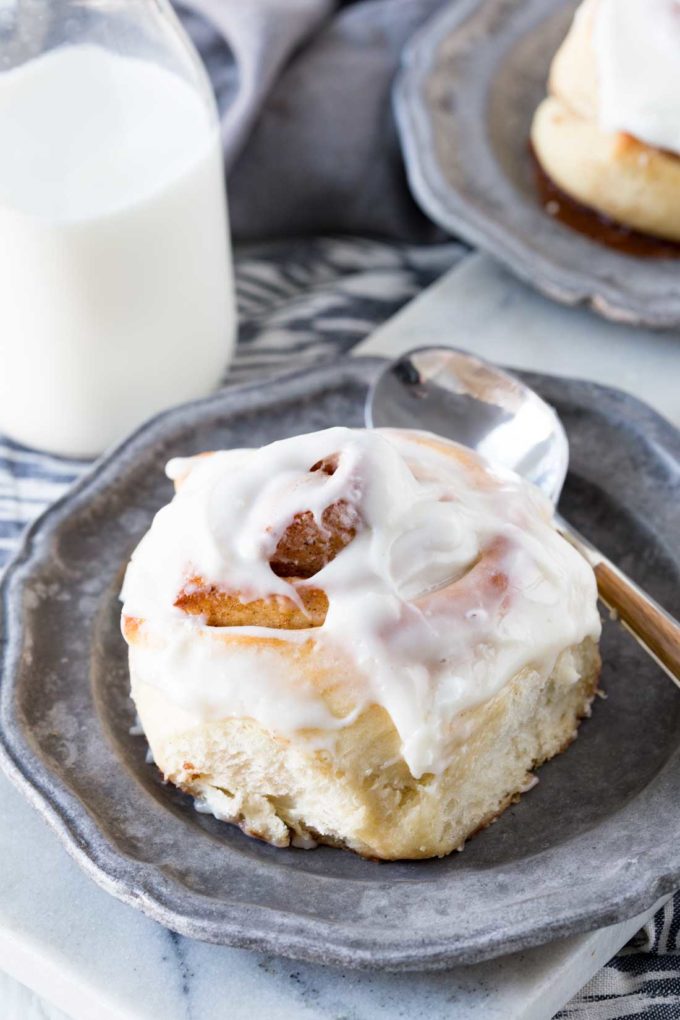
Cinnamon Rolls
©Eazy Peazy Mealz by EazyPeazyMealz.com
Pin it to your (Board Type) board to SAVE it for later!
Follow Eazy Peazy Mealz on Pinterest for more great tips, ideas and recipes!
A tale of a million batches.
Full Disclosure: Sometimes these cinnamon rolls actually take me more than an hour to make. But they can be made in just an hour. If you are in a time crunch, be sure to prepare these in a warm place so they rise quickly.
Cinnamon rolls are my family’s favorite treat. My husband is basically obsessed with my mom’s cinnamon rolls. I love making them for him, but her recipe takes many, many hours, and is a true labor of love.
You can take that to mean I rarely make them despite how happy they make my husband because, frankly, I don’t have time. It is easier to just go buy him some.
But then, one fateful day, my aunt posted on her Facebook a review of a recipe she had tried for easy cinnamon rolls. 1 Hour Cinnamon Rolls from TacPasket. She said she loved them and that they were as big as hub caps. And tasted good too.
My kids were in bed. My husband was gone (work), and I had nothing to read or watch, and had promised myself to take the night off. So I decided to make them.
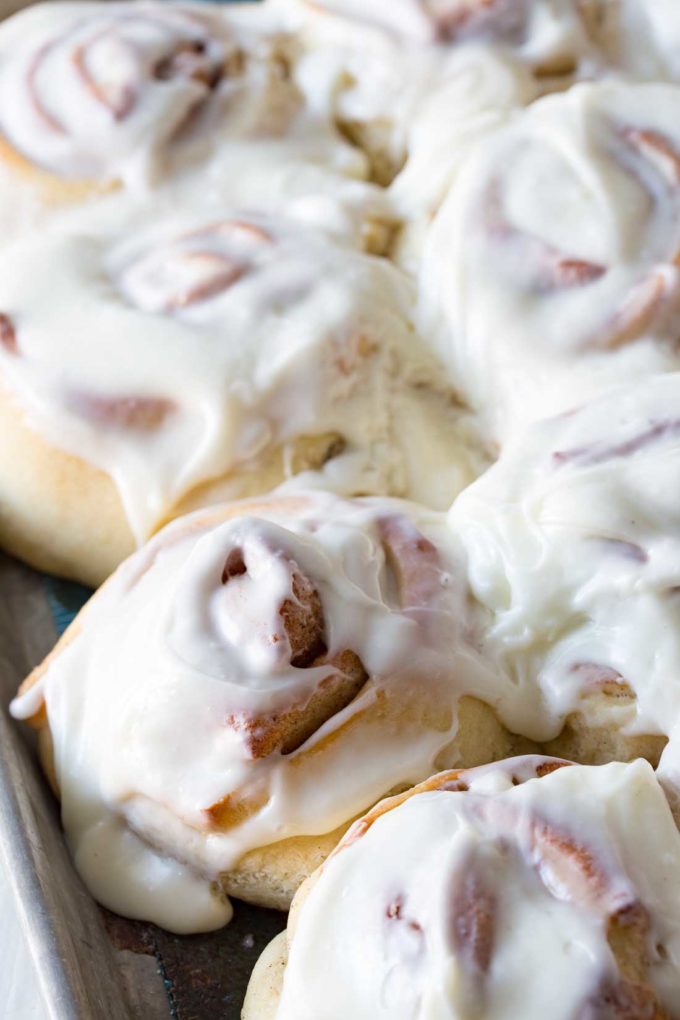
When I first read the ingredients I was a little nervous.
The recipe is very simple, calls for a LOT of yeast, and has a few methods that I had never tried before, like oiling your counter top instead of flouring it, and instead of rolling out the dough, you press it out by hand.
But I decided I had nothing to lose except 10 ½ cups of flour and 6 Tbs of yeast, so why not try it.
I was so worried they would be yeast-y. But they weren’t. They were actually very good.
I have since made and played with the recipe dozens of times. While I have not strayed far from the original version, I have found a few things that work better for me. First, the frosting had to go.
Too plain.
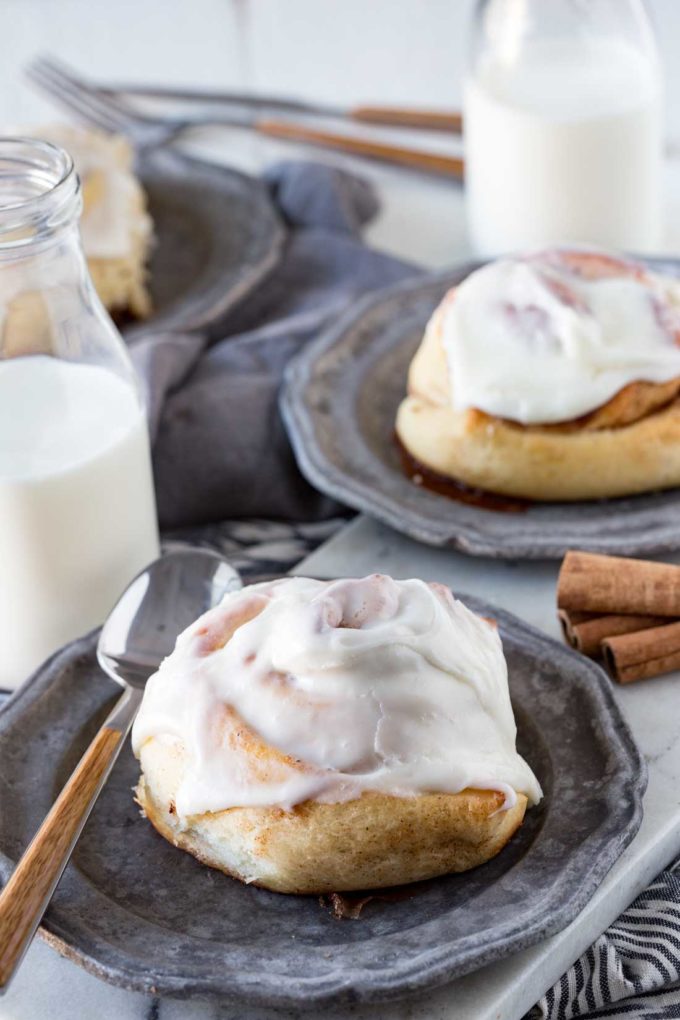
I like my cinnamon rolls to be rich and delightful. I want my kids to go and brag to their friends about how their mom makes the best cinnamon rolls of all time, and I think that starts with frosting. A cream cheese icing is a must for me with this cinnamon roll recipe.
Climate, Altitude, and Temperature
Second, for my climate, altitude, etc. I needed a little more flour to get the right dough consistency. That is the tricky thing with baking. The first time I made them I did not have enough flour and the dough was too sticky, and hard to work with. The next time, I lost count and had to eye ball the dough, and that is when I realized the flour amount should probably be adjusted.
So then I made them 10 more times until I figured out what works for me. I still eye ball the dough, and adjust if needed to get it right. I also always like to use my silicone baking mats, they make for an easy, quick clean up.
Next, rise time.
Oh how tricky this can be as there are so many factors that contribute to it. My first attempt, I followed the recipe exactly, and the rolls were a bit denser than I wanted. I like light, fluffy, tender rolls that practically melt in your mouth. So, if that is what you want too, let them rise. Thus, it is possible these will be 90 minute cinnamon rolls instead of 1 hour. But it is worth it.
Lastly, I wanted a slightly richer filling, and thicker, so I use some brown sugar as well as white, and I am generous with the butter.
So, the actual dough recipe is pretty much the same, the filling altered, the method slightly altered. And the frosting all new.
But put it all together and you get perfect cinnamon rolls in a short period of time.
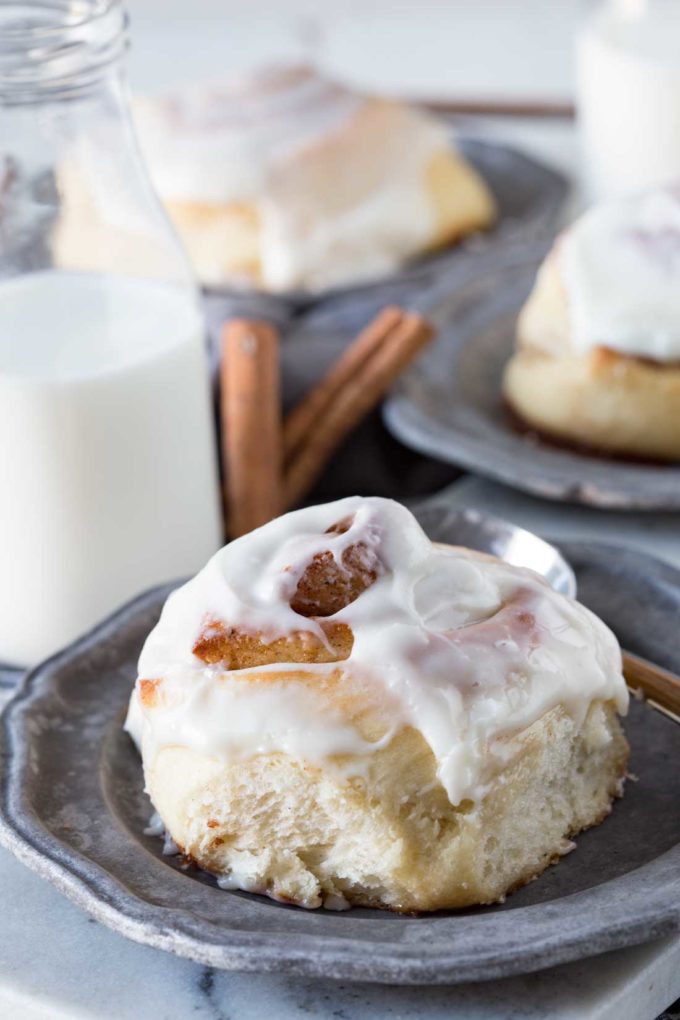
The Result
My oldest son, whom we often call the “town crier” has pretty much told everyone in our neighborhood about my cinnamon rolls.
Probably because in the months I worked on perfecting the recipe I made them 2-3 times a week.
As a result, most of the 10-14 year old boys in the neighborhood have tried these rolls. And lots of the girls too.
But their parents had not yet, and many commented on it to me. So, one Sunday I made 3 batches (72 rolls) and invited everyone over.
I got no complaints. And lots of compliments. So if you are looking for an easy, delicious, and fun treat, then try a cinnamon roll on me!
They are even perfect for turning into these Turkey Cinnamon Rolls for a Thanksgiving breakfast.
Tips for Perfect Cinnamon Rolls:
- Remember, warmer room temperature allows dough to rise more quickly.
- Adjust sweetness of cream cheese frosting to sweetness preference.
- Add more or less cinnamon, to preference.
- Of course, you can add to recipe ingredients favorite additions such as nuts and raisins, or simply enjoy!
- Put some spice back in your love of baking with these brilliant space-saving cooling racks.
Other Favorite Eazy Peazy Baked Goods:
Enjoy!
Are you looking for an easy weeknight dinner solution?
Try the Eazy Peazy Mealz Recipe Binder: Get a printable version of all our favorite recipes in one convenient e-book for only $5!
Plus, you’ll get so much more, from conversion charts and tips, to meal planning worksheets and shopping lists. 200 + pages to make your weeknights easier.
⇒ ⇒ Get it here ⇐ ⇐

1 Hour Cinnamon Rolls
Video
Ingredients
Cinnamon Rolls
- 3 1/2 cups warm water 110 degrees
- 3/4 cup sugar
- 1/2 cup oil
- 6 Tbs active dry yeast
- 1 Tbs salt
- 3 large eggs
- 10 1/2 -11 cups flour
- 2 Tbs Oil for countertop
Cinnamon-Sugar
- 2/3 cups white sugar
- 1/2 cup brown sugar
- 1 Tbs cinnamon
- 1 cup butter
Cream Cheese Frosting
- 8 ounces cream cheese softened
- 2 tsp vanilla
- 4-6 cups powdered sugar
- 3-4 Tbs heavy whipping cream
Instructions
- In a large mixing bowl with non-skid bottom, combine warm water, sugar, oil, and active dry yeast.
- Stir it a few times, then let it sit for a full 15 minutes.
- At this point, you can preheat the oven to 400 degrees.
- Now add the salt and eggs and flour to the yeast mixture. Start with about 8 cups, and mix, gradually adding the last 2 1/2-3 cups.
- Once all the flour is added, mix together for 10 minutes. I often make these in my Kitchen Aid, and it may climb up the mixer some, keep an eye on it, and push it down if you need to.
- Once it has mixed for ten minutes, touch the dough, does it only slightly stick to your finger? if so let it sit for 10 minutes. If it is too sticky, let it mix a few minutes longer before letting it sit. It should double in size. It will take longer if your kitchen is cold.
- After it has doubled in size, you want to pour some oil onto the counter top (instead of flour) to roll your dough out on.
- Divide the dough in half, and using your hands, press it into a rectangle.
- Melt butter in a microwave safe bowl, and pour half of it onto the dough that you have pressed out into a rectangle.
- In a separate bowl, mix white and brown sugar, and cinnamon together. Sprinkle half over the melted butter.
- Tightly roll into a log and cut into 12 even sized pieces.
- Repeat with the remaining roll dough, and the other half of the melted butter and sugar.
- Place on baking tray with a Silicone Baking Mat on it, and let rise more. You can let them rise as short or as long as you want. Sometimes I just let them rise for like 5 minutes. They will continue to rise in the oven. You want them to be nice and big, so if your kitchen is cold it may take longer. You should have 24 rolls total.
- Bake 12-15 minutes.
- While the rolls bake, mix all of the ingredients for the cream cheese frosting together using a hand mixer, in a medium sized bowl, until nice and smooth.
- When you pull the rolls out of the oven, let them sit for a minute or two, then slather frosting over the top and let it melt into the rolls.
Notes
** I use active dry yeast, Red Star brand, and it works great. I have not tried it with instant yeast or other brands.
Nutrition
Our recipe card software calculates these nutrition facts based on averages for the above ingredients, different brands, and quality of produce/meats may have different nutritional information, always calculate your own based on the specific products you use in order to achieve accurate macros for this recipe.
 Want to use this recipe in a meal plan?Try PrePear, my FREE Meal Planning App that allows you to save your recipes, plan meals, shop for groceries, and cook simply in one place. Join Here!
Pin to your Sweets board:


Linda says
If I had 10 cups of flour I’d make these right now to take to work. Next week I will be prepared! These sound awesome. Thanks for sharing.
Wishes for tasty dishes,
Linda
Oliver says
Be ready to share!!! I didn’t realize it made that many! Duh! 10 cups of flour! Lol!!!
April says
My husband LOVES cinnamon rolls! I must make these!
Rachael says
YOu will LOVE them. They are sooo good.
Kelly says
Can the dough be made the night before?
Rachael says
I haven’t tried it, but if you do this, be sure to go all the way to the rolled out roll stage, and then put them in the fridge, they can slowly rise in the fridge, and should be okay.
Cindy says
I made butter horns for work once, and par- baked them the night before. That should work for this recipe too!
The next morning all you need to do is brown them, ice them and you’re good to go!!
Cecelia says
You say to melt butter, but there is no butter listed in the ingredoents.
Rachael says
Woops! What an oversight. Okay, all fixed now. Thank yo so much.
Judith Rice says
I read 1 cup.
Judith Rice says
I have a favorite…but Planning to try this recipe.Thank you for sharing.
Phyllis says
Hi, I am wondering when you mention 4-6 cups of powdered sugar, which is it please?
Rachael says
Sorry that was unclear. it is part of the frosting, so in the step where it says to mix the cream cheese frosting together in a bowl, that is where you do that, I will adjust the recipe language to make that more clear. Thank you!
Brooke Edwards says
I am a ‘relatively’ novice baker. My experience consists of a few birthday cakes (which actually always turned out beautifully), made by following Pinterest recipes. That being said, these turned out BEAUTIFULLY. However, I do have a couple of suggestions for the layout of the recipe. Nothing bad, just came from a couple of places of confusion that I (as a novice) had. 1: the recipe doesn’t actually say where to add the activated yeast mix to the flour. I literally put the egg & vanilla, then started adding cups of flour before realizing something wasn’t right. (It’s perfectly ok to laugh at me, I’m laughing in hindsight). I added it when I realized what I had in my mixer was WAY too dry. 2: when melting the butter & mixing up the cinnamon/sugar(s), I didn’t realize the directions were per EACH roll. I thought that half the butter went on each roll, & the mixture. I was done before I realized this. No worries, I don’t like incredibly sweet stuff, so it didn’t hurt a thing.
That aside (which were simply from me not knowing any better), this is an amazing recipe. I wish I could share a picture of how mine turned out. Your cream cheese icing is positively to die for! Thank you so much for sharing this recipe.
Oh, & mine took about 2.5 hours from start to finish. That is most likely because I live in a VERY old house that does not have central heating & air, so it was kinda hard to keep the kitchen warm enough to let the yeast do its thing.
Rachael says
THank you for the suggestions, I will certainly review the recipe and update it. Yes, it is hard if the house is cold to get things to rise properly. But I am glad they turned out for you. Thanks for letting me know.
Beverly A Ellis says
Brooke – I’ve been baking for nearly 30 years and i still misread recipes, forget/skip steps, and in general bungle a recipe at least once (usually the first or second time). I’ve also learned that other people’s prep time needs to be doubled for me lol
Jennifer sherrill says
Have you tried making these with bread flour or is it best to just stick with all purpose flour?
Rachael says
All purpose flour works great, so I have never tried it any other way. But I am sure you could.
Jedz says
Hello ,
Do you have a small recepi of this? 10 cups of flour is toooo muchhhhh.thank u in advance
Marla says
I wondered if you could half the recipe.
Rachael says
You definitely can.
Patty says
You could always wrap one of the the rolls and freeze it for another time. Then just thaw, cut and bake and be one of those women who can walk out with made from scratch rolls with no mess
Linda says
I do not have a silicone mat, what else could be used?
Rachael says
Parchment paper, or just lightly spray your pan with non-stick spray.
Cathy says
Is it really 6 tablespoons of yeast? Also is it dried yeast?
Rachael says
Yes…active dry yeast, I usually use the Red Star brand
Pat says
What size should dough be pushed out to?
Patti says
Is a mixer necessary or could they be mixed by hand? There is not a stand mixer available where I am staying, just have a hand mixer (not sure if that would be strong enough to mix the dough).
Rebecca Jacobs says
I just made these today, and I doubt a hand mixer would work. My Kitchenaide was straining a little, it’s a big batch of heavy dough.
Rachael says
Yes, very heavy dough. It does work if you cut the batch in half, but we always eat them all!
Olivia says
Can this recipe be cut in half and still get good results? It’s just my husband and I here and 24 rolls might be a bit excessive! 😀 I’m going to the store today to get the supplies for these!
Rachael says
Yes! I make a half batch frequently. Or you can freeze half for later.
Diane says
The recipe calls for 3 eggs, how do you cut the eggs in half?
Keshia says
I was wondering the exact same thing!!
Wanda says
for doing a half batch of anything and having an odd number for eggs, just beat them in a measuring cup then use half of what is beaten up. This is what I do when I make half batches. Hope it helps 🙂
Rachael says
You can use 2 medium eggs instead of large, or you can beat the eggs with a small fork, and use half of the mixture.
Hannah says
What step do freeze them at?
Rachael says
I haven’t frozen them, but if I was going to I would freeze them at the step of being rolled out and in rolls, but just before baking. That way you could let them defrost and rise on the tray before you bake. Or you could freeze them already baked, and just warm them slightly before serving.
Whitney Stedman says
I made these for my family to have for breakfast and they LOVE them! I made the recipe the entire way through (including frosting them) and them put all of them in the freezer. My son will pull one out of the freezer each morning and throw it in the microwave. It’s work really well as a yummy and quick breakfast!
kelly says
Awesome. I just made these and was hoping they froze well…frosting and all.
Rachael says
They do! We reheat all the time because it makes a bunch!
Karrie Martin says
Just wondering if they have to be rolled out onto an oiled counter top?? It’s so much oil, I’m afraid it will change the taste/consistency of the roll. Can it be done on a floured surface?
Rachael says
The flour will make it slightly chewier, feel free to only lightly oil (in the video I accidentally dumped too much, but had already filmed and didn’t want to have to start over), so you can spray your counter with non-stick spray, or just add a little oil.
Debbie says
I’m wondering if melted butter could substituted for the oil in the recipe and on the counter
Rachael says
On the counter yes, but I am not sure about in the recipe, I have not tried it.
Rebecca Jacobs says
I was worried too, especially because the first one I rolled up felt REALLY REALLY oily. After cooking, though, they are totally fine and not oily at all.
Rachael says
I am glad you found that they turned out. We make them regularly, and there are definitely times I skimp on the oil, so if you are worried you could definitely use less or non-stick cooking spray even.
Pat Turner says
These rolls sound awesome. I was wondering where you live since elevation affects baking. I have been making homemade yeast rolls in Georgia for years. My daughter-in-law, who lives near Denver, tried making my recipe there and she said they had to be thrown away. I made yeast rolls there but went on internet and read about baking in higher elevations and tweaked my recipe. The rolls turned out fine. The rising time was much less. Also had to use less yeast and sugar.
Rachael says
I am in Utah. Hopefully you can tweak it so it works out well!
Kate in Iowa says
For Brooke: Try putting a heating pad under the bowl to help your dough rise faster. Start off with a low-medium temperature and increase it if needed. I also put a plastic bowl cover loosely over the dough. I bake whole wheat bread every week (using my home-ground flour), and in the winter here in Iowa, I use the heating pad method to help my bread rise.
Pat says
Wow what an awesome idea. Thanks for sharing your knowledge.
Toka says
Hi , how could i cut it to half cause we are just two persons in here , could i mix the dough by hand for 10 min or it must be a stand mixer ?!
Thanks alot in advance
Amber says
if you freeze half, how do you bake the frozen ones?
Ceo38 says
Hi do you mind enlightening me this recipe’s measurements in gram and ml? Thanks a lot
Mercy says
I dont have a kitchen aid. How long should I knead by hand to still have a nice soft fluffy consistently? Thx in advance.
Rachael says
I do not know as I have not kneaded it by hand before, but I would say knead for a good 10 minutes. Thanks