
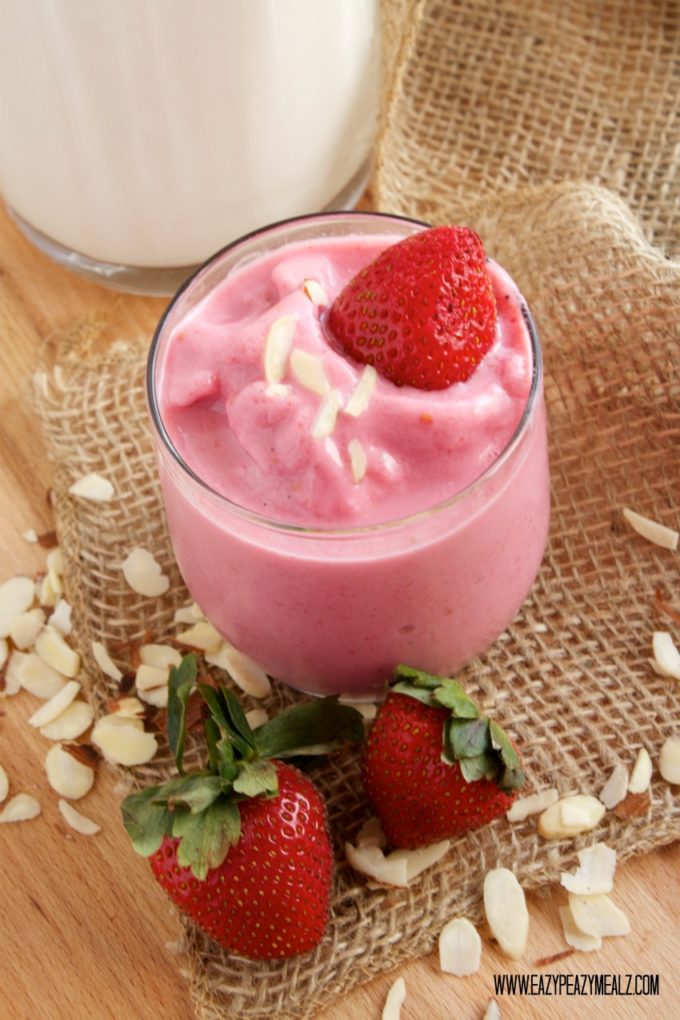
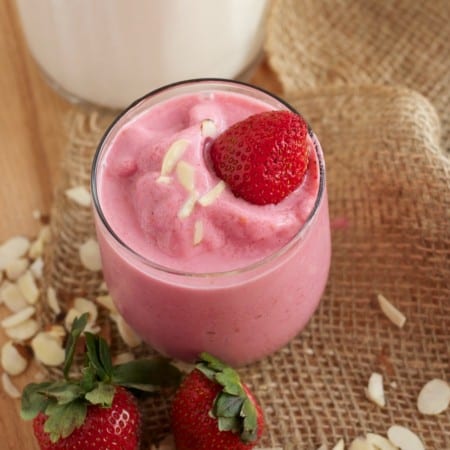
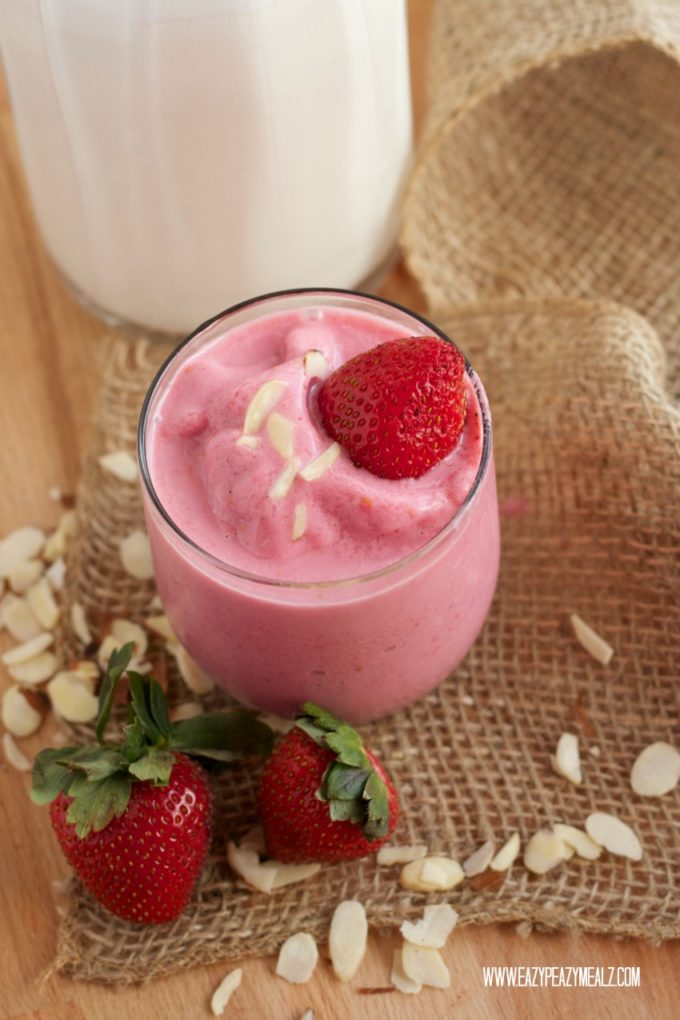
A healthy, fresh, strawberry milkshake made with homemade almond milk. #EKENutMilkBag

One of my absolute favorite treats is a good old fashioned milk shake. The thicker the better. But milkshakes come with way too many calories to indulge in too often. Fortunately for me, I can get the flavor and fun I love from a milkshake, without the bad stuff. How? I make my own at home, and I make it dairy free.
I know…I know…I was skeptical at first too. A dairy free milkshake that tastes as good as the one I would find at my local shake shop? Impossible! But I am here to tell you it is not impossible, and I can prove it to you. I made a lot of these milk shakes to test my theory, and finally found the perfect balance of ingredients to achieve the thickness and sweetness I wanted, if lacking a little creaminess, it still offers a rich flavor you will love.
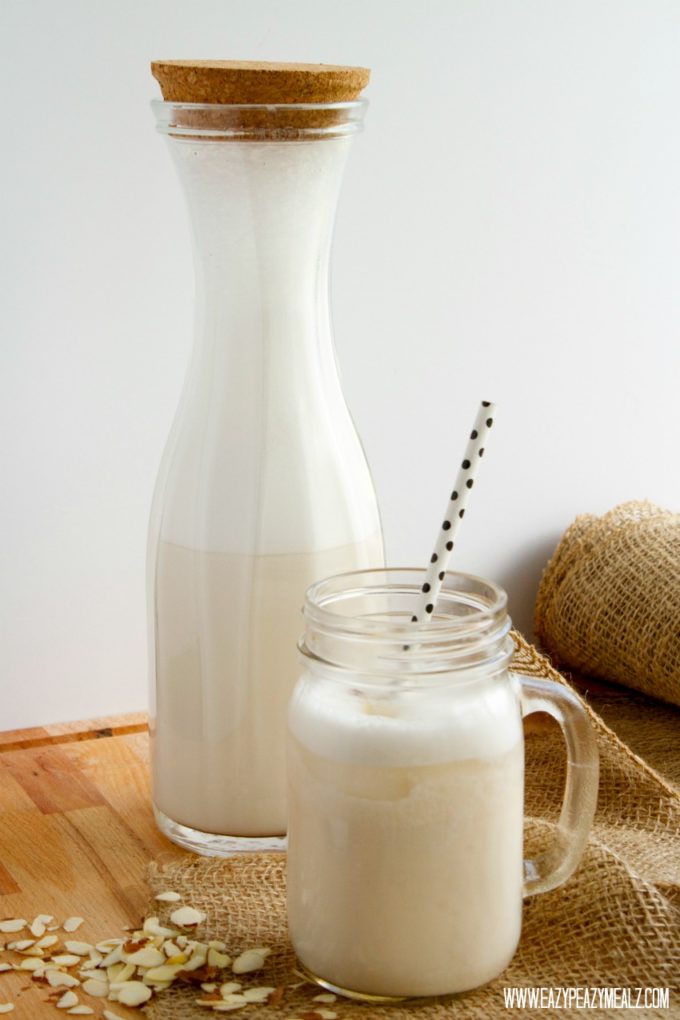
However, the trick is really good almond milk. And the best kind is homemade. Wait? Homemade almond milk? How is that eazy peazy? Am I right? I remember growing up watching my mom make almond milk, and thinking what a laborious process it seemed to be. But, guess what? You got it! It is eazy peazy! In fact, making your own almond milk only takes a few minutes, and is so much better for you than the store bought kind because you know exactly what is going into it. Exactly. No artificial ingredients or sugars that you don’t want in there.
To make your own almond milk and have it be eazy peazy, you have to have the right tools. And in this case that is a blender (I used a Vitamix, which helps because it is a powerful blender, but any blender will do) some filtered water, and a Nut Milk Bag! I got my Nut Milk Bag from EverydayKitchenEssentails.net on Amazon.
This recipe is from Everyday Kitchen Essentails.
Homemade Almond Milk Healthy Strawberry Milkshake
Ingredients
- 1.5 cups raw almonds
- 6 cups filtered water Plus some more
- Sweetener of choice Agave, honey, cinnamon
- 2 cups almond milk recipe above
- 2 cups ice
- 2 cups frozen strawberries
- 2 Tbs honey
- 1 banana optional
Garnish:
- Fresh strawberries
- Slivered almonds
Instructions
- Put your almonds in a bowl and cover with some filtered water, just enough to cover them.
- Let the almonds soak overnight.
- Dump off water and rinse almonds.
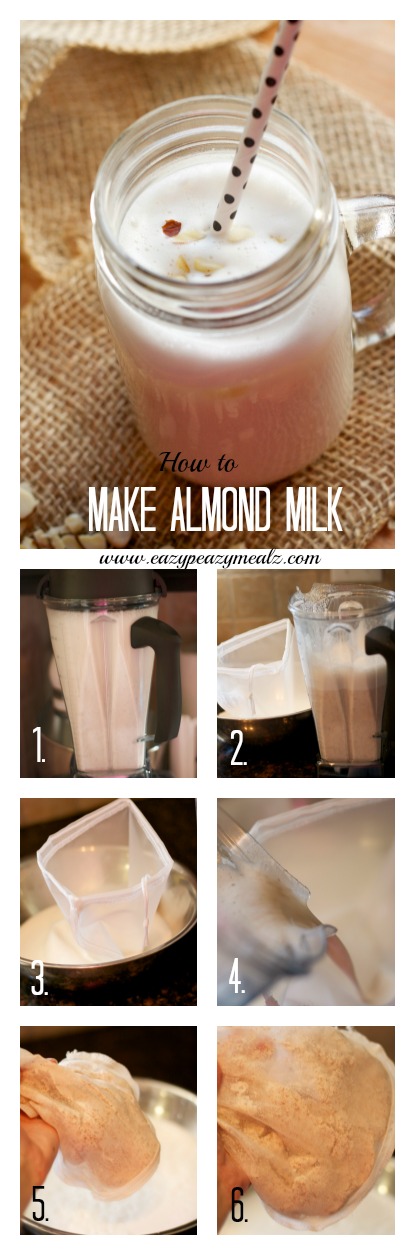
- Put the almonds in the blender and fill the blender with filtered water, approx 6 cups (For me this was 6 cups, if you have a small blender use 1 cup of almonds instead of 1.5 cups, and use 4 cups filtered water).
- Get a big bowl, and place your nut milk bag into it, and pour blender contents into the nut milk bag.
- Squeeze the bag to get all the liquid out, so that only pulp remains inside the bag.
- Rinse out your blender, put the milk bag in with some sweetener, and blend again. Use as much sweetener as you would like. I prefer about 1 Tbs.
- Put everything in a blender and blend until smooth
- Serve with fresh strawberries and slivered almonds as a garnish
Our recipe card software calculates these nutrition facts based on averages for the above ingredients, different brands, and quality of produce/meats may have different nutritional information, always calculate your own based on the specific products you use in order to achieve accurate macros for this recipe.
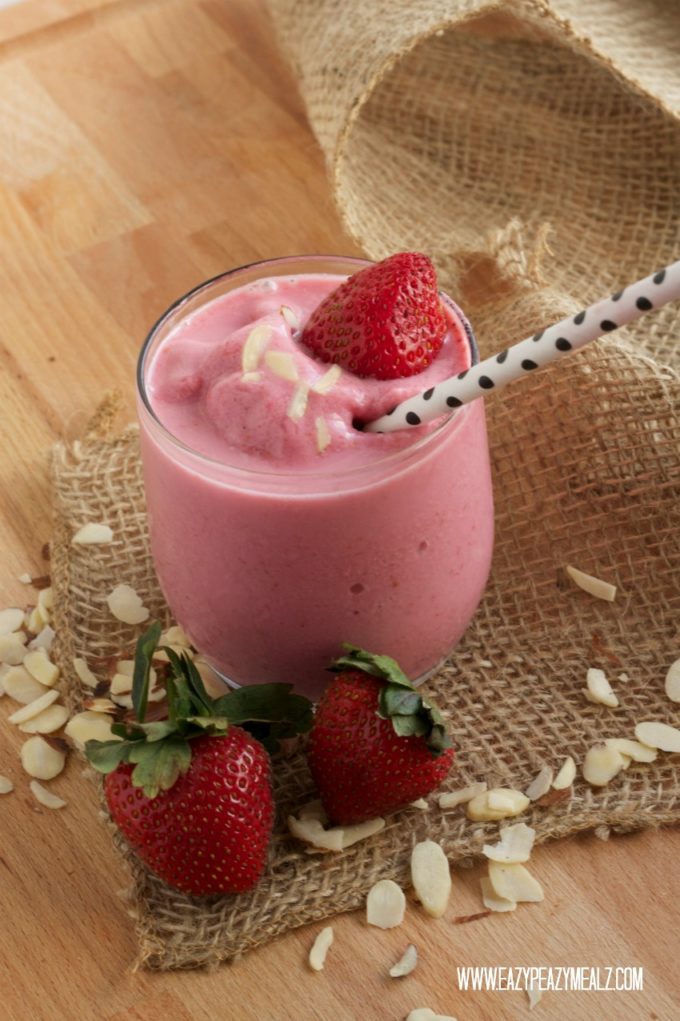
And of course, I had to top it with some slivered almonds and fresh berries because I like my desserts to look pretty.
Enjoy!
I received one or more of the products mentioned above for free using Tomoson.com. Regardless, I only recommend products or services I use personally and believe will be good for my readers.

Rosey says
It looks and sounds delicious (you got great pictures!). I love the polka dot straw!
Rebecca Swenor says
I will have to try both of these recipes because I never made either. Sounds and looks wonderful. Thanks for sharing.
Geanine says
I love that you used Almond Milk, and more importantly I love to sneak it into smoothie recipes for my picky little ones. Thank you for sharing, I can now add this to my weekend smoothies 🙂
Ashley Nicholas says
Yum! I’m a sucker for anything with berries! This recipe looks fabulous!
mydomesticdish says
This looks so much easier to use than a cheesecloth!! Thank you for sharing- and for giving me some DIY ideas 😛
Rachael says
You are welcome! Thank you for stopping by.