Apple pie is an all time favorite in my family. Even I like it, and I am not a fan of cooked fruit most of the time. This is my grandmother’s recipe, and it is yummy. Isn’t it pretty? It tastes good too.
Apple Pie
Ingredients
- 1 recipe of pie crust
- Golden delicious apples 4-5
- 1 Tbs lemon juice
- Milk
- Sugar
Sugar mixture
- 1/3 cups sugar
- 1/3 tsp cinnamon
- 1/4 tsp cloves
- 1/4 tsp mace
- 1 Tbs flour
Instructions
- Put unbaked crust in bottom of jellyroll pan.
- Fill with sliced apples of choice, golden delicious are great, but fuji and jonagolds or any baking apple works well.
- Mix together sugar, flour, and spices.
- Sprinkle sugar mixture evenly over the apples in the pan.
- Sprinkle 1 Tbs lemon juice over the top of the apples and sugar mixture.
- Dot with 1/4 cup butter (cut into chunks).
- Put top crust on pie.
- Seal the edges by putting a little bit of water on your finger and running it along the top edge of the bottom crust before you put the top crust on. Then put top on and press the two together.
- Cut over lapping dough and set it aside. Cut design in top crust (air vents), brush with milk and sprinkle with sugar.
- Bake at 375 for 45-55 minutes.
Our recipe card software calculates these nutrition facts based on averages for the above ingredients, different brands, and quality of produce/meats may have different nutritional information, always calculate your own based on the specific products you use in order to achieve accurate macros for this recipe.
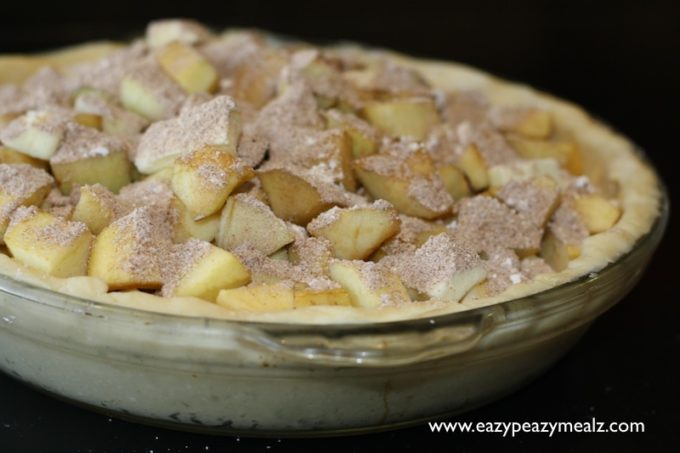
I cut up my apples. I think slicing them works better, but I wanted to try chunks this time around. The verdict is I should have cooked the pie a little longer as the apples were not as soft as I would have liked.
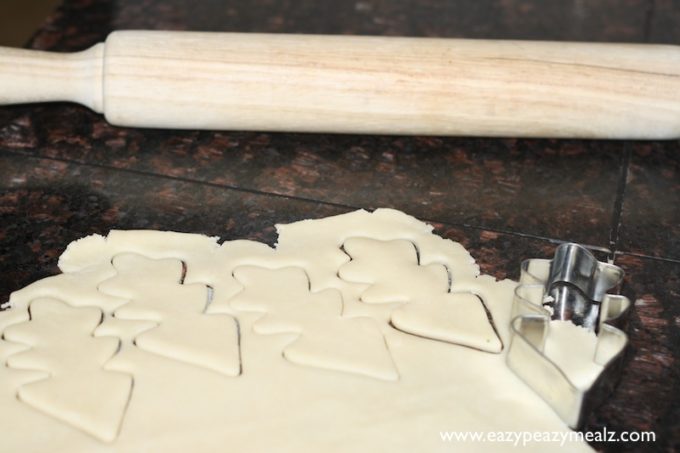
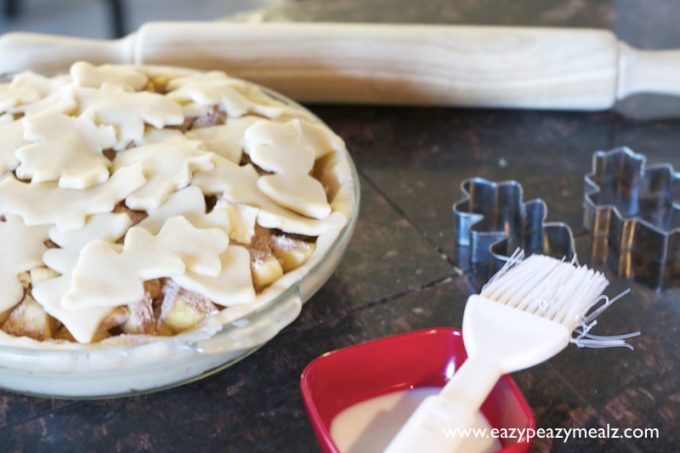
I wanted the crust to be really pretty. I saw this gorgeous pie on Pinterest that had a bunch of stacked hearts. Because I wanted to use this pie for Thanksgiving, I thought leaves would be the perfect fall look. I rolled out my dough and cut leaves out. I used two different cookie cutters and just kind of layered them. I am not that artistic, so I was pretty proud of myself.
After I had the crust on, I brushed the top with milk, which helps it brown nicely, and sprinkled a little sugar on. So pretty! Then baked it.
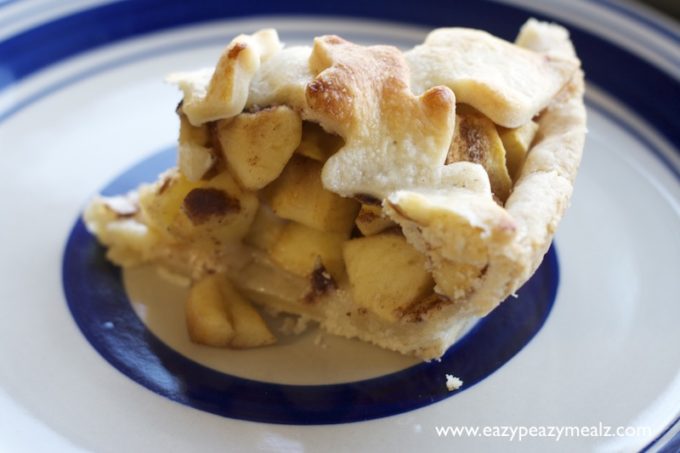
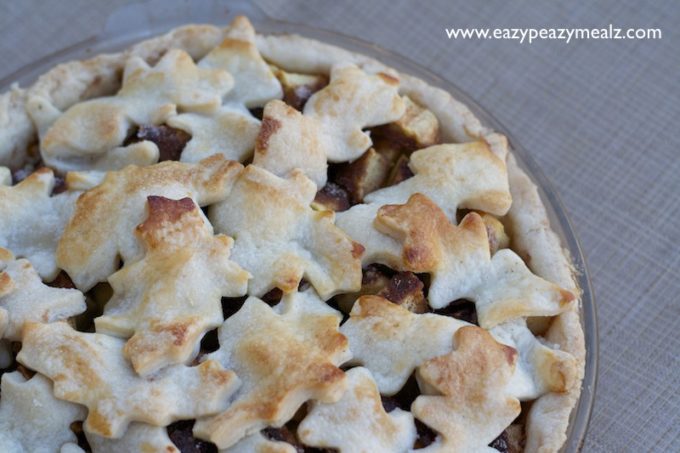 It turned out so pretty. I really was pleased with myself. I think one of the reasons my apples were not as cooked as I like is that I had an open top crust, rather than a closed with vents, so the steam could escape more easily, and did not cook the apples as quickly. Keep that in mind and cut your apples smaller or do slices instead of chunks if using this same idea.


Leave a Reply