
Have you ever thought about becoming a blogger? This is a simple 15 step guide to take you from concept to blog. Picture tutorial for setting up a blog on Bluehost, from buying your domain, to securing hosting, to logging in!
Hi guys, I get asked weekly how to start a blog. I guess when people find out I make a full time income blogging they want to know how they can work from home, enjoy travel, family time, etc. and earn some money. So I decided to share how I do that. You can check out this page for the overview of setting up a blog. It is quick and easy.
If you want to start a blog you need to buy a domain name, and get your blog hosted (virtual rent for internet space) before you can do anything else. This is the 15 (easy) step process for how to do this on Bluehost in under and hour and for just $4 a month! I started my blog on BlueHost, and recommend them as an affordable and easy hosting solution for those starting a blog.
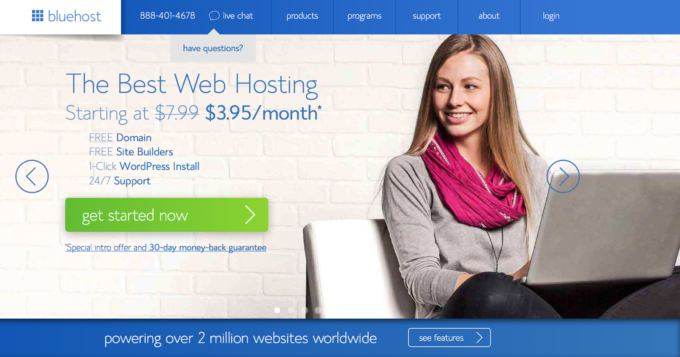
Step one: Go to Bluehost.com
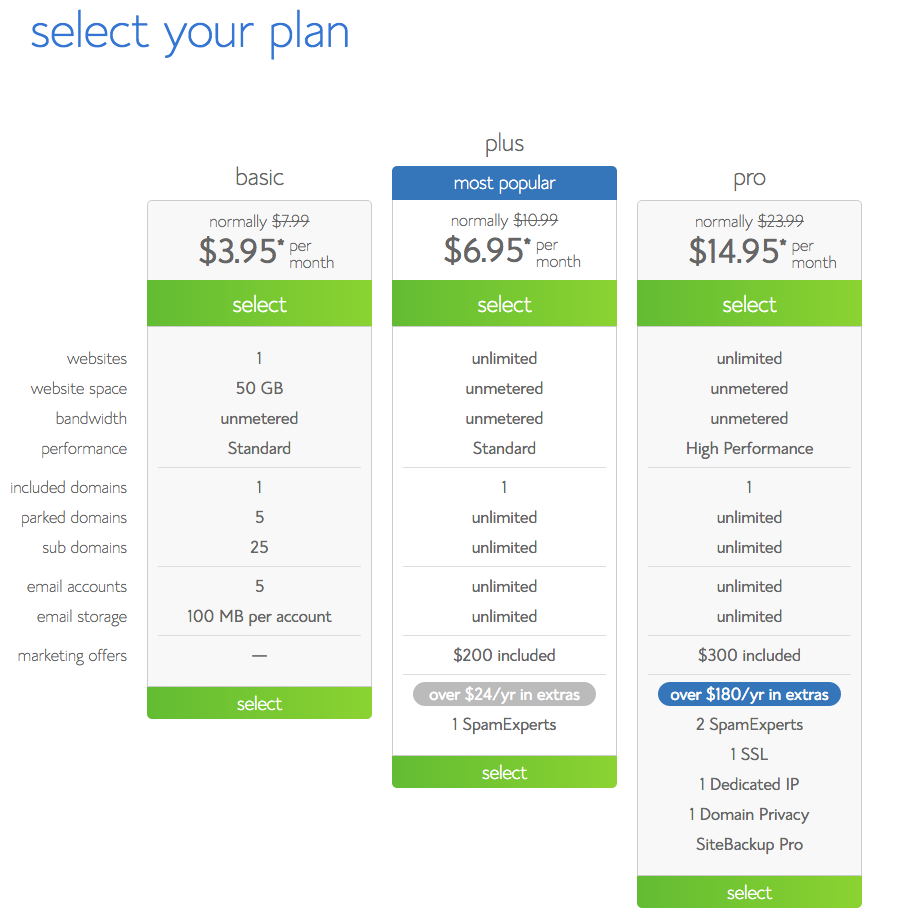
Step two: Pick a Plan
I recommend starting with the basic plan, it is under $4 a month, the cost of a drink at Starbucks, and it is easy to upgrade when your site is getting enough traffic to justify it. You do have to pay in a lump sum for the year, but it will save you a bundle.
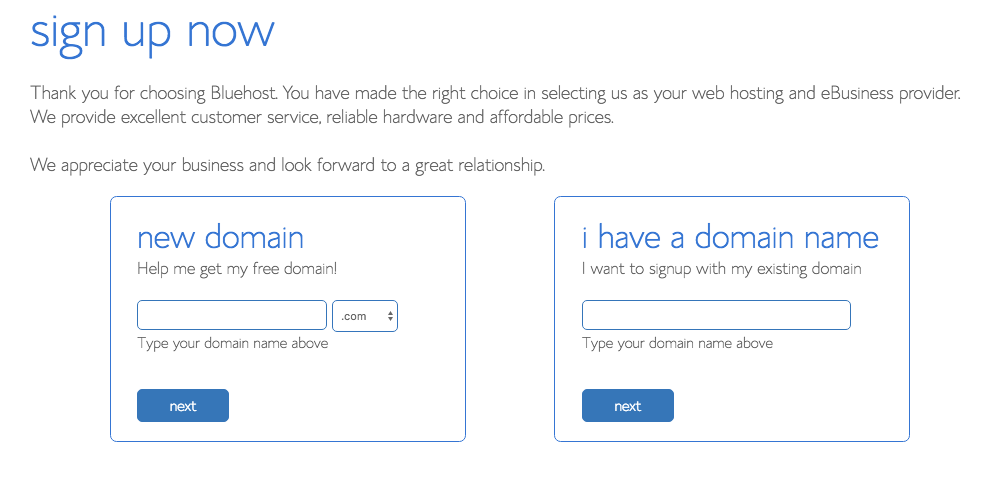
Step three: Choose a Domain and see it if is available.
My domain is eazypeazymealz.com, and I also own a few others, like eazypeazytravelz.com.
Check out this post on tips for choosing a domain name, as you have to remember what you choose is what you will be known as. You could change or rebrand later, but save yourself the hassle and be smart with your choice now. When you host with Bluehost, you get your domain free, which is nice!
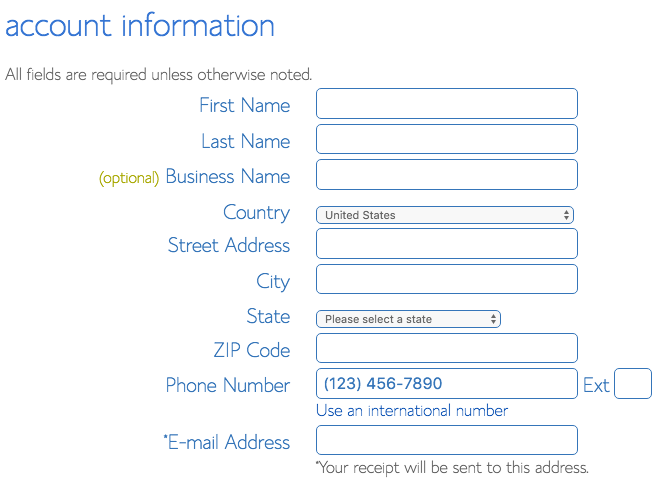
Step four: Fill in Account Info
This is the basic stuff to say who you are!
Step five: Select Package Information
Basically you need to decide what you want your plan to include. There are a lot of options, I recommend the domain privacy protection, which shields your address and personal info from public viewing. Otherwise, I say just move on, you can add more later if you want. 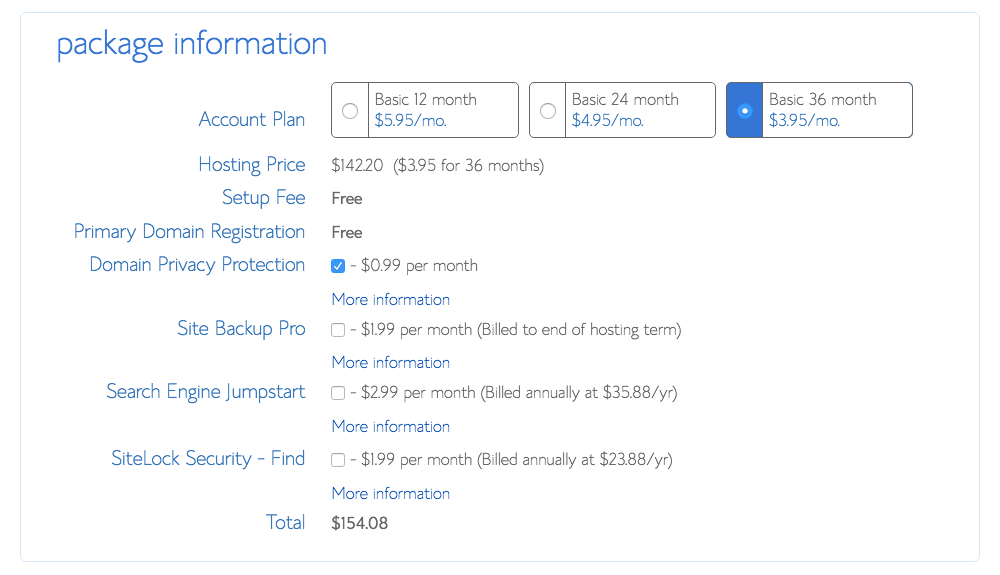
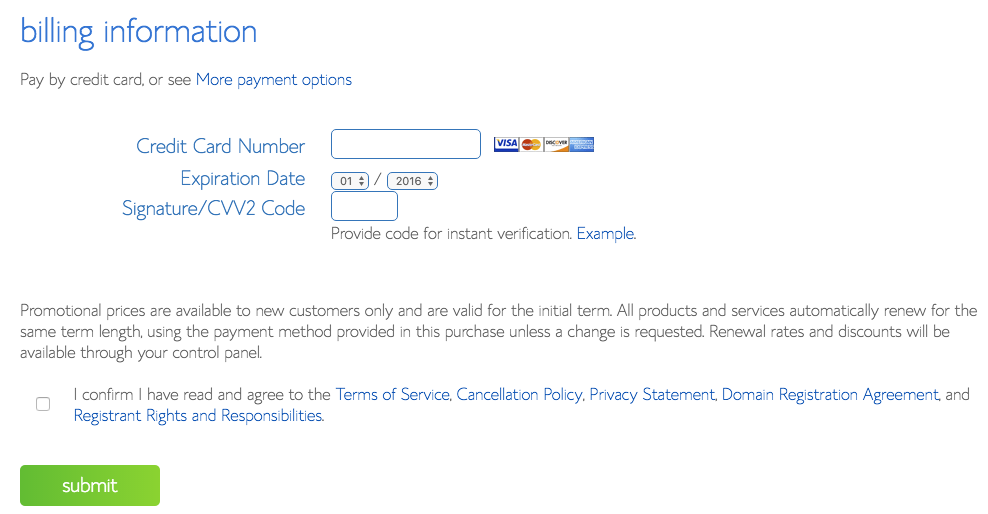
Step six: Put in Billing Info
Type in the card number…you are about to change your own world! Be sure to check out the legal stuff, check the box, and submit.
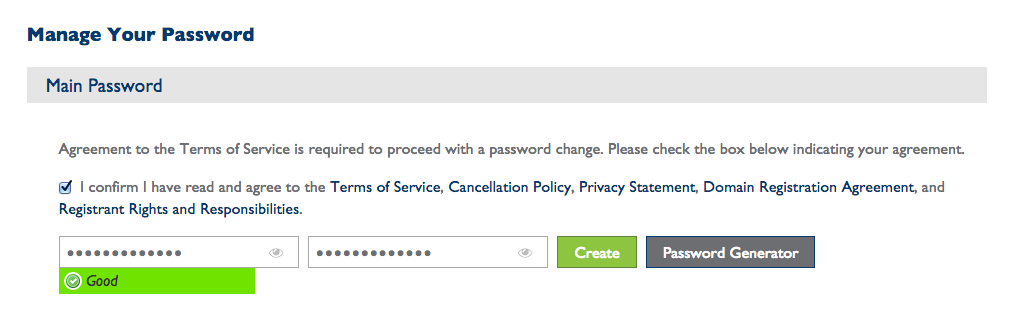
Step seven: Set Your Password
Wahoo! You have a domain and hosting, now you get to finish setting your site up so you can get to the fun parts of making it pretty and creating content for your site!
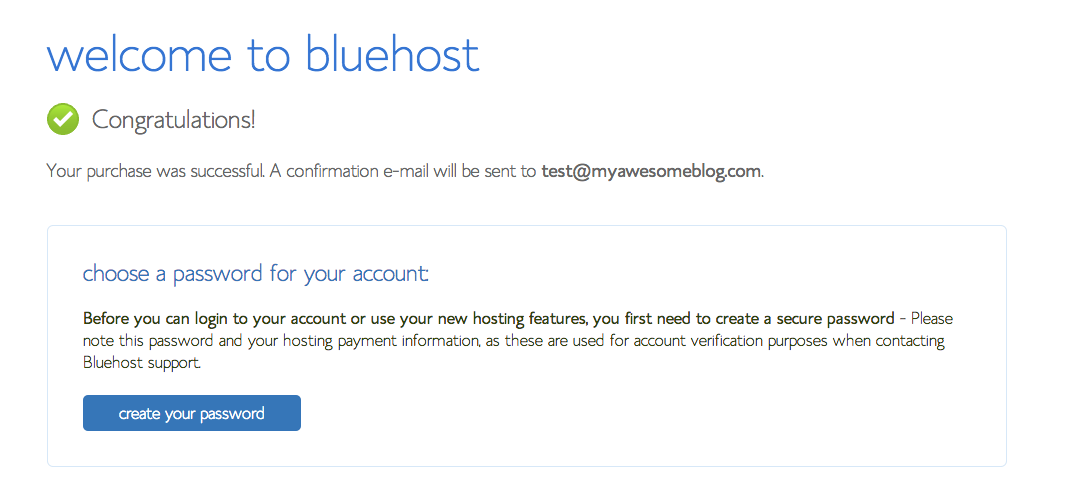
Click the blue “Create Your Password” box, and then go in and actually create it. Make sure you save it somewhere, or memorize it.
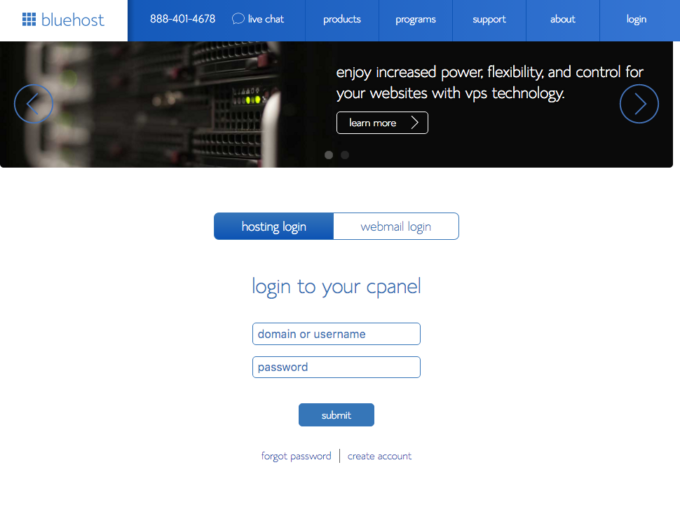
Step eight: Login to your C-panel
Now your password is set up, it is time to login to the C-panel, or Control Panel, so you can set up WordPress on your site. It is easy to use, and easy to install. But you have to loging. So go to Bluehost.com and click on the login button on the top right.
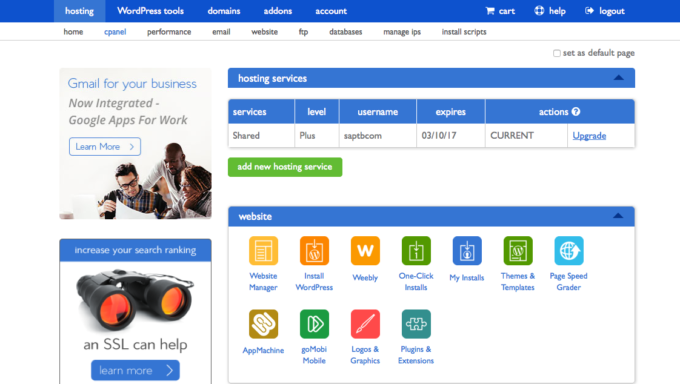
Step nine: Install WordPress
Once you have logged in, you will see a page that looks like this. Be sure you click on “cpanel” in the second tool bar. And from there under “website” you will see some options. Do you see that second colorful box in, it is orange? It says “Install WordPress” and that is what you need to click.
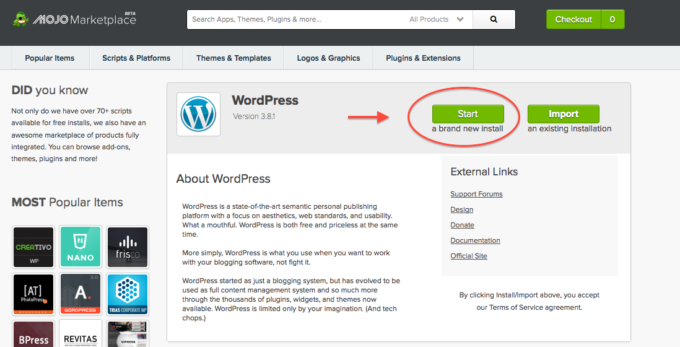
Step ten: Click Start
Once you clicked on the Install WordPress icon in the previous step it will take you to this page, where you need to press the green “Start” button.
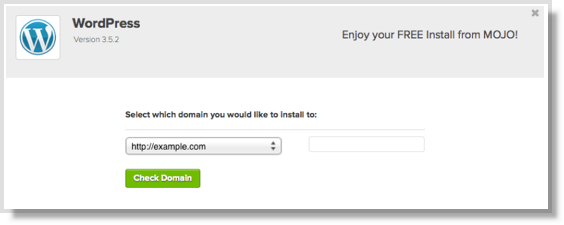
Step eleven: Select Your Domain
Now select your domain from the drop down box. If you bought your domain somewhere other than BlueHost, you will have to change the nameservers before you install wordpress, so that it will show up. Read this post for how to change nameservers to point them to the right host. It is way easier than it sounds.
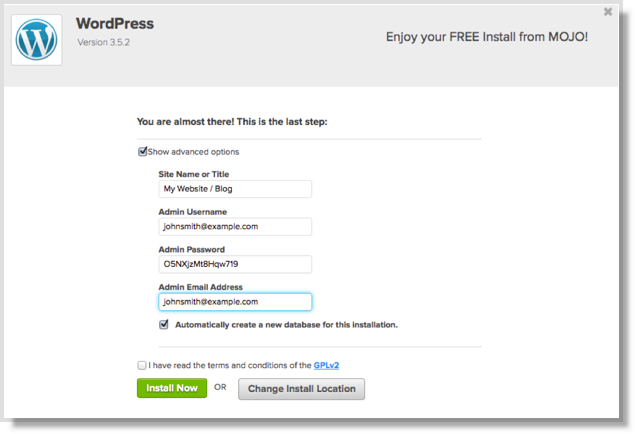
Step twelve: Click “Install Now”
Check to make sure the admin username is what you want it to be for login, and that the password is something you will remember, because this is how you login to your blog!
You will see the status as it installs, and know when it is done!
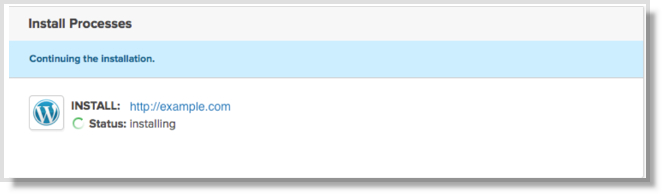
When it is done it will look like this!

Step thirteen: Access your Site
Follow instructions to access your website.
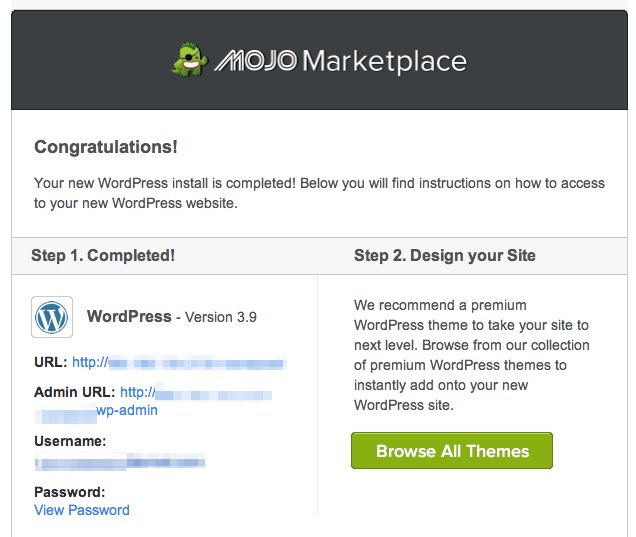
For the most part, to login to your site you are going to go to https://www.YOURSITENAME.com/wp-admin then input the username and password you set up previously.

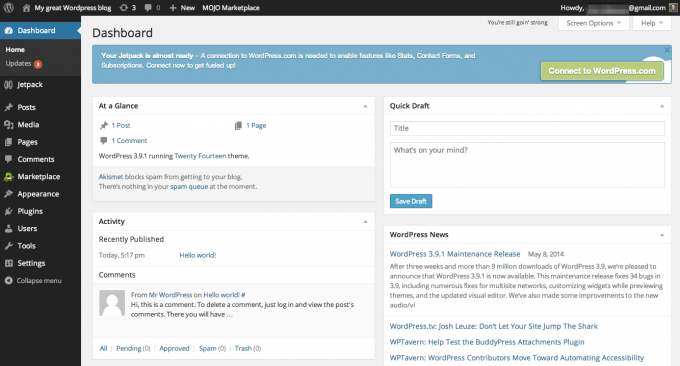
Step fourteen: Familarize Yourself with the Dashboard
First let’s take a moment to do a happy dance! You are officially a blogger. You are now in the backend of your site, referred to as your dashboard. This is where you create post, add plugins (read my recommended plugins here), upload photos, and change the look and feel of your site.
Step fifteen: Get to work
Go create that content, and promote it, and conquer the world.

Once your site is set up, check out this post on which Plugins I recommend. And check out this post to learn how to monetize your blog (make the money)!

Leave a Reply