
Pupcakes
A recipe for tasty pupcakes, a wholesome homemade treat, and tips for keeping your pups flea, tick, and lice free, as well as healthy, whole, and happy without excessive visits to the vet!
Pupcakes = Cupcakes for dogs (pups)!
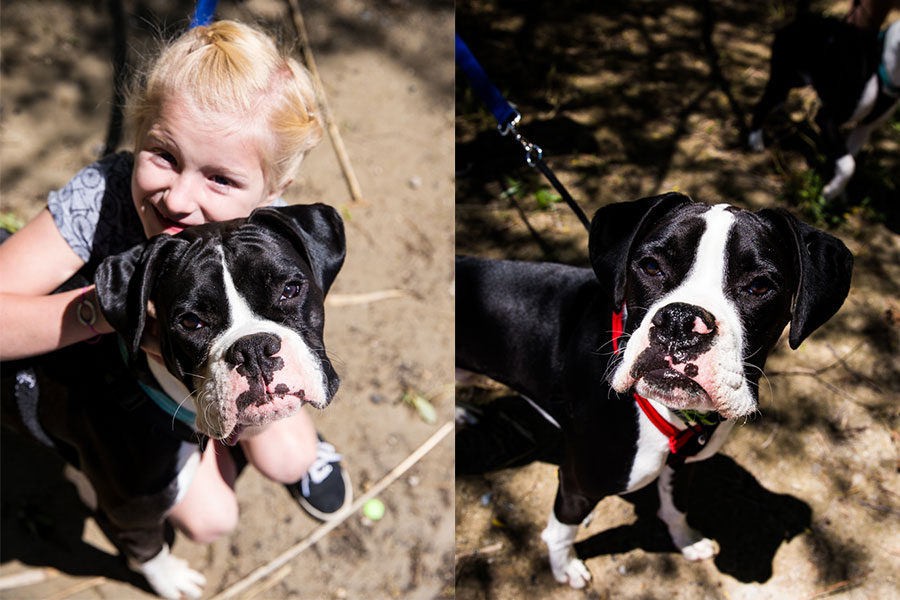
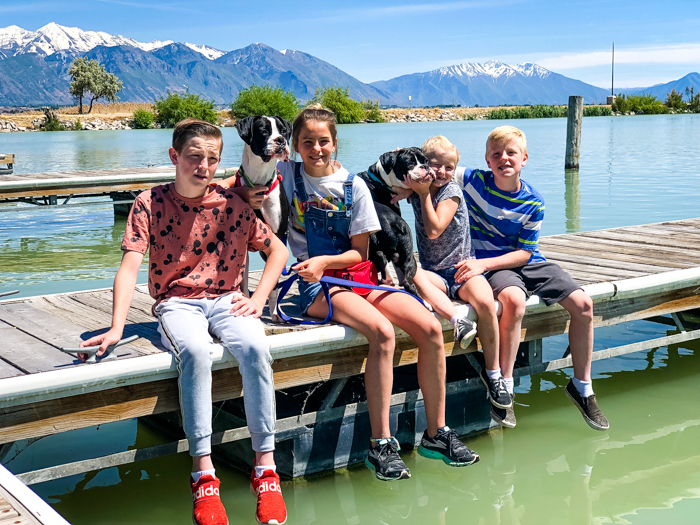
Meet Duke and Cash! My boxer pups.
These boys are brothers, and a huge part of our family. And as such we are doing everything we can to give them a good life, a healthy life. From their diet to their care. We even try to keep them entertained and making friends, which is why we loved taking them to Soldier Hollow Classic which is a super fun sheep herding and dog show.
We love our dogs, and want what i s best for them, but I know I can’t run to the vet for every little thing. I have to learn to take precautions, and arm myself with the right tools to be my own pet’s vet when it comes to minor ailments.
- When they were throwing up a lot, we switched up their food.
- When they got fleas, we treated it and took steps to prevent further infestations.
- When we were training them, and using lots of treats to reinforce commands, we opted to make homemade treats, so we could feel good about what they were eating.
Honestly, as a pet parent there are bound to be things you have to worry about, and I don’t have the time or resources to run to the vet for every minor ailments or little question.
Instead, I turn to other pet owners for advice. Which is why today I am sharing some of my pet-parent wins with you, other pet parents, including one of my favorite pet products, and a wholesome homemade dog treat–pupcakes!
.
Pupcakes
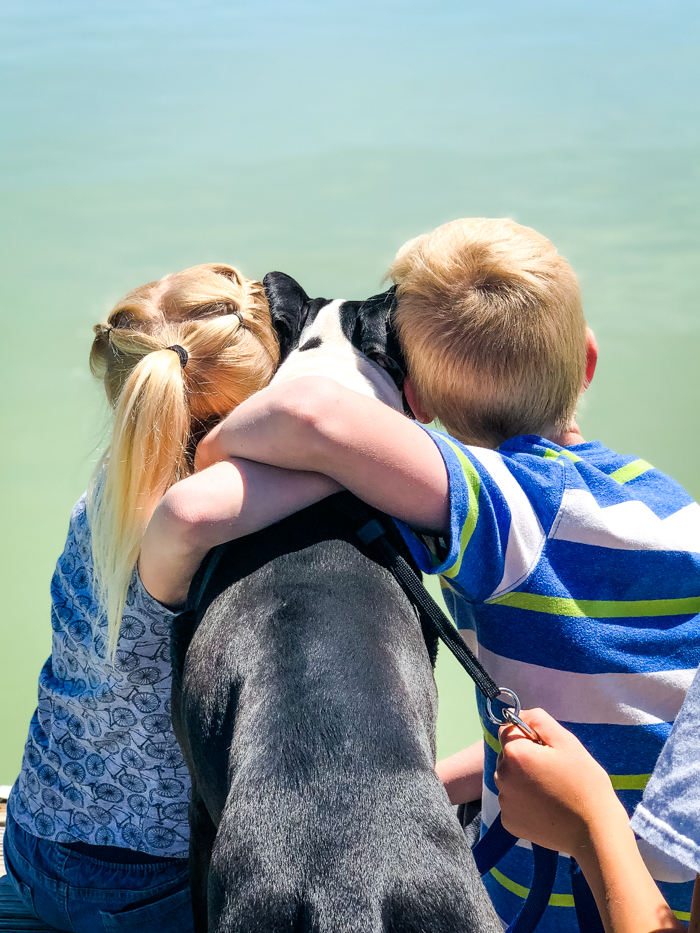
Our adventures with our pups are very important to us, but we knew that if our pups weren’t properly protected, and properly trained, those adventures would end badly.
While we did this we realized that they were consuming A LOT of dog treats, as we were using treats to positively reinforce good behaviors, and to get them to respond to commands.
We love these dogs, and wanted to make sure whatever we fed them would be good for them. So we decided to make some pupcakes, cupcakes for dogs, that would be full of wholesome ingredients the dogs would love, and would be good for them.
That way, when we were training them, we could use these treats, and reinforce their good behaviors without hurting their bellies, doing more damage than good.
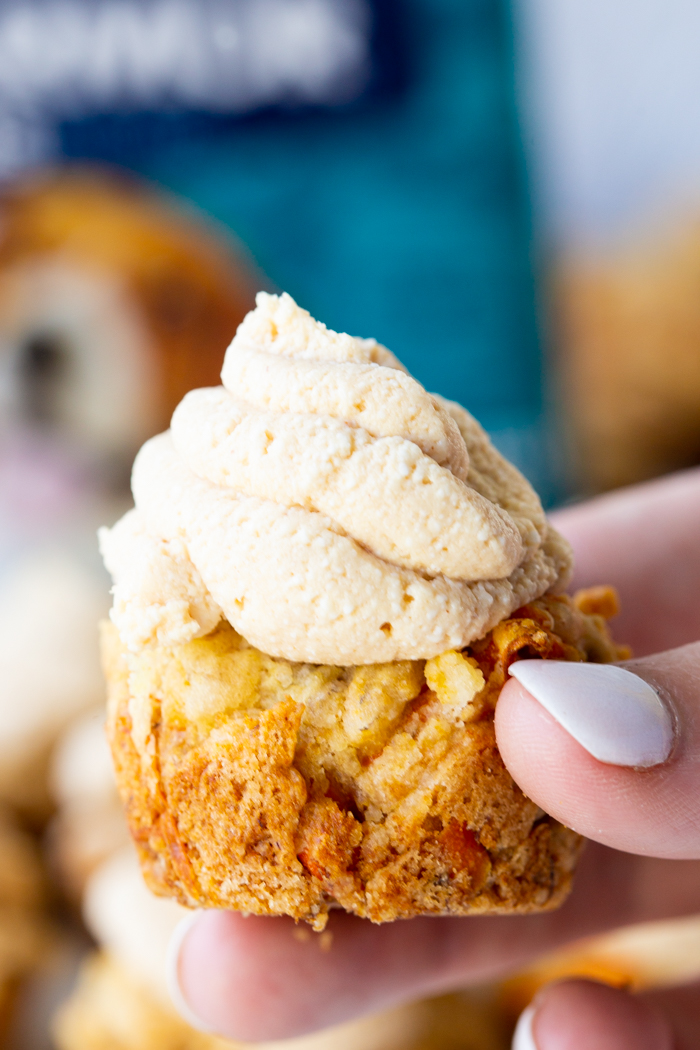
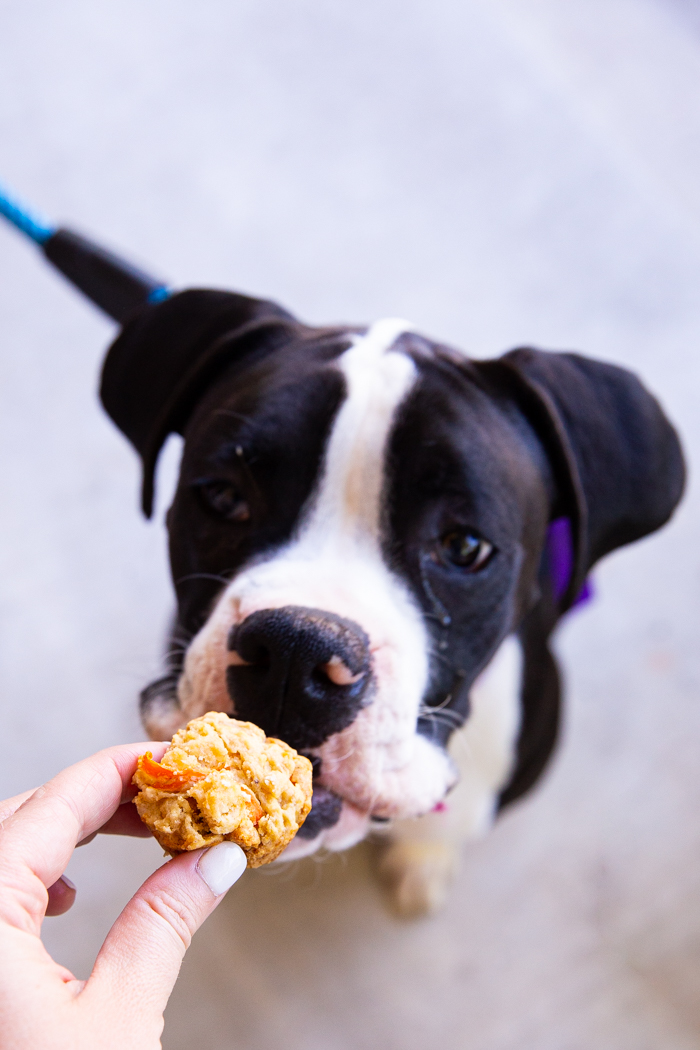
Duke and Cash love peanut butter, so we knew some peanut butter flavored pupcakes would be the perfect treat. And we wanted to make them in mini muffin tins so they would be just the right size for training.
What ingredients are in pupcakes?
Pupcakes contain some great ingredients that can benefit your dog:
- Peanut butter- Not just a great source of protein, but a fun treat for dogs. Most dogs love peanut butter, and these pupcakes have it in both the cake and the frosting.
- Oil- Olive oil has a lot of benefits for dogs, from brain boosting benefits to immune benefits, and it tastes good. Plus it is a needed ingredient to make these cakes work!
- Banana — mashed- Another necessity for getting the cakes to work, but also a sweetener int he treat. Bananas are high in potassium, vitamin B6, and vitamin C, all of which benefit dogs.
- Honey – Honey is a great addition to these pupcakes. They can be an immune boost, but should be used in small quantities. Also, because it is high in sugar, be sure to brush your dog’s teeth after consumption.
- Shredded carrot – Carrots are high in vitamins and fiber, a great addition to a dog treat.
Disclaimer: There are several common dog allergies/intolerances which may include, but are not limited to corn, wheat and soy. These pupcakes contain all-purpose flour, baking soda, and baking powder. Check with your veterinarian to make sure your breed of pup, and specific dog, can eat these pupcakes safely.
These pupcakes are awesome, and our dogs love them. But when we added a frosting so they would really be a cupcake indulgence, they were right over the top. And my dogs were begging for these treats.
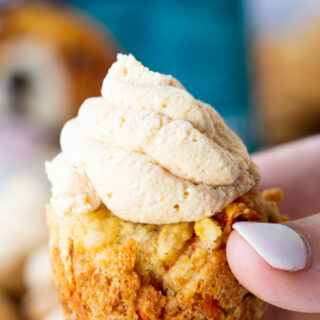
The frosting consists of only two simple ingredients: Cream cheese and peanut butter.
Now you can add mashed banana, raw honey, and other ingredients, but I found this to be the perfect combo, and one my dogs loved.
You might be asking yourself if cream cheese is okay for dogs, and the answer is yes! According to the American Kennel Club, cheese can be beneficial for dogs as it contains protein, calcium, essential fatty acids, and vitamin A and B complex vitamins. All of which are great for dogs.
So for this recipe, It is safe for dogs to eat cream cheese, it has no poisonous or toxic effects on dogs. But you probably want to keep it to small amounts, which is why it is perfect as a topping, or frosting for these pupcakes.
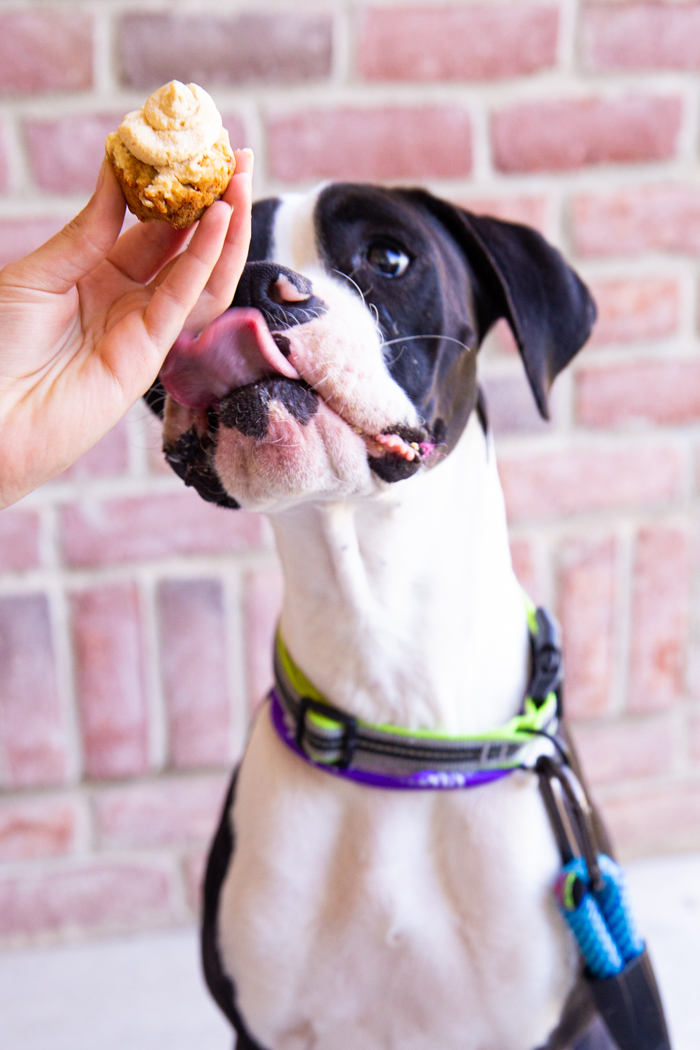
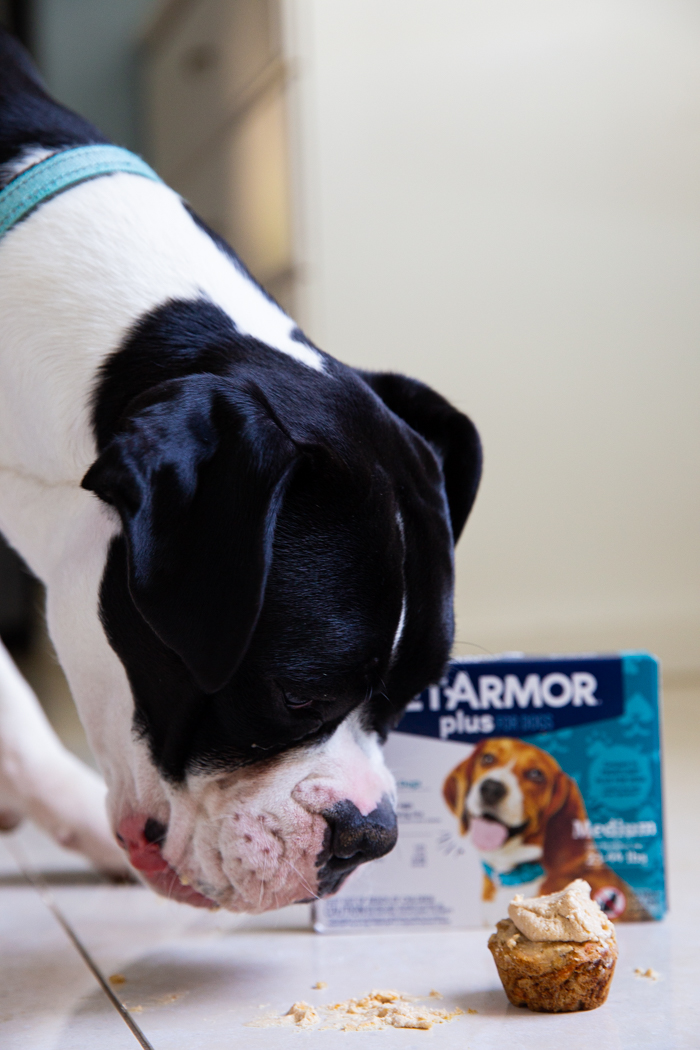
As you can see, my dogs loved it! And funny story, we actually took a bag of these on a road trip with us. We met up with some family, and one evening, I walked in to see my Dad and brothers munching on the pupcakes.
Hahaha, I started laughing, and let them know they were cakes I made for the dogs, but lucky for them, they contained great ingredients humans can eat and enjoy too!
I thought they would stop eating them when I told them they were for the dogs. But I guess the flavors won out. Everyone loved them, and my poor pups had to contend with my family for the rest of their treats.
Anyway, hopefully your pups love these pupcakes as much as mine did, and that you can enjoy fun adventures all year round, while protecting your pups from flea and tick infestations.
Other Recipes:
Pupcakes
Ingredients
- 2 tablespoons peanut butter
- 2 tablespoons oil
- 1 medium banana — mashed
- 2 tablespoons honey
- 2 Tbs shredded carrot
- 1/2 cup flour
- 1/2 teaspoon baking soda
- 1/4 teaspoon baking powder
FOR THE FROSTING:
- 1/4 cup Cream cheese
- 1 tablespoons peanut butter
Instructions
- Preheat oven to 350°Spray a mini muffin pan with cooking spray.
- Stir peanut butter, oil, banana, carrot and honey together.
- Stir in flour, baking soda, and baking powder, mixing until combined.
- Evenly distribute between the cavities of your mini muffin pan, it should make between 24-36 pupcakes.
- Bake 10-15 minutes, until browned on the exterior.
- Cool completely before frosting.
Frosting:
- Mix cream cheese and peanut butter together, whisking until smooth.
- Put in a zip top bag, and cut one corner off to make piping onto the pupcakes easier.
Notes
This Pupcakes recipe was adapted from Crazy for Crust
Nutrition
Our recipe card software calculates these nutrition facts based on averages for the above ingredients, different brands, and quality of produce/meats may have different nutritional information, always calculate your own based on the specific products you use in order to achieve accurate macros for this recipe.

SerenaKuvalis says
@grow a garden thanks for sharing