Blueberry Pie
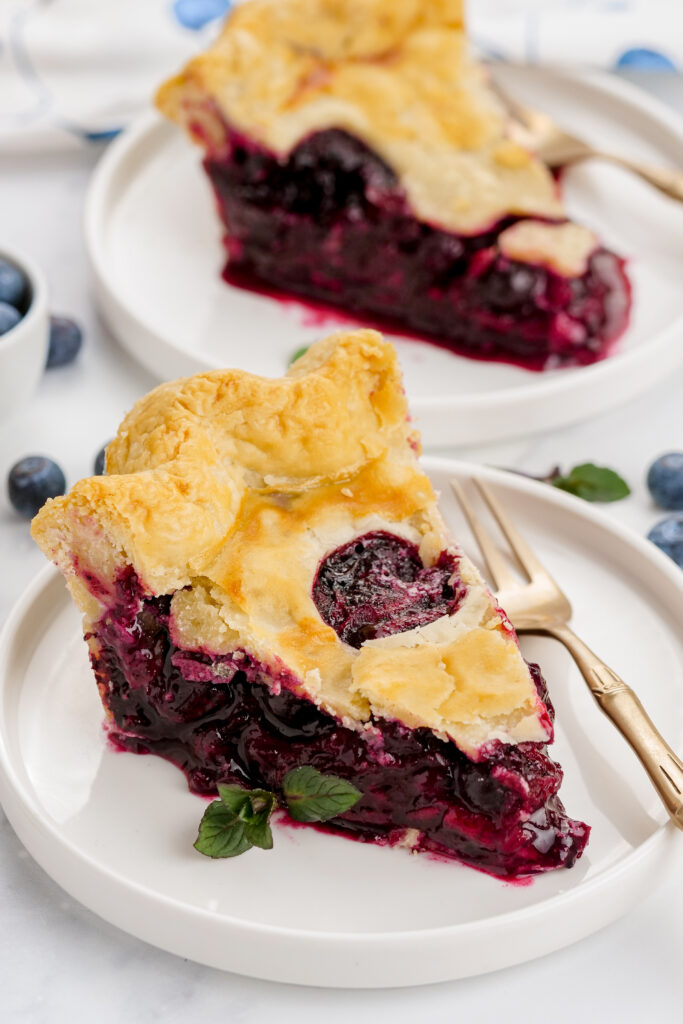
Sweet, fruity, Blueberry Pie, with a flaky golden brown crust, this dessert is mouth-watering delicious, and homemade. This homemade filling is both satisfying because you will be so proud of yourself for making this pie from scratch, but also perfect in its thickness, sweet vs tartness, and consistency. Serve blueberry pie by itself or with a scoop of creamy vanilla ice cream. Either way this recipe will be your go to from now on, it is seriously a winner.
Enjoy some delicious Blueberry Pie after devouring some Slow Cooker BBQ Drumsticks and Super Easy Mashed Potatoes for a great meal.
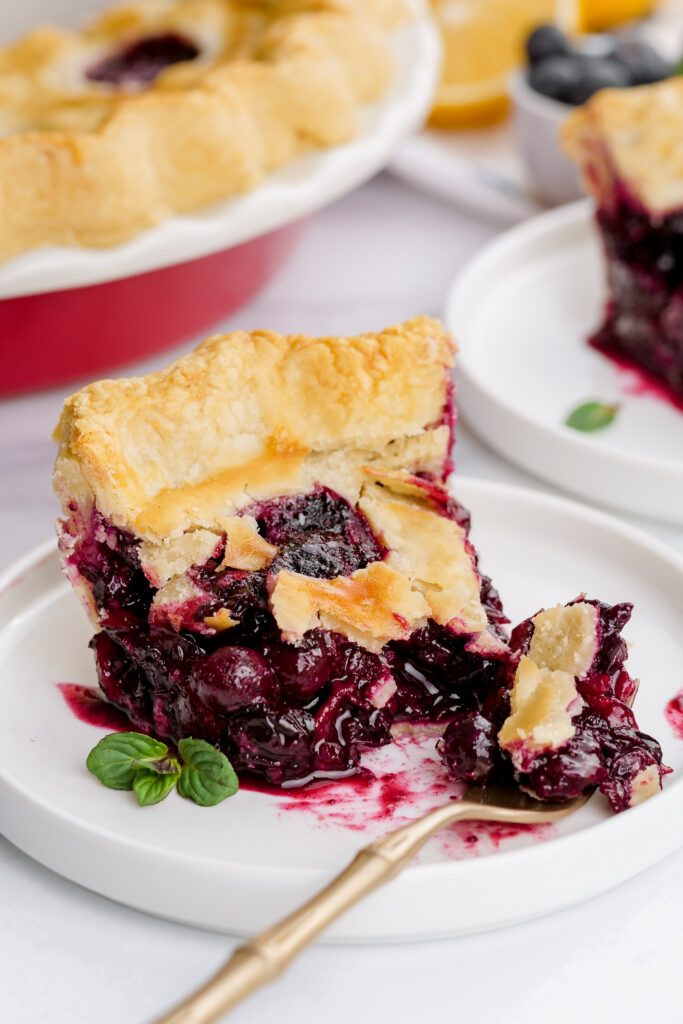
I love that not only is this Blueberry Pie flavorful and fun, it stores nicely and can even be made ahead of time and frozen for later use.
While I love just as much as the next person, a decadent, rich Chocolate Pie, there is something refreshing and really fun about a fruit filled dessert, especially during the warmer weather months.
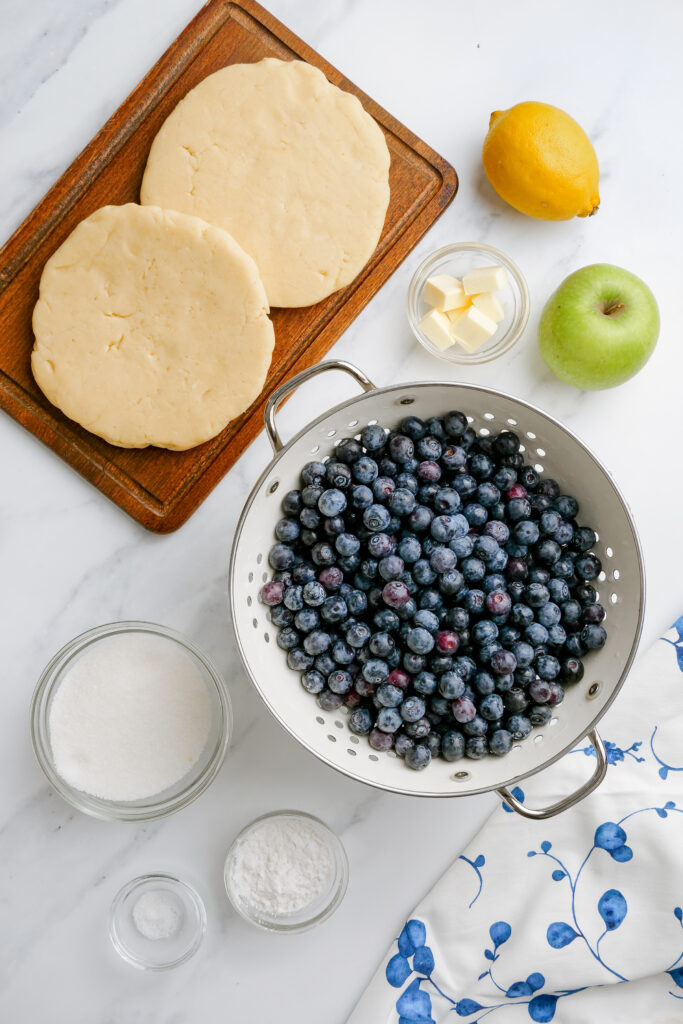
What You Need to Make Blueberry Pie
You are going to love this Blueberry Pie recipe. So let’s go shopping!
- Double Crust Pie Recipe
- Blueberries
- Granny Smith Apple
- Sugar
- Instant Tapioca (ground)
- Grated Lemon Zest
- Lemon Juice
- Salt
- Unsalted Butter
- Egg White (lightly beaten)
How to Make Fresh Blueberry Pie
Total time: 7 hours and 45 minutes
Although some time is required to make this pie, it is not a really difficult recipe, so don’t get scared. Over half the time needed is to let the pie cool and the filling set up. It is actually just a few simple steps.
- First, prepare the pie crusts and refrigerate until the dough is firm.
- Second, cook the berries and then combine the shredded apple along with the other remaining ingredients with the cooked berries.
- Third, fill the pie crust with the filling and top with dough.
- Fourth, Bake. About 25 minutes into baking, rotate the baking sheet and cook for longer.
- Fifth, Cool. Once the pie is done, take it out and cool on a wire rack for about 4 hours. Then slice, serve, and enjoy!
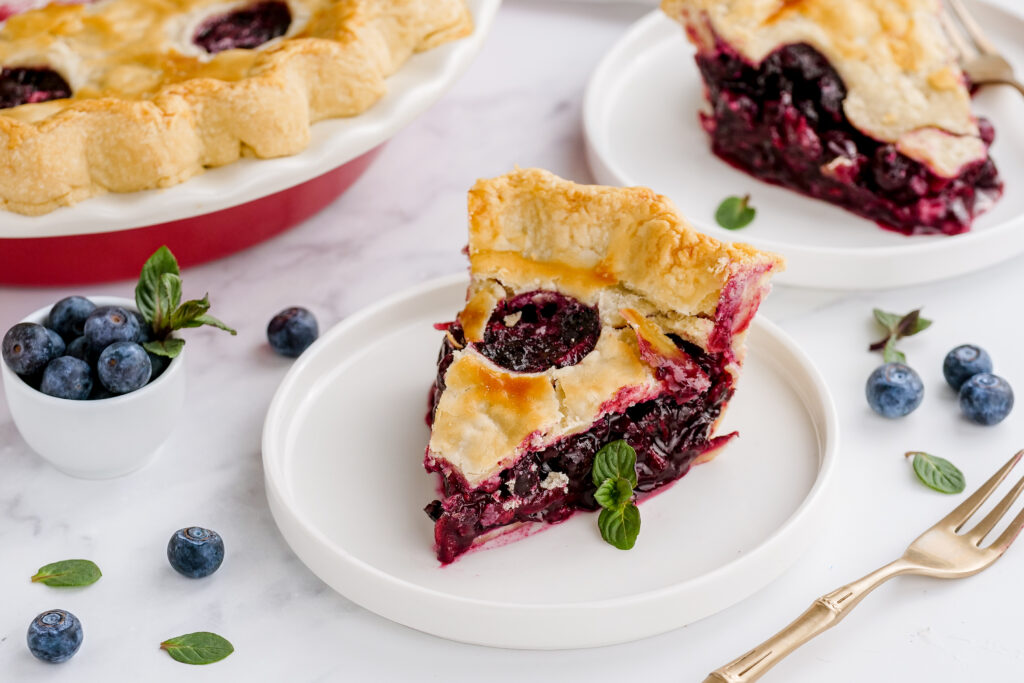
Step one: Prepare the Pie Crust.
You want to roll your pie dough out, and fill your pie plate with it. So start by lightly flouring the counter and rolling one disk of dough into a 12 inch circle. Then loosely roll dough around a rolling pin and gently unroll it onto a 9 inch pie plate. Then gently press it into the bottom of the plate leaving any dough that overhangs the plate in place.
Wrap the dough lined pie plate loosely in plastic wrap and then refrigerate until dough is firm, about 30 minutes.
Then prepare the top crust by again on the floured surface, roll a 12 inch circle.
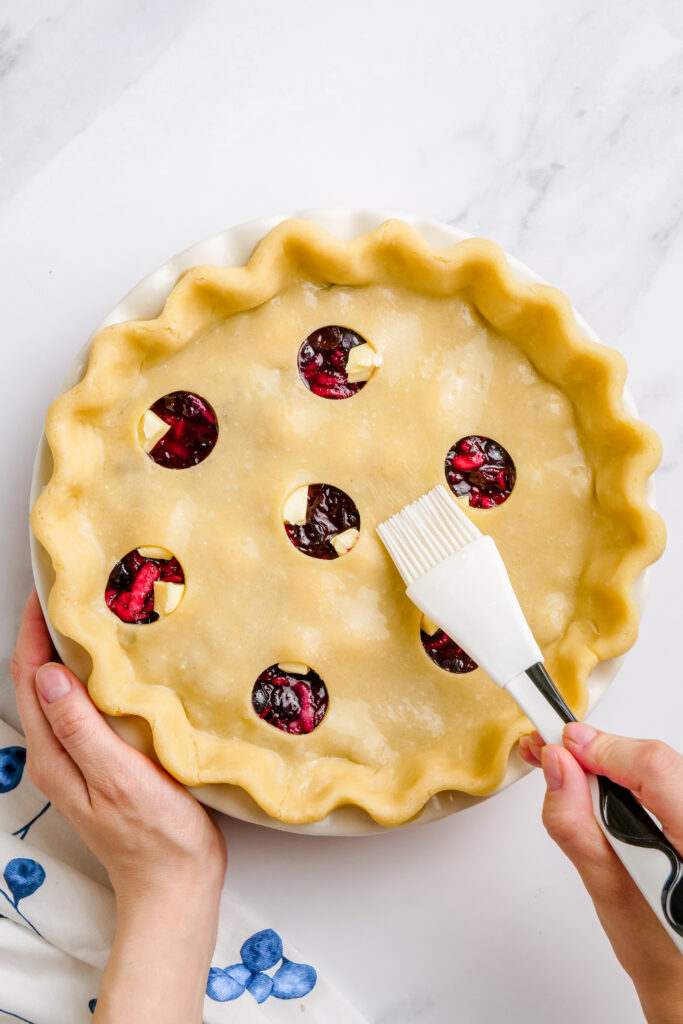
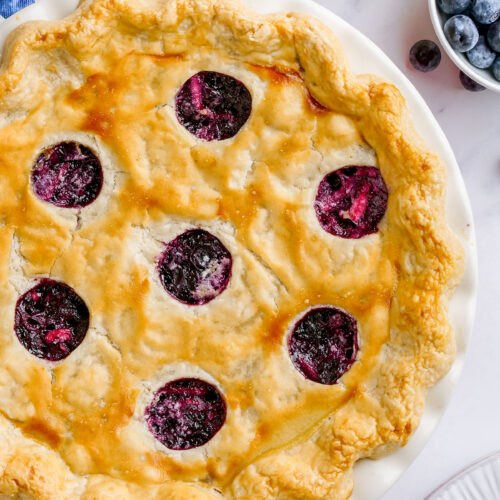
Using a 1 ¼ inch round cookie cutter, starting from the center, cut 6 small rounds out of dough to create vents.
Place dough on a parchment lined baking sheet and cover with plastic wrap. Refrigerate until firm, about 30 minutes.
Step two: Prep the Oven
Now turn your oven on to preheat to 400 degrees F, and put the rack in the lowest position. .
Step three: Cook the Filling
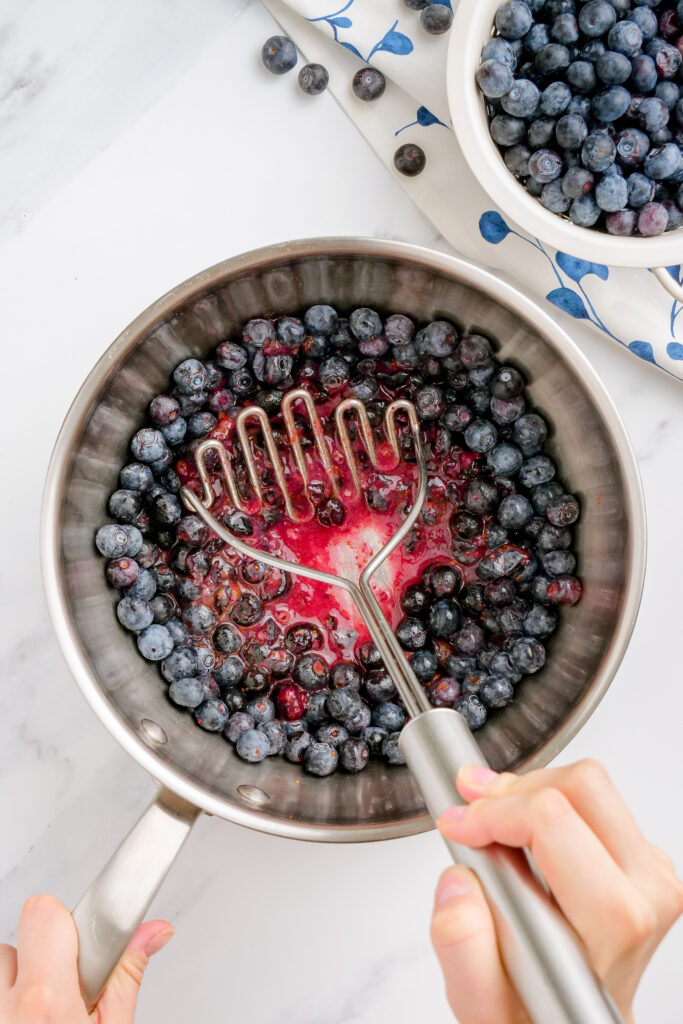
The next step in making this simple blueberry pie is to make the filling on the stove top. So start by cooking 3 cups of berries in a medium saucepan over medium heat for about 8 minutes. With a potato masher, mash the berries to release the juice and then continue to occasionally mash the berries, until half the berries have broken down, juice is thickened, and reduced to 1 ½ cups. Let cool slightly.
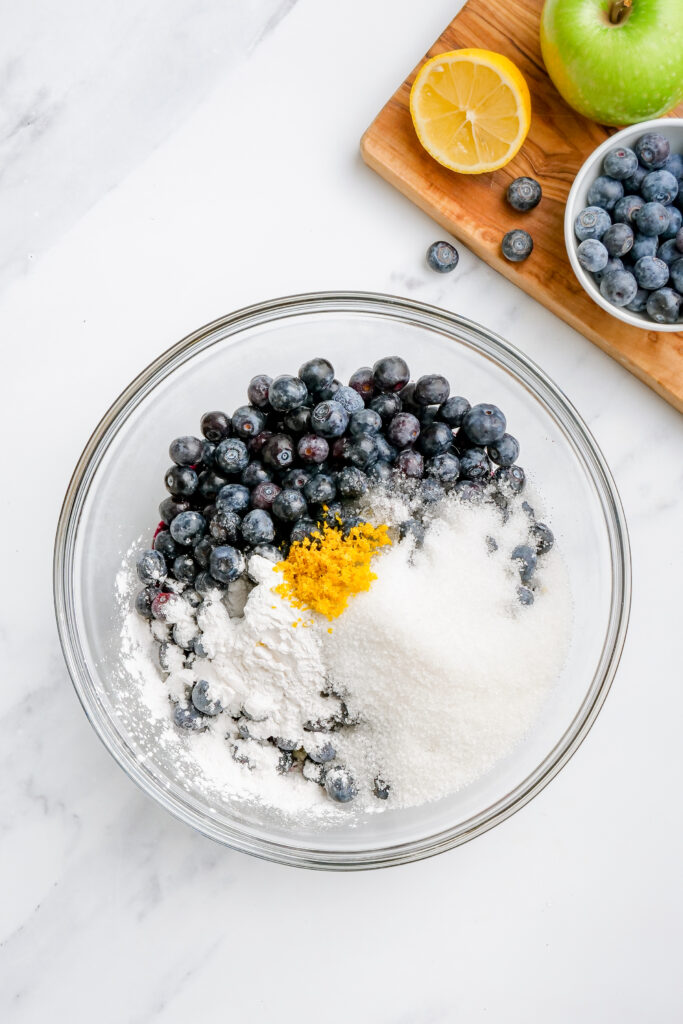
Then it is time to add the rest of the filling ingredients. Transfer the wrung dry, shredded apple into a large bowl and stir in the cooked berries, plus the remaining uncooked berries, sugar, tapioca, lemon zest, lemon juice, and salt. And stir it all together.
Step four: Fill the PIe Crust with the Filling.
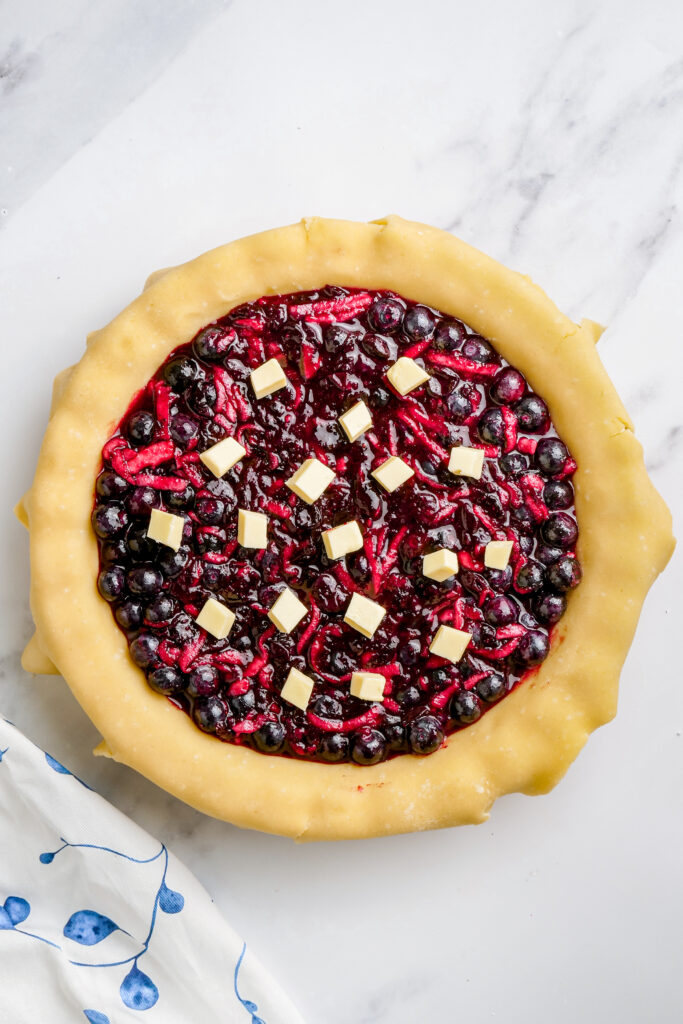
Spread the mixture onto the dough line pie plate and scatter butter over the top. Then top the pie with the remaining pie crust.
Loosely roll remaining dough round around the rolling pin and unroll dough onto the filling. Trim the overhang to ½ inch beyond the lip plate. Pinch the edges of the top and bottom crusts firmly together. Make it as cute as you want. Tuck the overhang under itself. With your fingers crimp the edge of the pie crust. Brush the surface with egg white.
Step five: Bake.
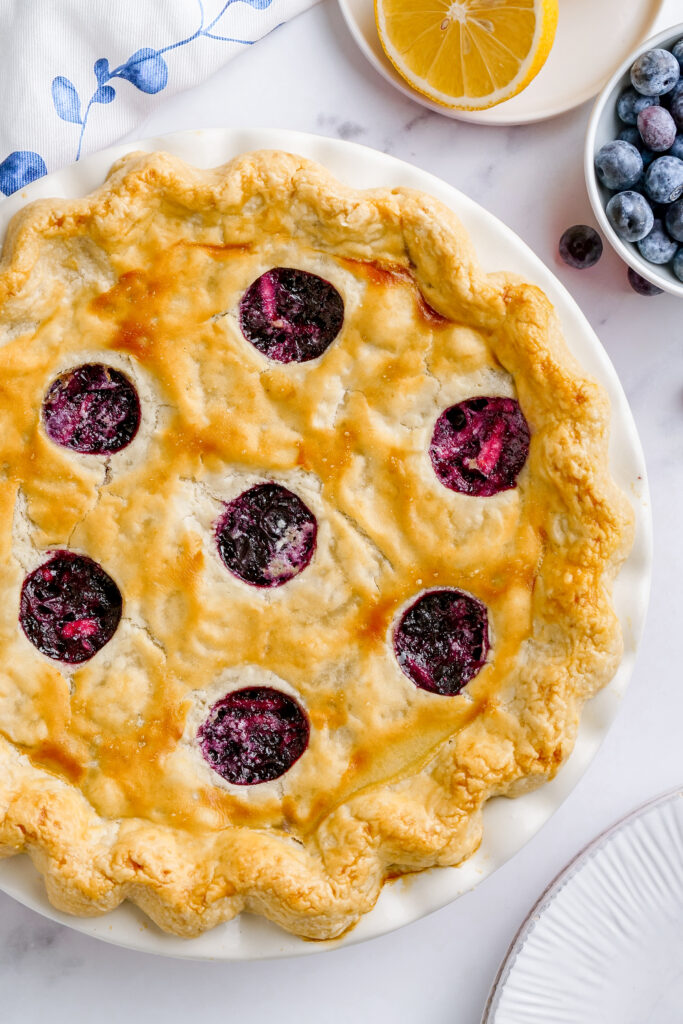
Place the pie on a rimmed baking sheet and bake until the crust is golden brown, about 25 minutes. Then reduce the oven temperature to 350 degrees, rotate the baking sheet, and continue to bake until juices are bubbling, and the crust is a deep golden brown, 35-50 minutes longer.
Step six: Cool and Serve.
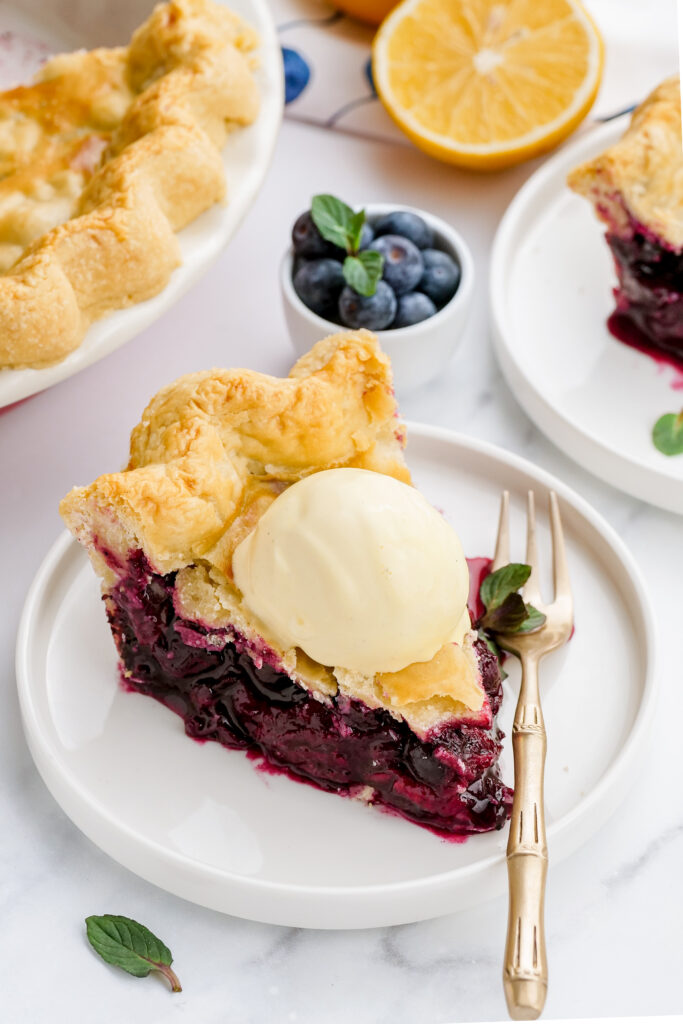
Let the pie cool on a wire rack four about 4 hours. Then serve and enjoy. You can even top with vanilla ice cream or whipped cream to make it more fun!
Tips and Tricks
Making this recipe is Eazy Peazy…
- In a pinch, use thawed frozen berries instead of fresh berries: While this recipe was developed using fresh berries, you can use frozen berries instead. Just make sure they are thawed first.
- Let the pie cool completely even if you want to serve it warm: If you want to serve the pie warm, make sure it cools completely first so it can set. Then briefly warm the pie in the oven
- Make sure you have all the necessary tools ready to go before preparing the dessert: It’s best if you have the following tools–food processor, rolling pin, 9 inch pie plate, biscuit or cookie cutter, spice grinder, box grater, and potato masher.
- Do not eliminate the apple in the pie: The apple plays an important role in the pie. It provides natural pectin to help set the filling.
- Serve with vanilla ice cream or whipped cream: This pie is great on its own or accompanied with whipped cream or ice cream. For a change, serve warm with a little bit of ice cream or add a dollop of homemade whipped cream on top.
Make Ahead and Storage
How to make this recipe ahead of time:
This Blueberry Pie stores well at room temperature, in the refrigerator, or made ahead and in the freezer. Isn’t it just great when you have options?
At Room Temperature:
Cover with plastic wrap and leave out at room temperature. It will last for a couple of days
In the Refrigerator:
Covered with plastic wrap and in the fridge the pie will last for about four days.
In the Freezer:
Blueberry pie that is properly stored in the freezer will last for up to about 4 months.
- Follow the directions like normal.
- Let the pie cool.
- Transfer the pie into the freezer.
- Once pie is frozen, transfer pie to a gallon sized freezer bag, letting out the air or wrap pie in plastic wrap, making sure it is tightly wrapped.
- Prior to eating, thaw the pie in the refrigerator for about 3 hours.
- Then reheat the pie in the oven at 450 degrees for about 15 minutes. Make sure it is heated all the way though.
Eaten warm, at room temperature, or cold, either way this Blueberry Pie is a crave-worthy dish!
Other Great Recipes:
Blueberry Pie
Equipment
- Food processor to make pie dough
- Rolling Pin
- 9 inch plate
- 1 ¼ inch biscuit or cookie cutter to punch holes in top crust
- Spice grinder to grind tapioca
- Box grater to shred apple
- Potato masher to mash berries
Ingredients
- 1 recipe homemade pie crust
- 30 ounces blueberries
- 1 granny smith apple
- ¾ cup sugar
- 2 tablespoons instant tapioca ground
- 2 teaspoons grated lemon zest plus
- 2 teaspoons juice
- Pinch Salt
- 2 tablespoons unsalted butter cut into ¼ inch pieces
- 1 large egg white lightly beaten
Instructions
- Roll 1 disk of pie crust dough into a 12 inch circle on a lightly floured counter. Loosely roll dough around a rolling pin and gently unroll it onto a 9 inch pie plate, letting excess dough hang over the edge.
- Wrap dough lined pie plate loosely in plastic wrap and refrigerate until dough is firm, about 30 minutes.
- Roll the other disk of dough into a 12 inch circle on a lightly floured counter. Using a 1 ¼ inch round cookie cutter, cut round from the center of the dough. Cut 6 more rounds from dough, 1 ½ inches from edge of center hole and equally spaced center hole to create a nice pie top.
- Transfer dough to a parchment paper lined baking sheet, cover with plastic and refrigerate for 30 minutes.
- Place 3 cups of berries in a medium saucepan and set over medium heat, using a potato masher, mash berries several times to release juices. Continue to cook, stirring often and mashing occasionally, until about half of the berries have broken down and mixture is thickened and reduced to 1 ½ cups, about 8 minutes.
- Let cool slightly.
- Adjust oven rack to lowest position and heat oven to 400 degrees F.
- Shred apple, and place shredded apple in a clean dish towel and wring dry.
- Transfer the apple to a large bowl and stir in cooked berries, remaining 3 cups uncooked berries, sugar, tapioca, lemon zest and juice, and salt. Stir until combined.
- Pour the mixture into the chilled dough lined pie plate and spread evenly.
- Cut butter, and scatter butter pieces over the top.
- Now put your top on the pie by loosely rolling the dough around rolling pin and gently unrolling it over the filling. Now gently run a butter knife about 1/2 inch past the edges to trim overhang of both crusts to ½ inch beyond the lip of the pie plate.
- Pinch the edges of the top and bottom crusts firmly together. Then tuck the overhang under itself to create a folded edge, the folded edge should be flush with the edge of the pie plate.
- Now make it pretty by crimping the dough evenly around the edge of pie using your fingers.
- In a small bowl, beat the egg white so it is a little frothy, then brush the surface of your pie crust with the white egg.
- Place pie on rimmed baking sheet and bake until crust is light golden brown, about 25 minutes.
- Reduce oven temperature to 350 degrees, rotate sheet, and continue to bake until juices are bubbling and crust is deep golden brown, 35 to 50 minutes longer.
- Let the pie cool on a wire rack to room temp, about 4 hours. Serve.
Notes
Plan ahead, it takes about 2 hours to make this pie, you need time to roll out and chill pie dough, 30 minutes to make filling and assemble pie, 1 ¼ hours to bake pie, and 4 hours to the cool pie
This recipe was developed using fresh blueberries, but unthawed frozen berries will work as well.
If you like to serve the pie warm, still allow it to cool fully, as this helps the filling set, then briefly warm the pie in the oven before slicing.
Nutrition
Our recipe card software calculates these nutrition facts based on averages for the above ingredients, different brands, and quality of produce/meats may have different nutritional information, always calculate your own based on the specific products you use in order to achieve accurate macros for this recipe.


Leave a Reply