6 Ingredient Homemade Buttermilk Biscuits
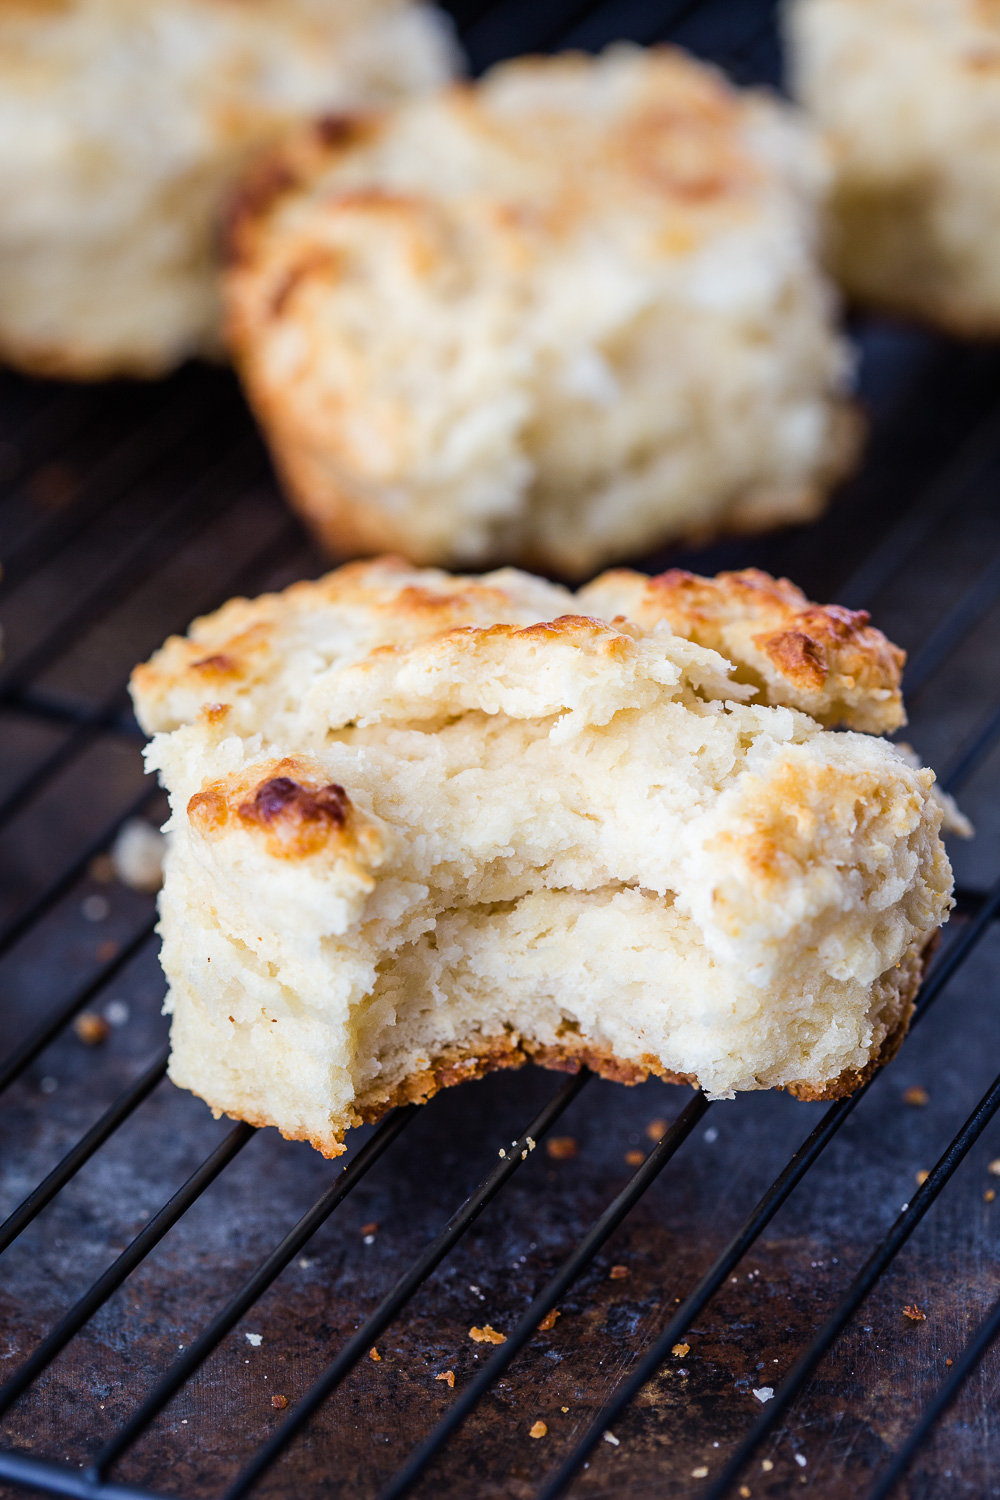
Cast iron cooked, tall, fluffy, tender buttermilk biscuits with a crisp bottom and golden brown top. These are the kind of biscuits you drool over.
With only 6 ingredients, these are the perfect blend of ease and tastiness. With just a small effort you get flakiness, tenderness, and the buttery goodness of these perfect flaky buttermilk biscuits. I am sharing all my tips and tricks for guaranteed success, tall, tender, flaky biscuits you will go crazy for.
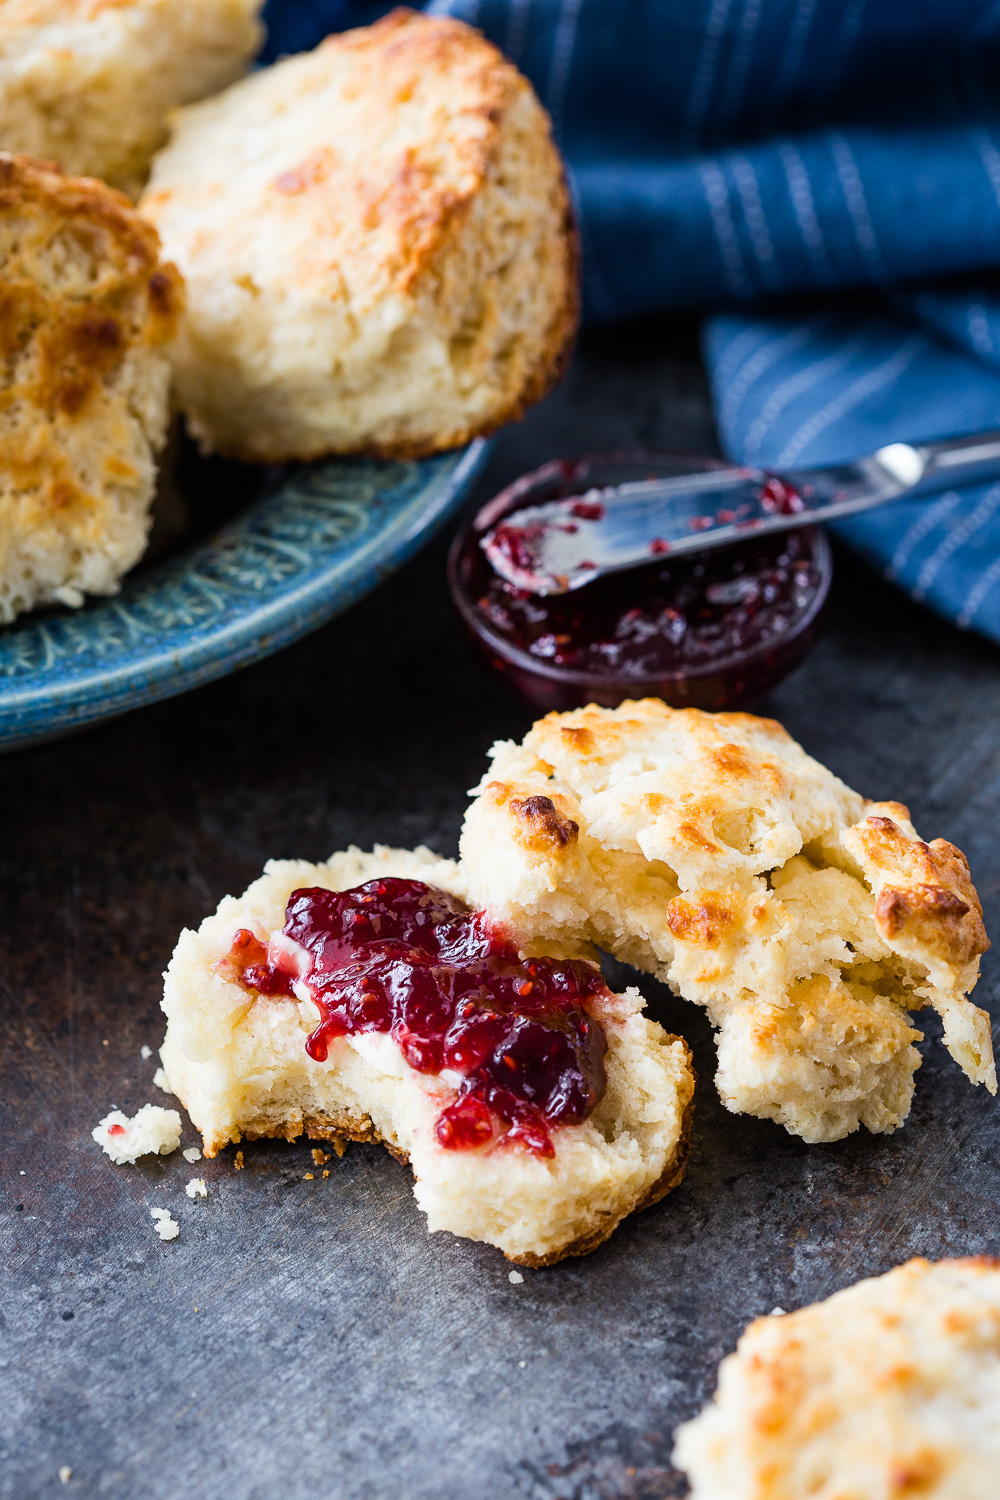
Use these as your biscuits for Instant Pot Biscuits and Sausage Gravy! And serve with Summer Fruit Salad for a delightful meal.
I am obsessed with these biscuits, rightfully so, and have made them over and over. Sometimes I even make them mini, because one thing I learned from these Mini Cinnamon Rolls with Vanilla Cream Cheese Icing is that smaller is actually sometimes better! My kids especially love the smaller biscuits when I am serving them with Easy Broccoli Cheese Soup. But no matter what size you make them, they are going to be awesome.
Ingredients Needed For Buttermilk Biscuits
- All-Purpose Flour (2 ½ cups): All-purpose flour is the foundation of your biscuit recipe, so pick a high quality flour to give you structure, texture, and those perfect flaky layers.Pro tip: When measuring flour, make sure to spoon it into the measuring cup and level it off with a knife for accuracy. This will give you superior results.
- Baking Powder (2 tablespoons): Baking powder is the leavening agent that will give your biscuits that coveted rise, making them so tall and tasty. To make sure you achieve this there are 2 things to keep in mind: make sure your baking powder is fresh (not outdated), and look for the aluminum free version.
- Kosher Salt (1 ½ teaspoons): Salt enhances the flavor of the biscuits, and the salt is important for being able to taste the richness of the butter, and the sweetness of the honey, so grab kosher salt, and be sure to use it. If using salted butter, you will want to cut down the salt here just a little.Pro tip: Whisk the salt with the flour to get a more even distribution in your dough.
- Cold Butter (1/2 cup, cubed): The real key is the COLD. Cold butter is the secret to achieving flaky layers in your biscuits. When you cut it in, the small, cold butter cubes create pockets of steam when baking, which results in those tall, flaky, tender biscuits,Pro tip: When cutting in your butter, work quickly to keep it cold during the whole process.
- Cold Buttermilk (1 cup + some more): Buttermilk adds a tangy flavor and tender texture to the biscuits, and makes a world of difference in the flavor and texture. The acidity in buttermilk reacts with the baking powder, contributing to the biscuits’ rise. The key here is to keep the buttermilk cold until the moment you incorporate it into the dough.Pro tip: Pour your buttermilk into a measuring cup, and pop it into the freezer while you mix the other ingredients together, so it stays nice and cold.
- Honey (1 1/2 tablespoons): Honey imparts a subtle sweetness and a lovely golden color to your biscuits. It also contributes to the overall tenderness of the dough. Drizzle honey into the mixture for a delightful touch that complements the flaky layers.
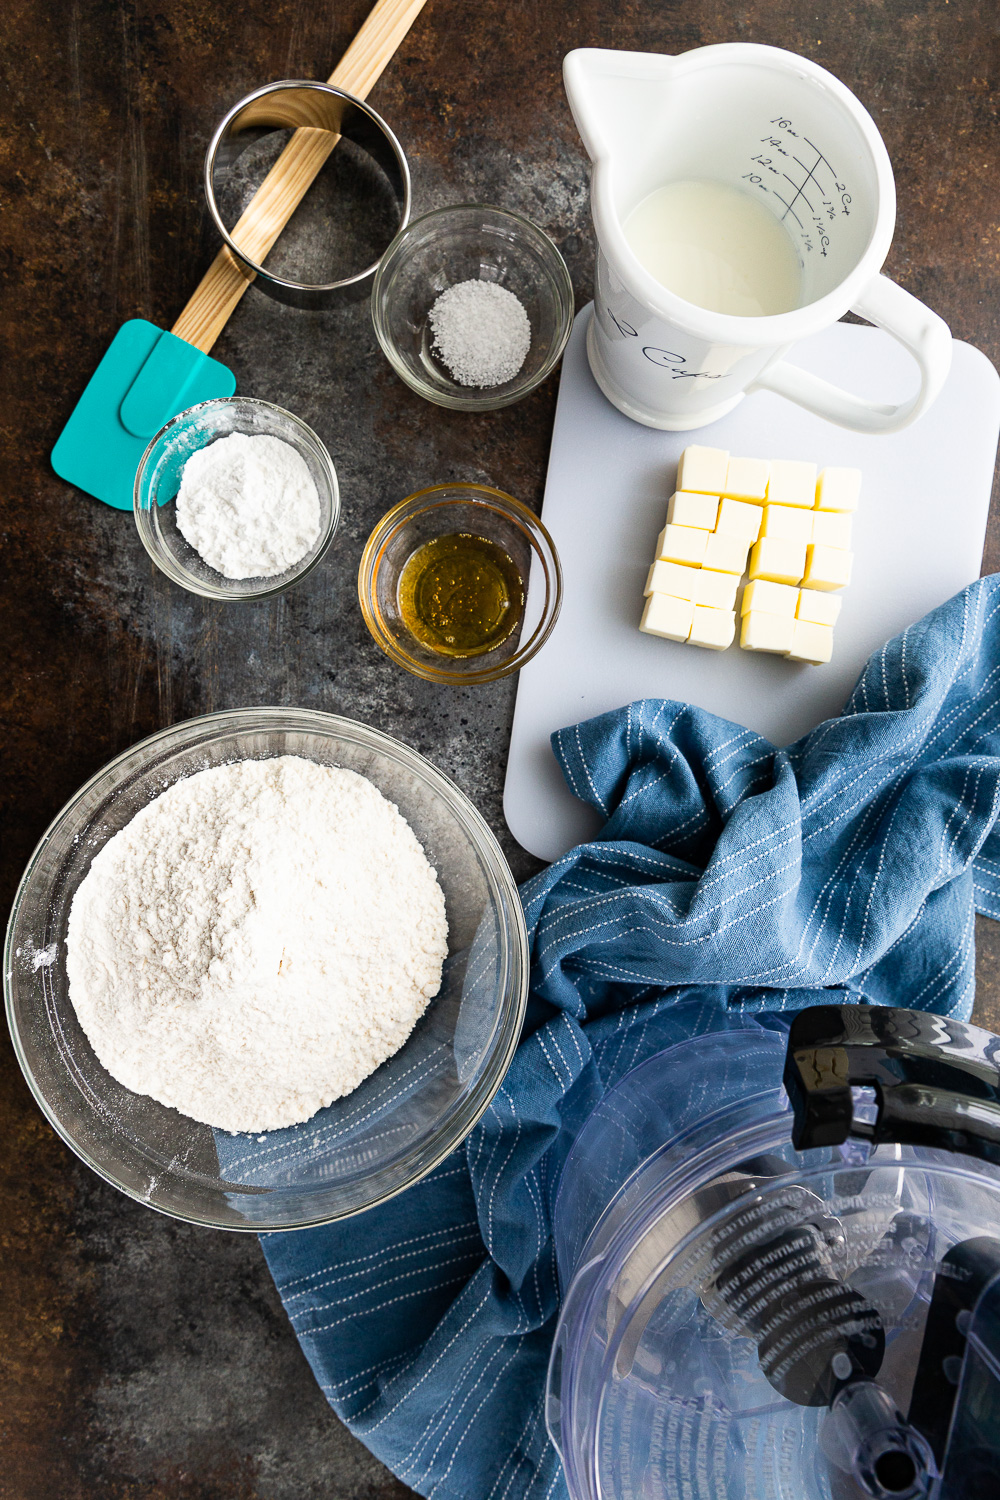
Tools Needed
With the right tools, these biscuits will turn out perfectly every single time. Here is what I recommend (affiliate links):
- Pastry Cutter or Food Processor
- 2.5- or 3-Inch Biscuit Cutter
- 10-inch Cast Iron Skillet
- Pastry Brush
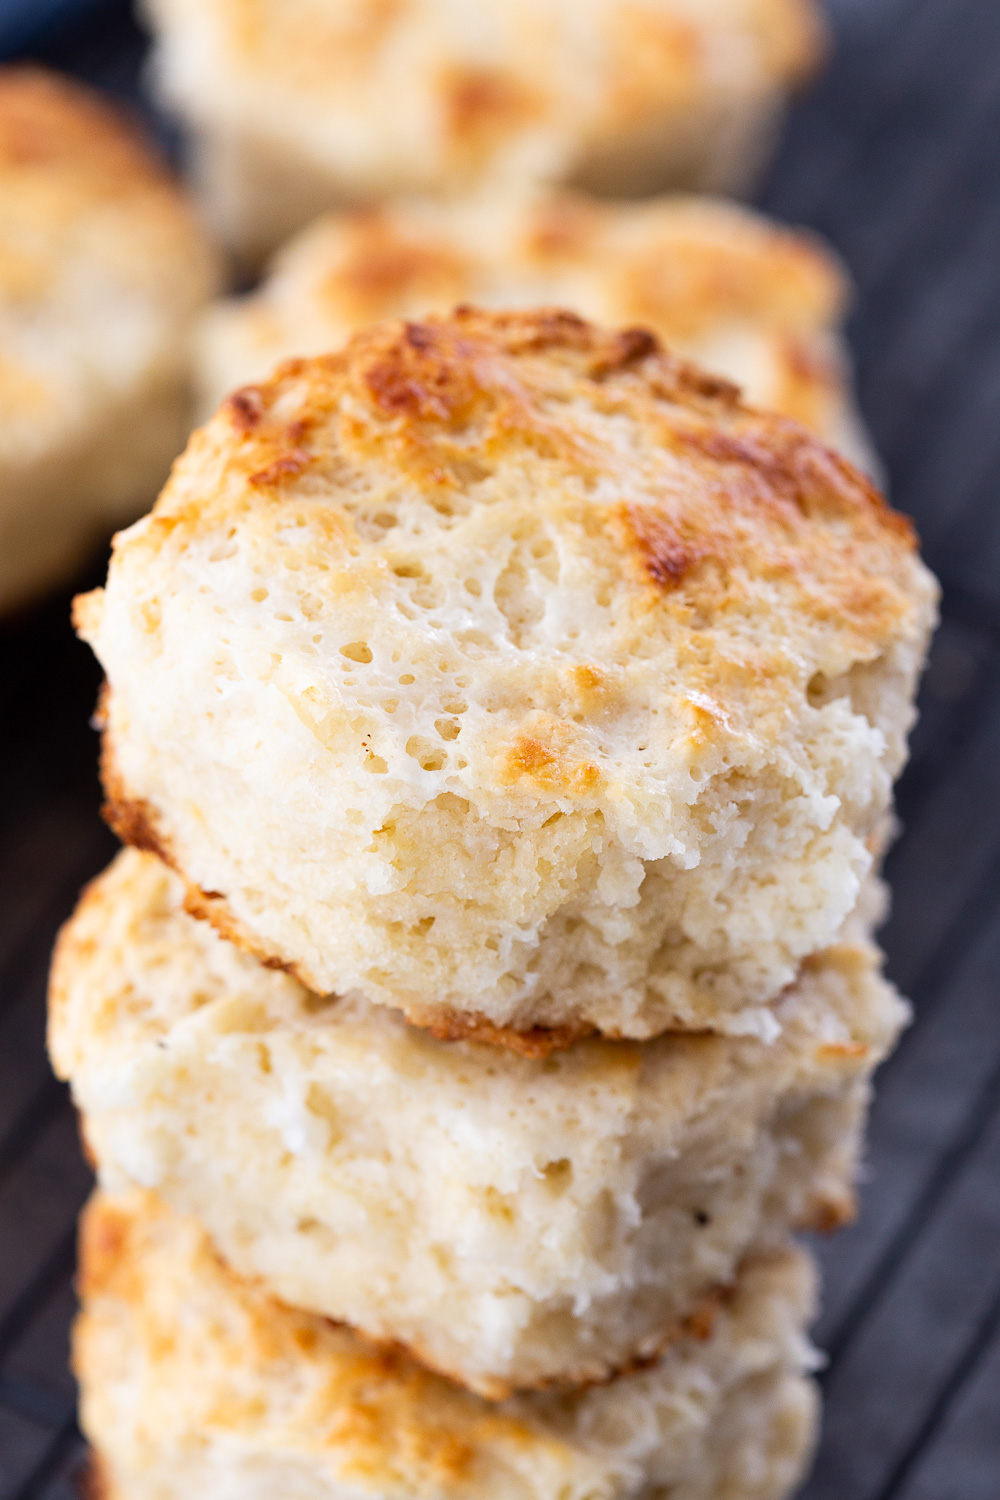
How to Make Cast Iron Buttermilk Biscuits
- Preheat and Prepare:
Preheat your oven to 450°F (230°C). And pop your 10-inch Cast Iron Skillet into the oven to preheat for about 15 minutes.
Measure your buttermilk, and pop it into the freezer so it stays cold. - Combine Dry Ingredients:
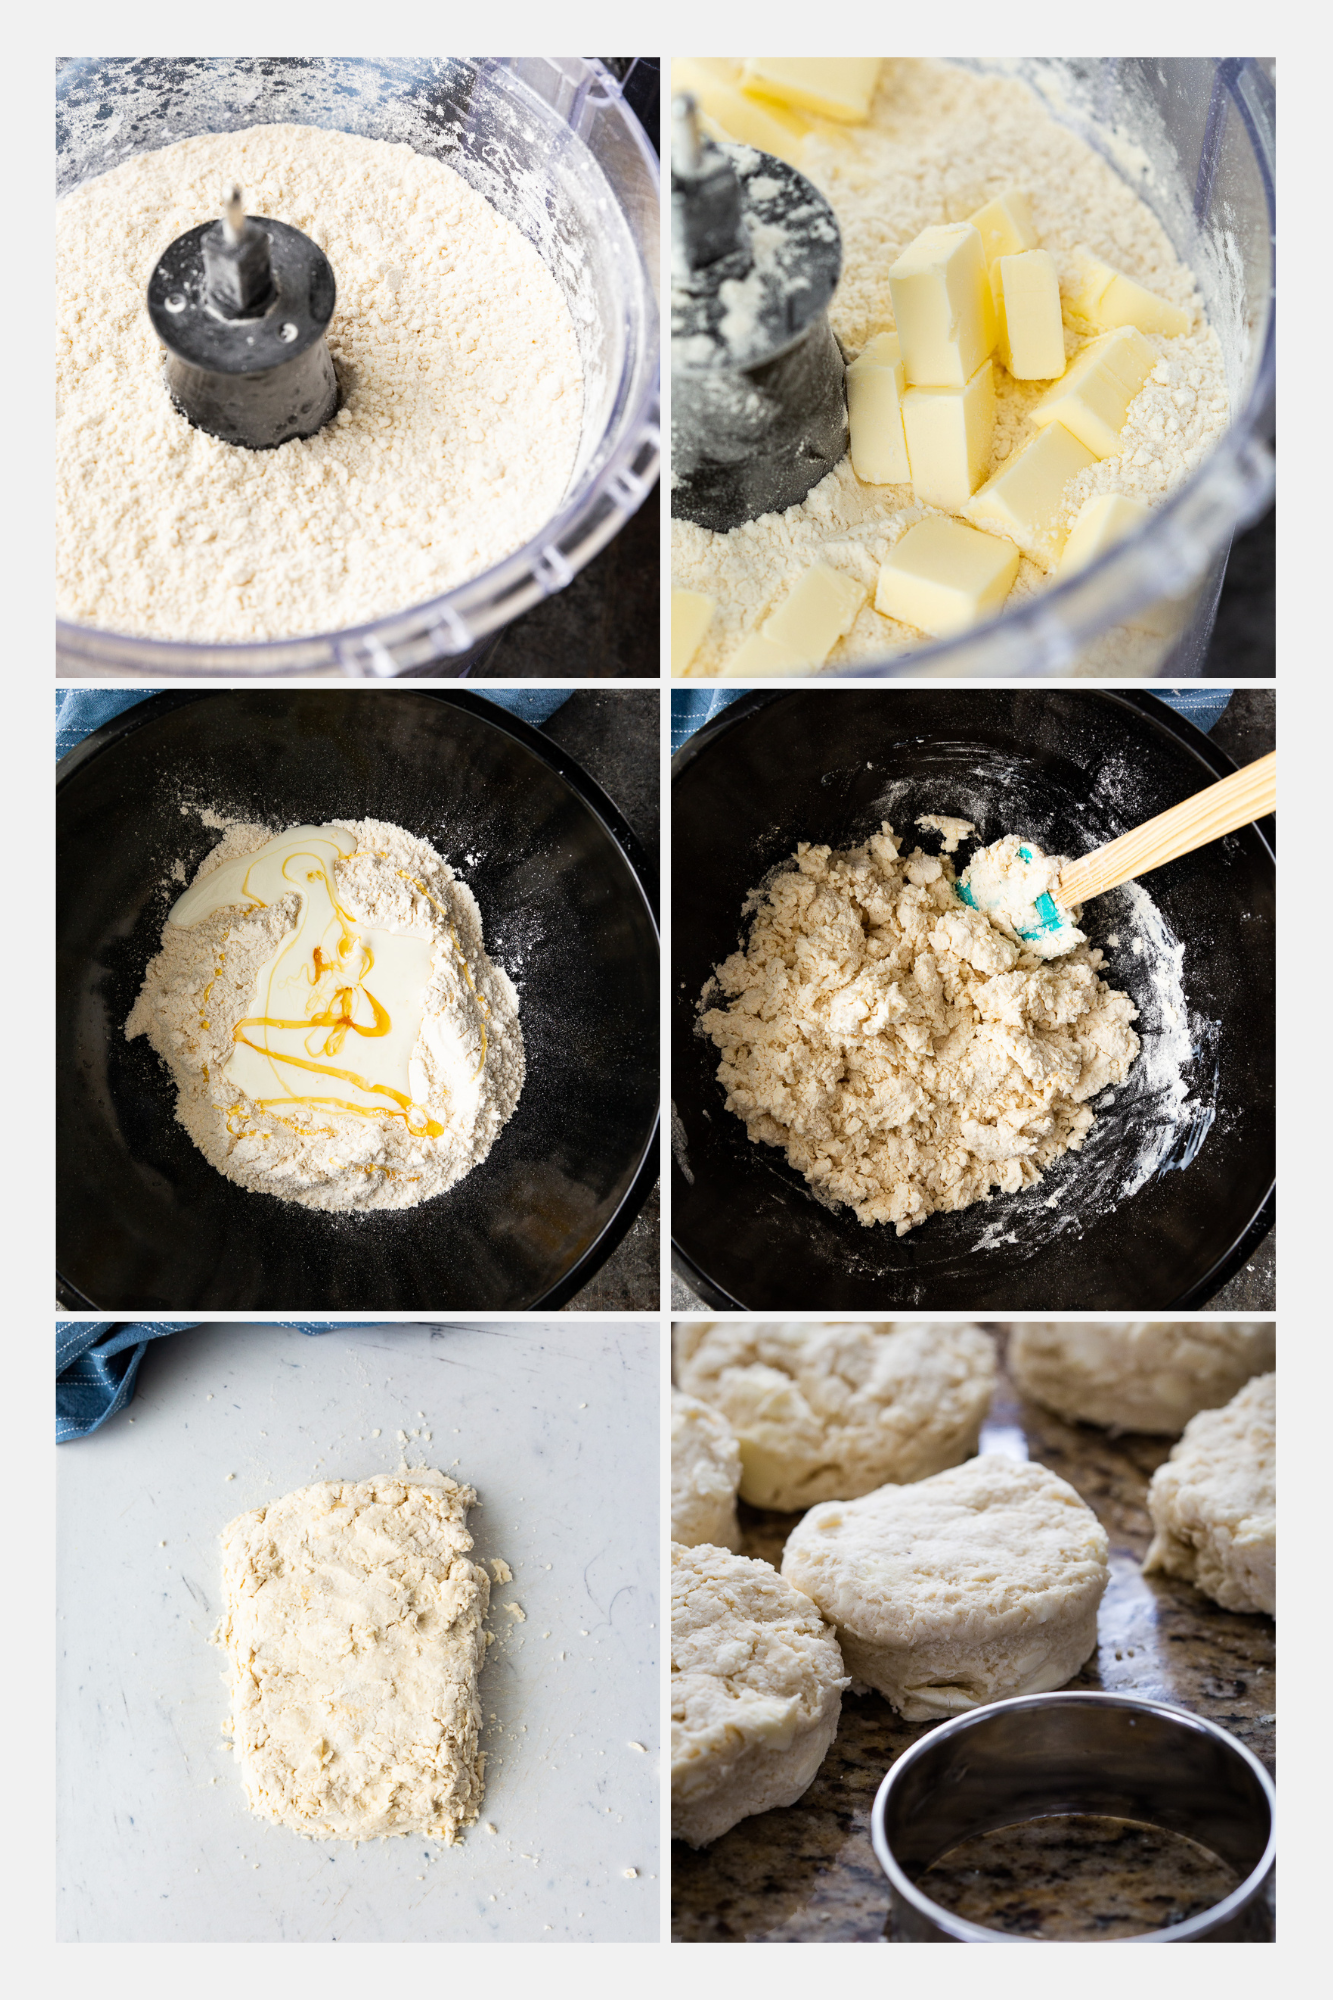
In your Food Processor , combine flour, salt, and baking powder and pulse to combine the dry ingredients. - Incorporate Cold Butter:
Cube the cold butter, and add it to your food processor and pulse to combine so it results in coarse crumbs. If you do not have a food processor, you can use a pastry cutter to cut it in. You want a rough dough, small chunks of butter are encouraged, it adds to the flakiness. - Add Cold Buttermilk and Honey:
Dump your butter and flour into a large bowl, and create a well in the center. Pour in the cold buttermilk and drizzle the honey over the top of the flour mixture. Then use a rubber spatula to gently fold the ingredients together until just combined. You want a shaggy dough, so be careful to not overmix; the key to flaky biscuits is a barely mixed dough. - Shape and Cut:
Pour your dough out onto a counter, and shape into an inch thick rectangle. Turn the dough over onto itself in thirds, creating layers. Then pat it back into a rectangle, and fold it into thirds again. Then pat it out into a rectangle again. This will create layers in the dough.
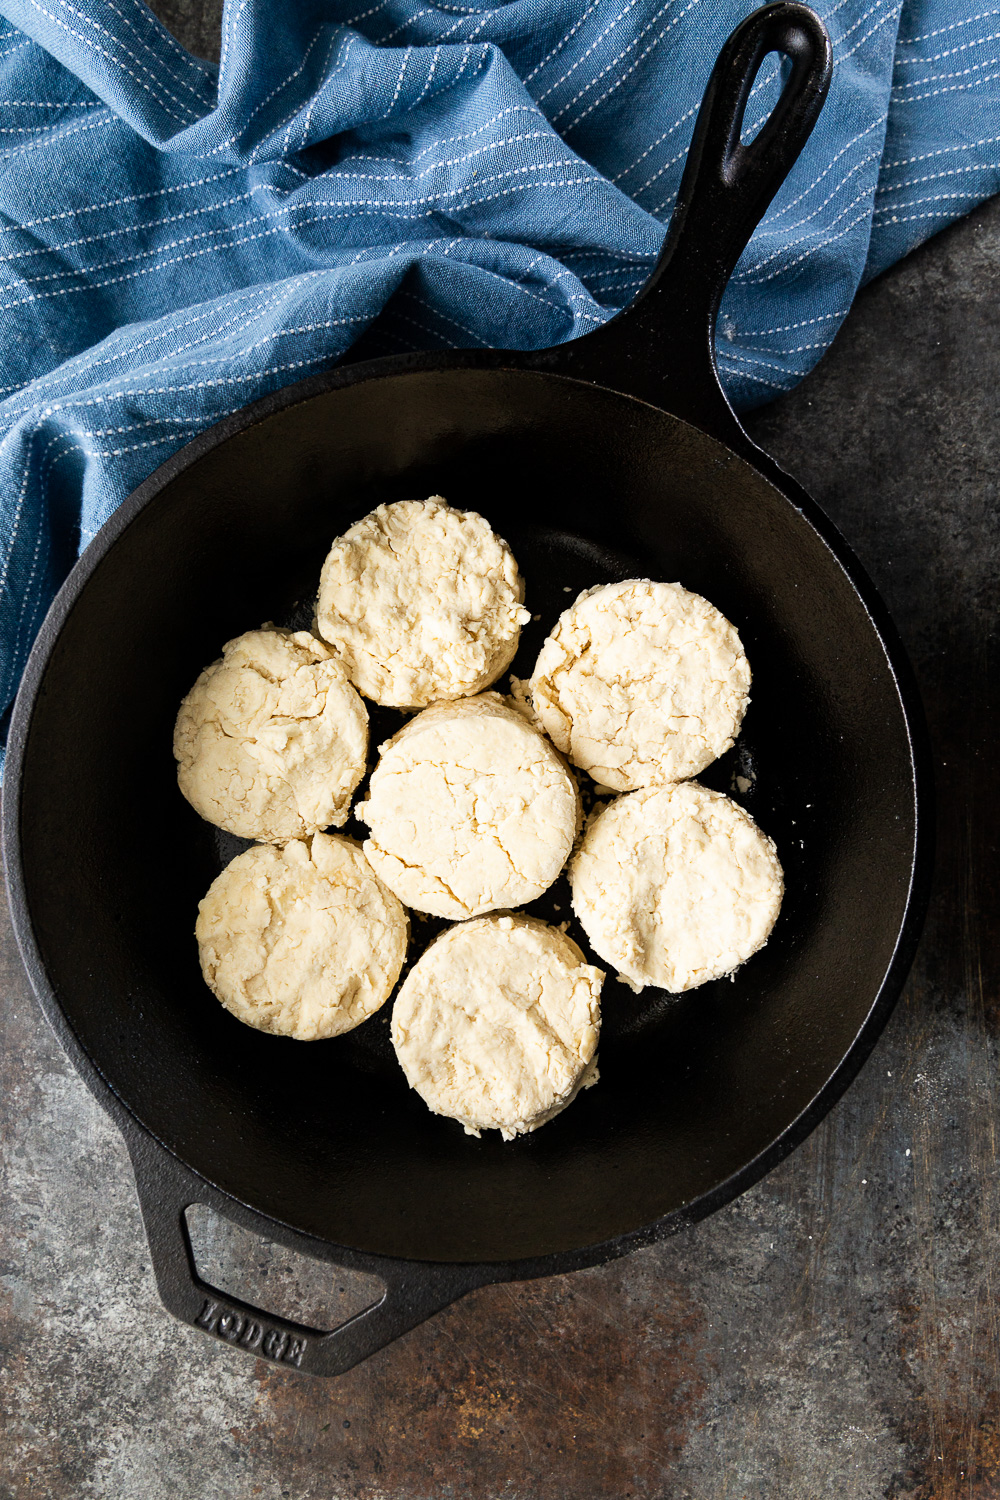
Use a 2.5-3 inch Biscuit Cutter to cut out rounds, don’t twist the cutter, as this seals the edges. Place the biscuits into the prepared cast iron pan, with the biscuit sides touching for higher biscuits. - Brush with Buttermilk:
Take a pastry brush and brush a thin layer of buttermilk over the top of the biscuits. - Bake to Perfection:
Bake in the preheated oven for 18-20 minutes or until the tops are golden brown. Keep an eye on them to avoid overcooking, as ovens may vary. - Serve Warm:
Remove from the oven, and then brush warm tops with butter, and serve warm. These buttermilk biscuits are great with honey butter too!
Store leftovers biscuits at room temperature or in the refrigerator for up to 5 days, in a air tight container or wrapped in plastic wrap.
Tips and Tricks
- Keep It Cold: If you want the flaky biscuits, cold is key. Chill butter, and keep the butter and buttermilk cold. I like to keep it in the fridge or freezer until the last possible moment, then work quickly to maintain a cold dough.
- Cut in Butter: You need to cut in the butter. You can use a food processor to do this, or a pastry cutter.
- Don’t Overmix: Overmixing can lead to a tough biscuit. Visible clumps of butter are ok. Look for a shaggy dough for the flakiest biscuits.
- Proper Biscuit Cutting: How you cut the biscuits makes a difference with how they turn out. You want to use a sharp biscuit cutter, and simply press straight down. Do NOT twist the cutter, as this seals the edges, and hinders the rise.
- Bake Close Together: Help your biscuits go up instead of out. They will rise up nicely if they are touching each other in the cast iron in the oven.
- High Heat for Rise: Do not put the biscuits in a cold oven. Preheating the oven ensures that the biscuits rise quickly and achieve a golden-brown crust.
- Customize Your Biscuits: This biscuit recipe is a great base recipe. It is delicious as is, but you can also get creative by adding grated cheese, herbs, etc. for a fun twist.
- Crispy Edges: To get the crispiest edges and tender inside, you want to bake the biscuits in a cast iron skillet, and use a pastry brush to coat the tops of the biscuits with a little buttermilk before baking.
- Cast Iron Skillet: If your cast iron skillet isn’t seasoned yet, brush it with a thin layer of oil on the bottom and sides. Also, preheating the cast iron pan is optional, but results in a crispier texture on the exterior of the biscuits.
Make Ahead & Freezing Instructions
These biscuits freeze well. And they can be frozen once baked, or can be frozen from the dough. They freeze well for up to 3 months.
To make ahead and freeze:
Baked:
- Bake according to directions.
- Let cool completely.
- Wrap in foil, and place in an airtight freezer container or bag.
- Freeze for up to 3 months.
- When ready to serve, thaw at room temperature, and warm to your liking before you serve.
From dough:
- Prepare dough, and cut out biscuits.
- Place biscuits on a parchment lined baking sheet.
- Freeze until frozen through, remove from baking sheet, and wrap tightly in plastic wrap, then place in a freezer bag.
- Freeze for up to 3 months.
- Thaw overnight in the refrigerator, then continue with baking according to the recipe.
You can also prepare the dough ahead, and wrap and refrigerate for 2 days before baking, without freezing the dough.
These decadent biscuits are so simple to make, you may find yourself making them over and over. And with just 6 ingredients, why not? They rival any diner or bakery, and can be made right at home, so in no time you can be digging into those coveted layers. The key lies in the careful balance of cold, quality ingredients and a gentle touch. Tag me on social, or let me know in the comments when you make these delicious buttermilk biscuits.
Other Great Recipes:
- Cottage Cheese Breakfast Bowl
- Buttermilk Pancakes
- Hot Buttermilk Syrup
- Buttermilk Pie
- Buttermilk Biscuit Chicken Sandwiches
Homemade Buttermilk Biscuits
Equipment
Ingredients
- 2 1/2 cups all-purpose flour (spooned and leveled)
- 2 Tablespoons aluminum free baking powder
- 1 teaspoon salt
- 1/2 cup unsalted butter 1 stick; 113g, cubed and very cold (note)
- 1 cup cold buttermilk 270ml , +2 tbs for brushing on top
- 2 teaspoons honey
Instructions
Preheat and Prepare:
- Preheat your oven to 450°F (230°C). And pop your cast iron skillet into the oven to preheat for about 15 minutes.
- Measure your buttermilk, and pop it into the freezer so it stays cold.
Combine Dry Ingredients:
- In your food processor, combine flour, salt, and baking powder and pulse to combine the dry ingredients.
Incorporate Cold Butter:
- Cube the cold butter, and add it to your food processor and pulse to combine so it results in coarse crumbs. If you do not have a food processor, you can use a pastry cutter to cut it in. You want a rough dough, small chunks of butter are encouraged, it adds to the flakiness.
Add Cold Buttermilk and Honey:
- Dump your butter and flour into a large bowl, and create a well in the center. Pour in the cold buttermilk and drizzle the honey over the top of the flour mixture. Then use a rubber spatula to gently fold the ingredients together until just combined. You want a shaggy dough, so be careful to not overmix; the key to flaky biscuits is a barely mixed dough.
Shape and Cut:
- Pour your dough out onto a counter, and shape into an inch thick rectangle using floured hands. The dough will be sticky. Turn the dough over onto itself in thirds, creating layers. Then pat it back into a rectangle, and fold it into thirds again. Then pat it out into a rectangle again. This will create layers in the dough and give you the best biscuits.
- Use a biscuit cutter to cut out rounds, don’t twist the cutter, as this seals the edges. Place the biscuits into the prepared cast iron pan, with the biscuit sides touching for higher biscuits.
Brush with Buttermilk:
- Take a pastry brush and brush a thin layer of buttermilk over the top of the biscuits.
Bake to Perfection:
- Bake in the preheated oven for 18-20 minutes or until the tops are golden brown. Keep an eye on them to avoid overcooking, as ovens may vary.
Serve Warm:
- Remove from the oven, and then brush warm tops with butter, and serve warm. These buttermilk biscuits are great with honey butter too!
- Store leftovers biscuits at room temperature or in the refrigerator for up to 5 days, in a air tight container or wrapped in plastic wrap.
Notes
Tools Needed: Pastry Cutter or Food Processor | 2.5- or 3-Inch Biscuit Cutter | 10-inch Cast Iron Skillet | Pastry Brush
Baking Powder: Baking powder is the leavening agent that will give your biscuits that coveted rise, making them so tall and tasty. To make sure you achieve this there are 2 things to keep in mind: make sure your baking powder is fresh (not outdated), and look for the aluminum free version.
Substitution: Use 1 Tablespoon baking powder and add 1/2 teaspoon baking soda.
Butter: Cut into 1/2-inch cubes. In order to keep butter as cold as possible place the cubed butter in the freezer for about 15 minutes before you use it.
Buttermilk: Substitution: Use 2 teaspoons of fresh lemon juice or white vinegar and add enough whole milk to make 1 cup.
Cast Iron Skillet: You can preheat it in the oven for 15 minutes before arranging the biscuits in it, to get crispier edges Recipe adapted from: https://sallysbakingaddiction.com/flaky-buttermilk-biscuits/
Nutrition
Our recipe card software calculates these nutrition facts based on averages for the above ingredients, different brands, and quality of produce/meats may have different nutritional information, always calculate your own based on the specific products you use in order to achieve accurate macros for this recipe.


Leave a Reply