
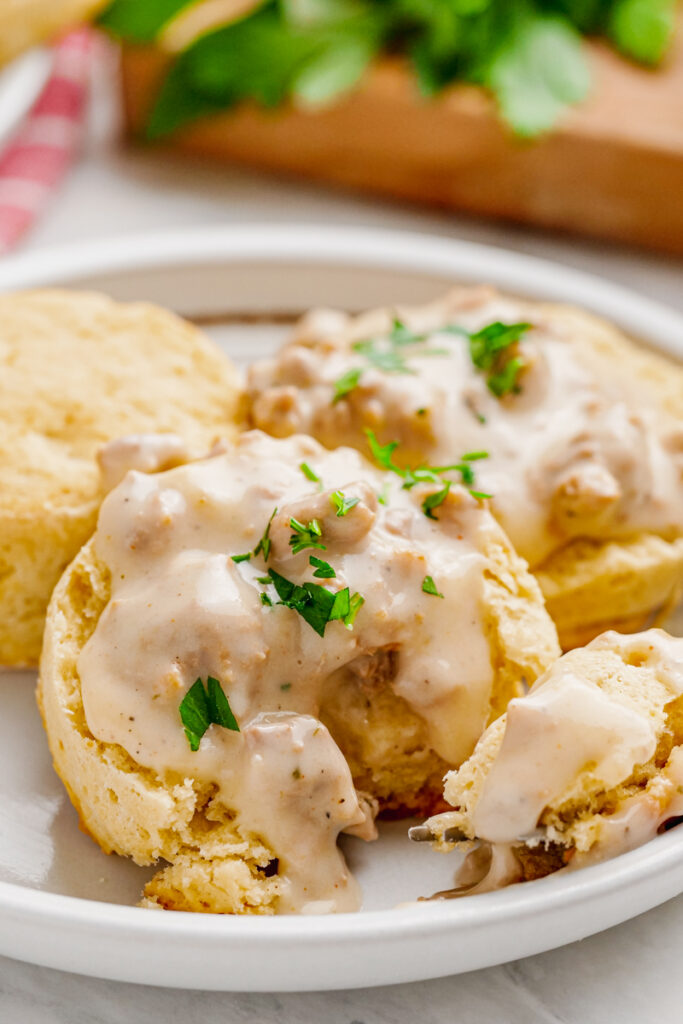
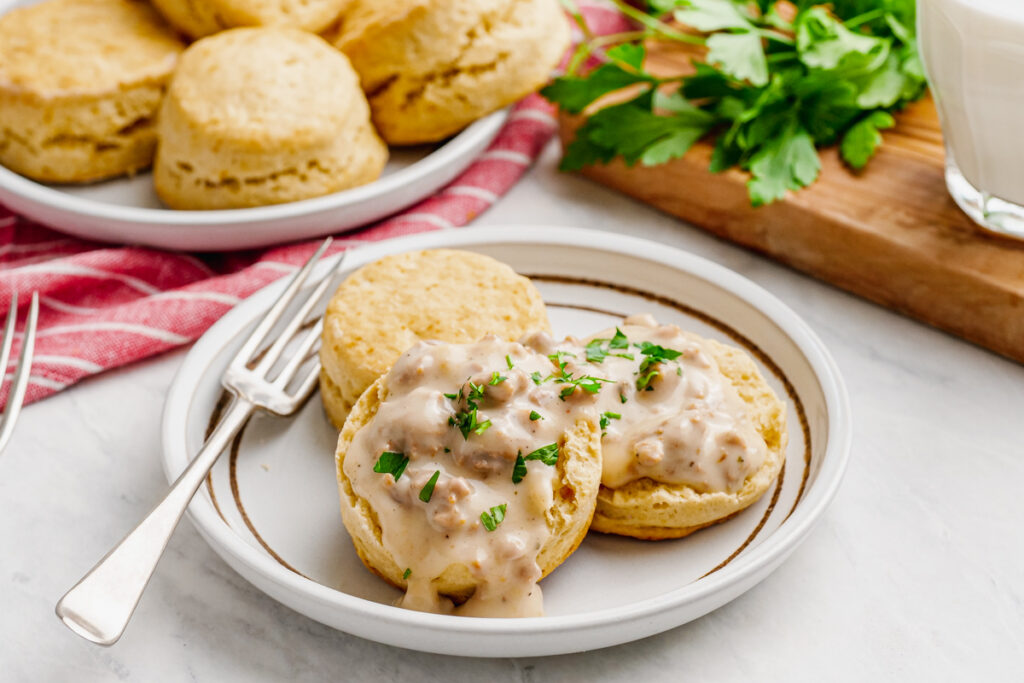
Biscuits Sausage Gravy
Creamy, southern-style sausage gravy made easy in the pressure cooker, and served over homemade buttery, flaky biscuits for the BEST Biscuits and Gravy, hands down.
This might just be one of our favorite breakfast recipes of all time! And once you try it you will know why.
Why We Love Biscuits and Gravy
This recipe is so well loved around here because it:
- Tastes Amazing
- Is Easy to Make
- Low Mess
How amazing is that?
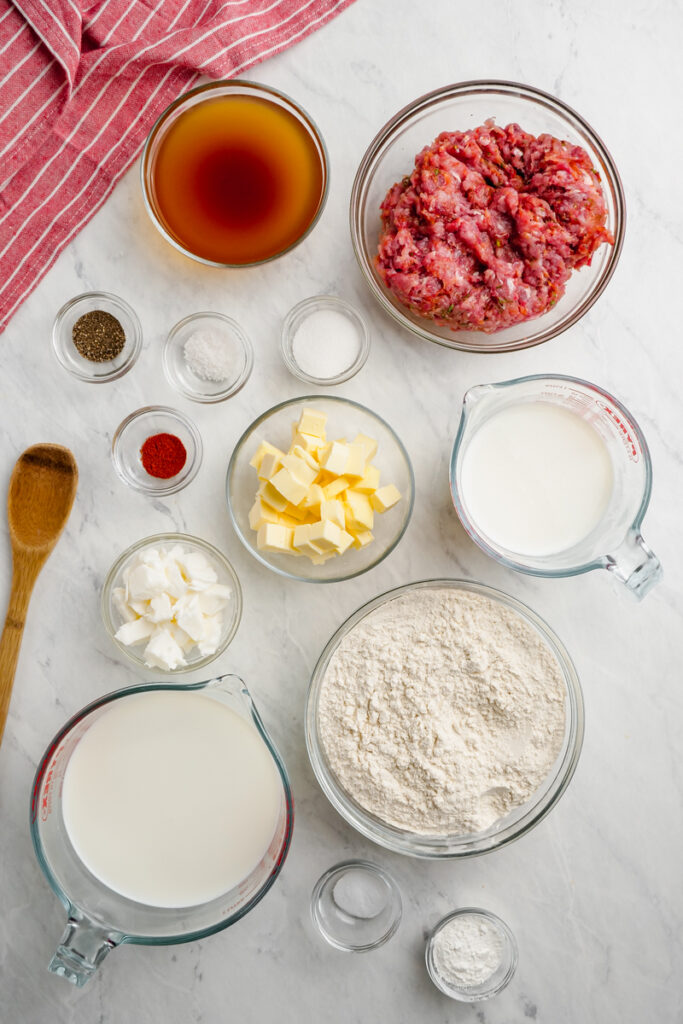
What You Need to Make Biscuits and Sausage Gravy
Biscuits and gravy is a classic recipe, and super easy to make in the pressure cooker. The gravy comes together fast, and the homemade biscuits are comprised of typical pantry ingredients. Here is what you need to get started:
Sausage Gravy
- Pork sausage: The sausage part of this recipe is a pork sausage. You can choose hot or mild sausage based on your preference.
- Flour: To thicken the gravy
- Liquid– Milk and Chicken stock, or substitute half and half or heavy cream.
- Seasoning: Salt, Pepper, Paprika, Parsley
Biscuits
- Flour: The base!
- Sugar: Adds flavor.
- Fat: Butter and Shortening are used to get flavorful and flaky biscuits.
- Baking Soda and Baking Powder: This is what makes them rise up tall and airy and delicious like.
- Buttermilk: You can substitute milk with a little vinegar if you do not have buttermilk, but it makes it tender, flavorful, and delicious.
How to Make Biscuits and Gravy in the Pressure Cooker
Making this recipe is rather simple, but it does require two parts: The gravy and the biscuits!
Gravy
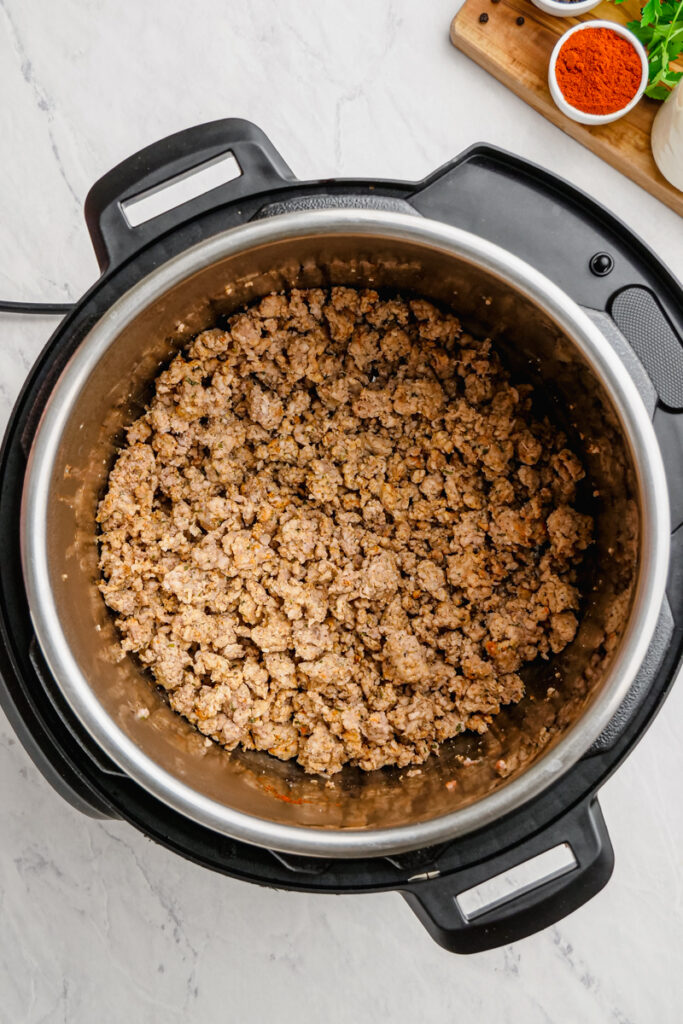
- Turn Instant Pot on to the SAUTE setting.
- Add the sausage to the pot, and brown, breaking it up with a wooden spoon. Brown for 5 minutes, do NOT drain. The fat is what is going to give our gravy tons of flavor.
- Add chicken stock to the pot.
- Turn pot off SAUTE mode, and place lid on, locking it into place. Set valve to sealing, and set on MANUAL pressure to cook for 5 minutes.
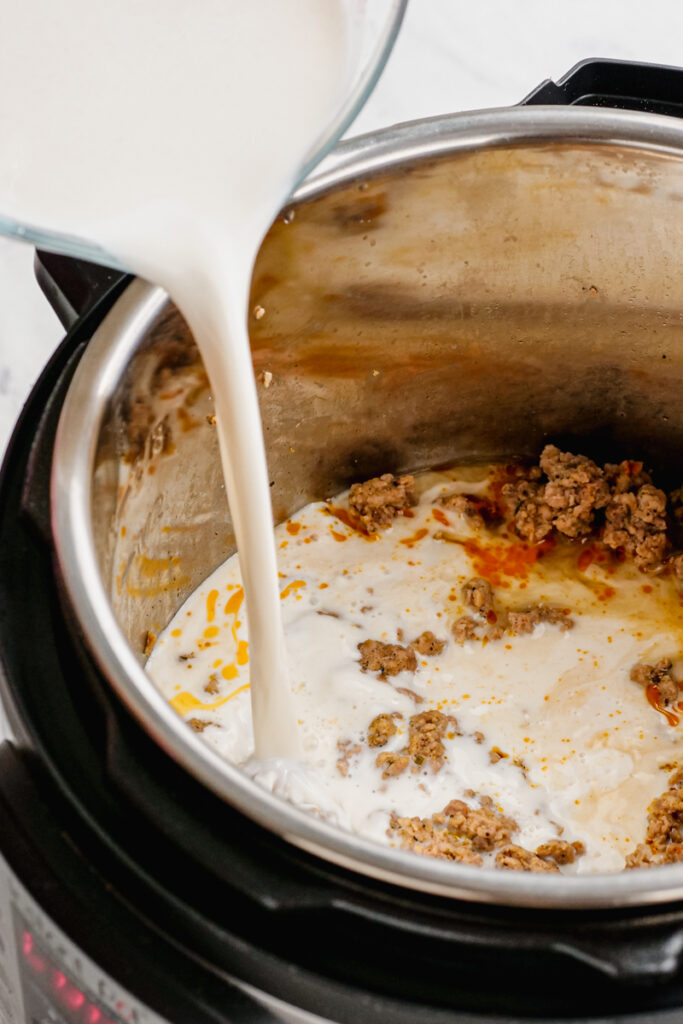
- At this point, start making your biscuits.Once biscuits are in the oven, whisk together flour and milk.
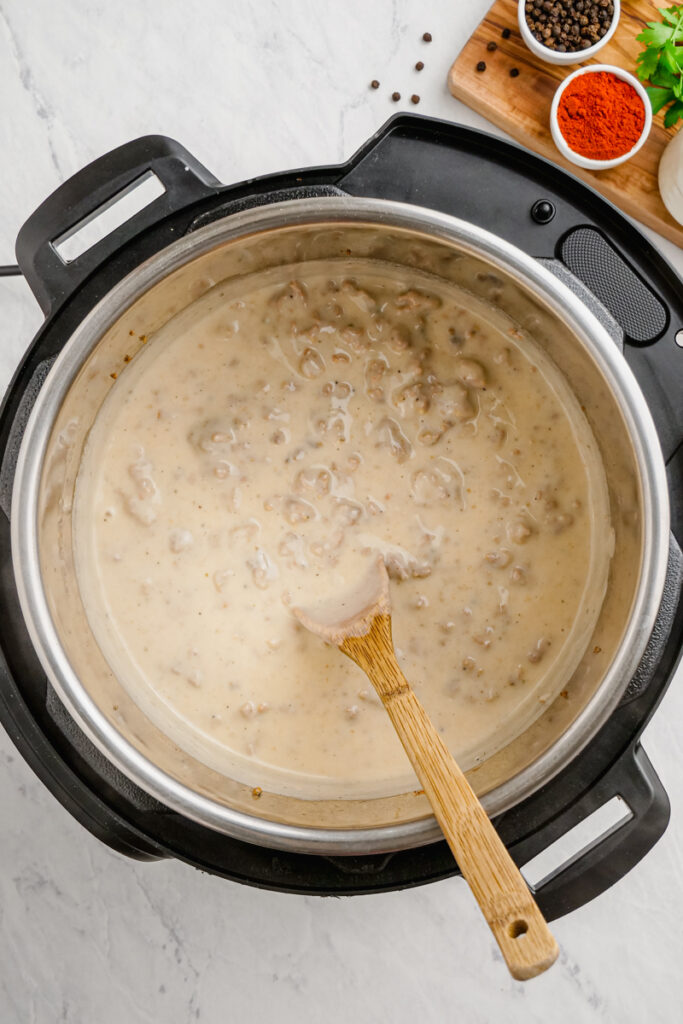
- When the Instant Pot timer beeps, quick release the pressure by moving the valve to “VENTING.” Open the lid, and turn your Instant Pot to the SAUTE setting.
- Pour in the milk mixture. And stir it up.
- Taste, and adjust seasoning with salt and pepper to preference.
- Cook down, stirring constantly until the gravy is thick and bubbly.
- Turn off gravy.
Biscuits
- Preheat oven to 450 degrees F with the rack in the center position.
- Line a baking sheet with parchment paper, and set aside.
- In a food processor, add flour, sugar, baking powder, salt, and baking soda.
- Pulse to combine.
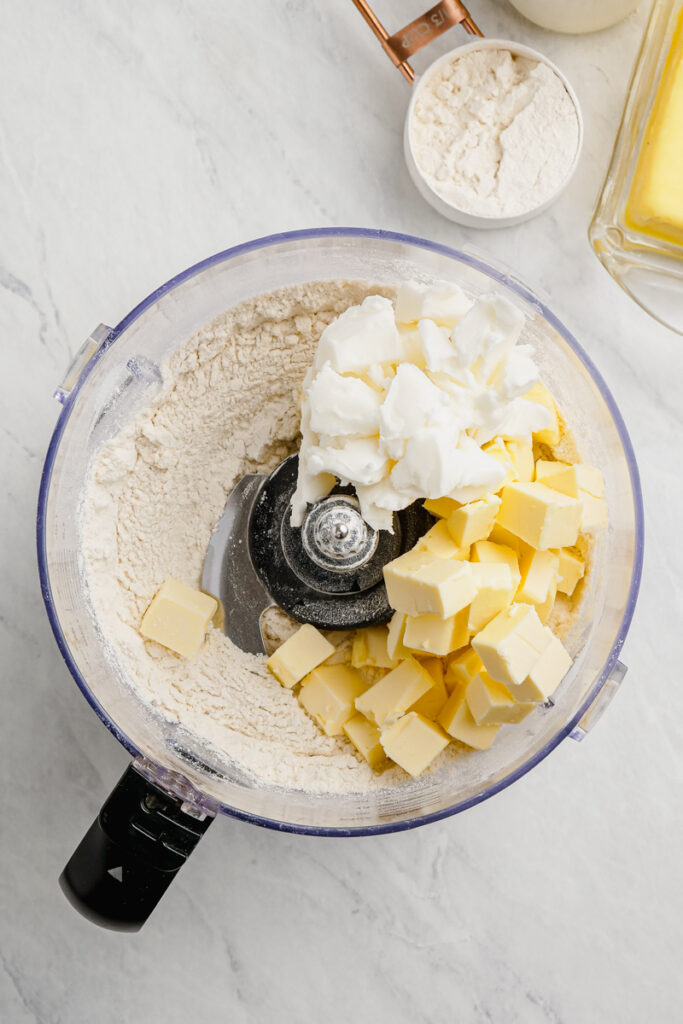
- Add chunks of butter and shortening, and pulse until mixture resembles a coarse sand. (About 15 pulses)
- Transfer mix to a mixing bowl, and stir in buttermilk until just combined.

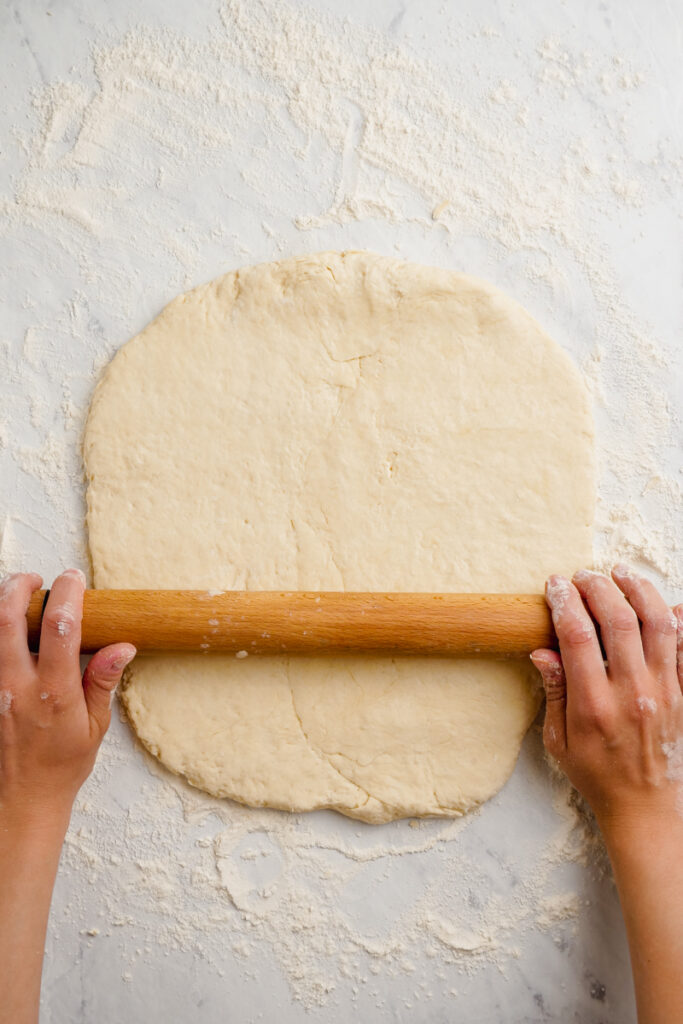
- Turn dough onto a floured surface, and knead 8-10 times to form a smooth, cohesive ball of dough.
- Roll dough out to ¾ inch thickness.
- Use a 2 inch or 2 ½ inch biscuit cutter, to cut out rounds, be sure to not twist the cutter.
- Gather dough scraps and roll to ¾ inch thick. And repeat until all dough is cut into rounds.
- Take each round, flip it over and place all 12 on lined baking sheet.
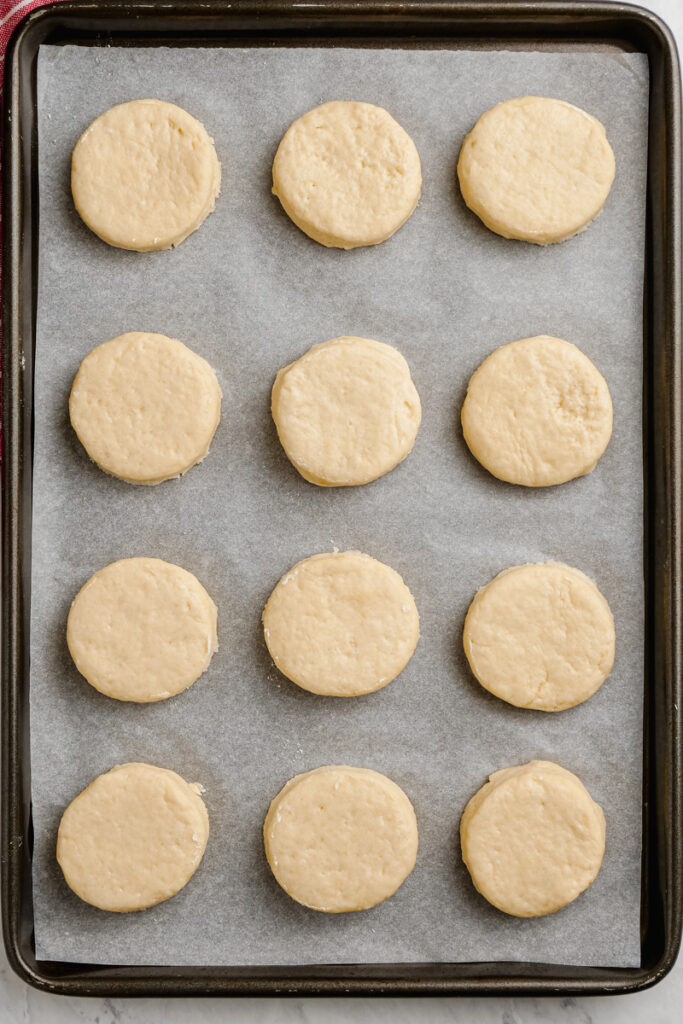
- Place in preheated oven and bake for 5 minutes, then turn oven down to 400 degrees, and let bake until golden brown, about 10-12 additional minutes.
- Remove from oven and cool for 5 minutes.

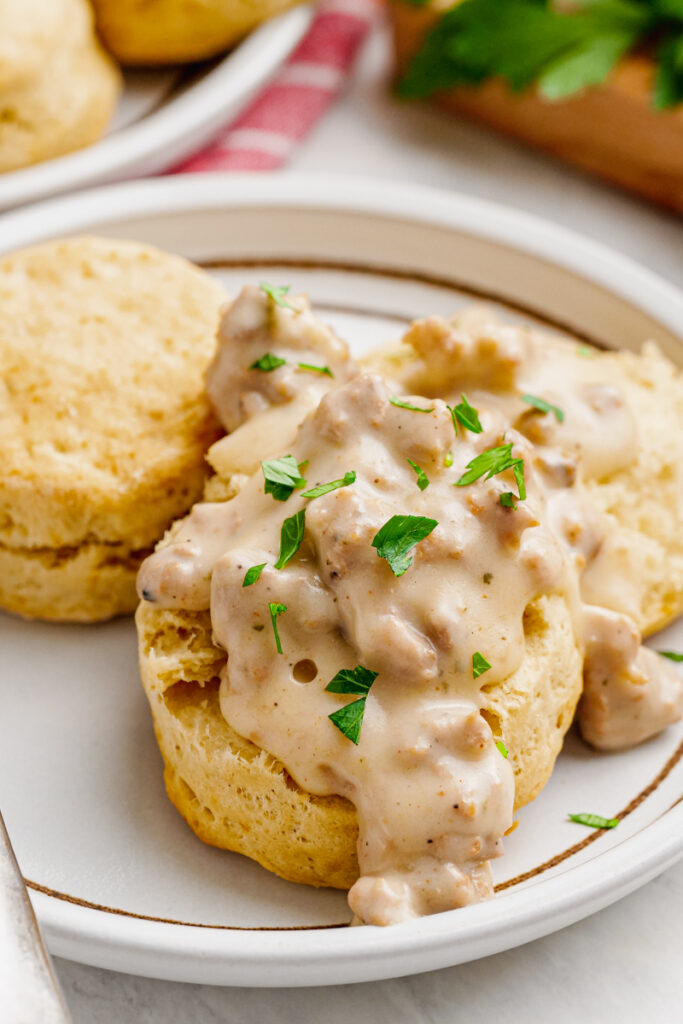
- The top with prepared sausage gravy.
- Garnish with fresh parsley and enjoy!
Tips and Tricks
Making this recipe is Eazy Peazy, but following a few simple tips and tricks will help you get foolproof results every time.
- Cut In the CHILLED Butter for the Biscuits: These delicious homemade buttermilk biscuits are going to be light and fluffy, but also sturdy enough to support this heavy sausage gravy. To achieve this, use chilled butter, and cut it into your flour mixture with the food processor. Chilled is best for the desired results.
- Scrape Bottom of Pressure Cooker: Avoid a “BURN” warning on your pressure cooker by making sure to use a wooden spoon to scrape any brown bits off the bottom of the pot after browning your sausage.
- Season Liberally: I have tested this recipe and love the flavor combo, but the sausage you select, and the potency of your spices will impact flavor, so taste, and adjust to your preference. You can also add other spices like thyme to change the flavor profile some. Have fun with it.
- Make Ahead: Can the Biscuits and Gravy be made ahead? Yes! Whip your biscuits up in advance for an easy morning, biscuits store well for 3 days in an airtight container, or can be made up to a month ahead and stored in the freezer. Reheat in the oven at 325º F until they are warmed through. The gravy can also be frozen for up to 2 months, and should be reheated stove top or in the pressure cooker, add a little liquid to achieve desired thickness, and stir constantly to avoid scorching.
Other Great Recipes:
Breakfast and brunch recipes are so fun, so check out these other great recipes, and be sure to use Ibotta on all your shopping to earn cash back.
- Whole Wheat Pancakes
- German Pancakes
- Broccoli Cheese Breakfast Egg Muffins
- Low Carb Ham and Cheese Crustless Quiche
- Breakfast Stuffed Avocado
WANT MORE EZPZ? Subscribe to my newsletter and follow along on Facebook, Pinterest and Instagram for all of the latest updates.

Instant Pot Biscuits and Sausage Gravy
Equipment
- Pressure Cooker
- Biscuit Cutter
- Baking Sheet
- Parchment
- Wooden Spoon
Ingredients
Gravy
- 1 pound ground sausage pork
- ½ teaspoon salt
- ½ teaspoon pepper
- ¼ teaspoon paprika
- 1 cup chicken broth
- 1/2 cup all purpose flour
- 2 1/2 cups milk
- Fresh Parsley to garnish
Biscuits
- 3 cups all purpose flour
- 1 tablespoon sugar
- 1 tablespoon baking powder
- 1 teaspoon salt
- ½ teaspoon baking soda
- 8 Tablespoon butter cut into ½-inch pieces and chilled
- 4 Tablespoons shortening cut into ½ inch pices and chilled
- 1 ¼ cups buttermilk
Instructions
Gravy
- Turn Instant Pot on to the SAUTE setting.
- Add the sausage to the pot, and brown, breaking it up with a wooden spoon. Brown for 5 minutes, do NOT drain.
- Add chicken stock to the pot.
- Turn pot off SAUTE mode, and place lid on, locking it into place. Set valve to sealing, and set on MANUAL pressure to cook for 5 minutes.
- At this point, start making your biscuits.
- Once biscuits are in the oven, whisk together flour and milk.
- When the Instant Pot timer beeps, quick release the pressure by moving the valve to “venting.” Open the lid, and turn your Instant Pot to the SAUTE setting.
- Pour in the milk mixture. And stir it up.
- Taste, and adjust seasoning with salt and pepper to preference.
- Cook down, stirring constantly until the gravy is thick and bubbly. About 5 minutes.
- Turn off gravy.
Biscuits
- Preheat oven to 450 degrees F with the rack in the center position.
- Line a baking sheet with parchment paper, and set aside.
- In a food processor, add flour, sugar, baking powder, salt, and baking soda.
- Pulse to combine.
- Add chunks of butter and shortening, and pulse until mixture resembles a coarse sand. (About 15 pulses)
- Transfer mix to a mixing bowl, and stir in buttermilk until just combined.
- Turn dough onto a floured surface, and knead 8-10 times to form a smooth, cohesive ball of dough.
- Roll dough out to ¾ inch thickness.
- Use a 2 inch or 2 ½ inch biscuit cutter, to cut out rounds, be sure to not twist the cutter.
- Gather dough scraps and roll to ¾ inch thick. And repeat until all dough is cut into rounds.
- Take each round, flip it over and place all 12 on lined baking sheet.
- Place in preheated oven and bake for 5 minutes, then turn oven down to 400 degrees, and let bake until golden brown, about 10-12 additional minutes.
- Remove from oven and cool for 5 minutes.
- The top with prepared sausage gravy.
- Garnish with fresh parsley and enjoy!
Nutrition
Our recipe card software calculates these nutrition facts based on averages for the above ingredients, different brands, and quality of produce/meats may have different nutritional information, always calculate your own based on the specific products you use in order to achieve accurate macros for this recipe.
Pin to your Breakfast board on Pinterest:


Leave a Reply