Chocolate Christmas Cookies
Indulge this holiday season with decadent Chocolate Christmas Cookies – a delightful treat that promises to bring joy and sweetness to your holiday celebrations! They are easy to make, tasty, and full of holiday flavor.
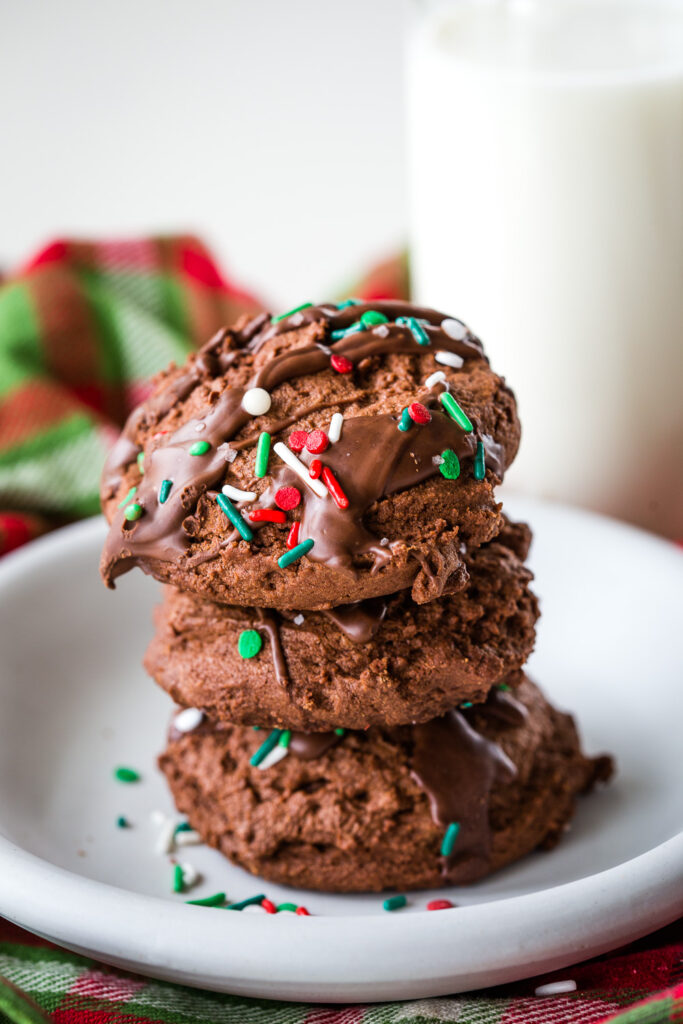
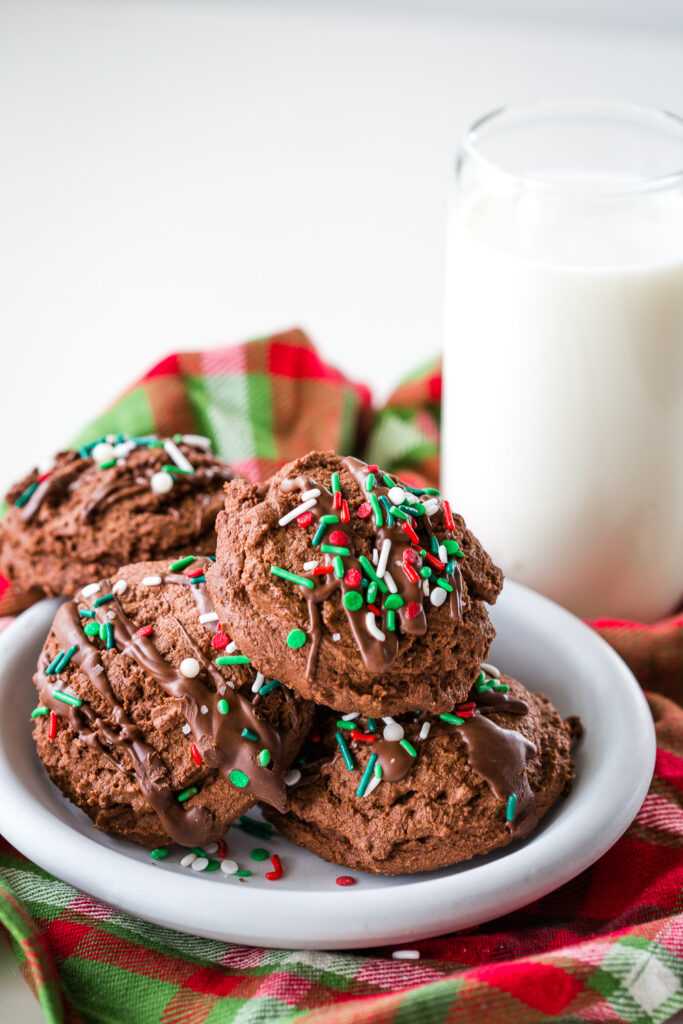
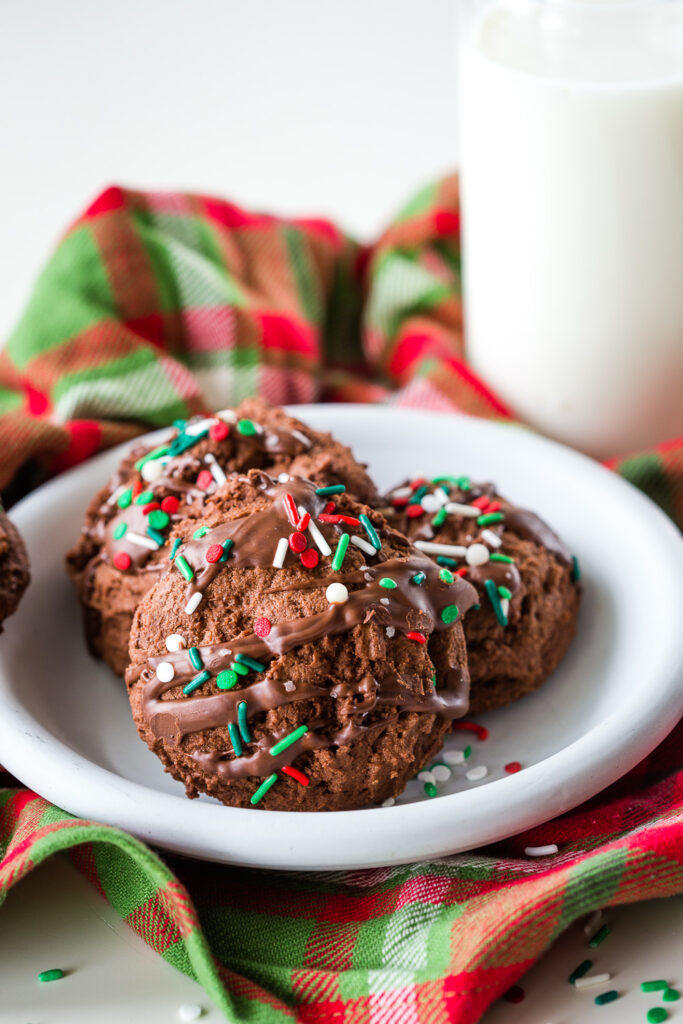
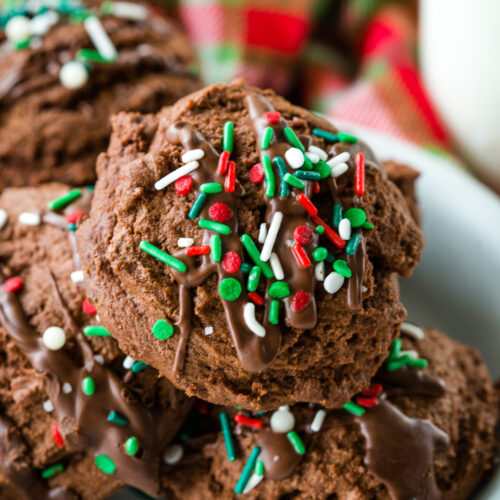
Picture this: thick, chewy chocolate cookies that boast a rich cocoa flavor, generously drizzled with luscious peppermint-infused chocolate, and adorned with the festive charm of Christmas sprinkles.
Serve with Waffle Cookie Coffee or Homemade Hot Chocolate for a fun indulgence.
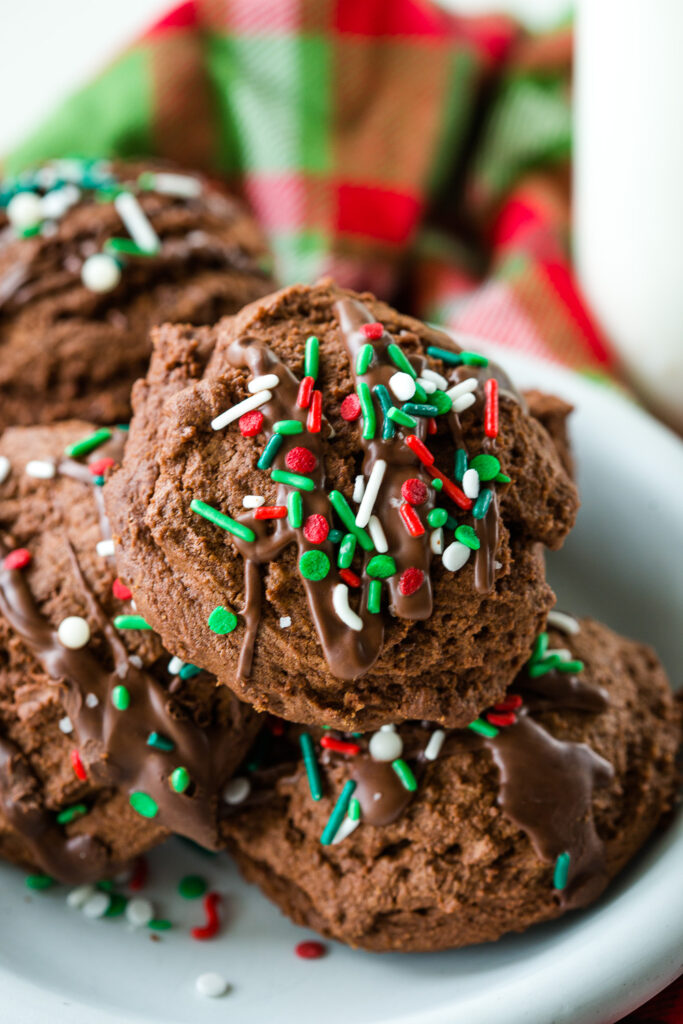
This recipe is a perfect blend of classic comfort and seasonal cheer, making it an irresistible addition to your holiday baking repertoire. Get ready to embark on a delicious journey that combines the timeless allure of chocolate with the merry magic of Christmas – because every bite is a celebration!
We love making treat trays at Christmas to take to friends, and this particular cookie makes a splash every year. We pair it with Mini Cinnamon Rolls, Graham Cracker Toffee Magic Bars, Easy Christmas Treats : Trees, and Peppermint Glazed Butter Cookies for the ultimate treat. And if I am feeling extra generous I may even make loaves of Chocolate Babka to give out as well.
What You Need to Make Chocolate Cookies
These indulgent Christmas cookies are so soft and chewy, and easy to make, and require ingredients you likely already have on hand. And the results are richly chocolate-y, and oh so tasty.
- Butter
- Sugar
- Eggs
- Vanilla
- Flour
- Cocoa Powder
- Baking Soda
- Salt
Recommended Equipment
How to Make Chocolate Christmas Cookies
We all love cookies, and eating cookie dough, like this Edible Sugar Cookie Dough, so while it is tempting to snack on the dough of these, just remember, these chocolate cookies are so easy to make, and will be done in no time! Here is what you need to know:
Step One: Pre-Heat Oven and Prepare Baking Sheets
Like all cookies, the key to getting the right consistency is to start with a pre-heated oven. So turn that oven on to 350 degrees F, and let it fully preheat before putting the cookies in the oven.
Line a baking sheet with parchment or a silicone baking mat.
Step Two: Beat Butter and Sugar Together
The next step, is to beat together the butter and sugar. This is a fundamental step in many baking recipes, as it helps incorporate air into the mixture, creating a light and fluffy texture. Do not skip this step!
Here is how you do it:
Make sure your butter is at room temperature, soft but not melted.
- Start with the speed low on your hand mixer or stand mixer. Starting low will prevent the sugar from flying out of the bowl.
- Gradually increase the speed to medium or medium-high as the butter and sugar start to come together.
- During the process, you want to stop the mixer and scrape down the sides and bottom of the bowl. This ensures that all the ingredients are evenly incorporated.
Once the butter is fully beat together with the sugar, now add eggs one at a time, and vanilla extract! Add the eggs one at a time. And the vanilla at the end.
Step Three: Whisk Flour, Cocoa Powder, Baking Soda and Salt Together
Whisking dry ingredients together is a crucial step in the cookie-making process, as it ensures even distribution of leavening agents and enhances the overall consistency of the batter.
Whisking helps prevent clumps but also introduces air into the mixture, contributing to a lighter and more uniform texture in the finished cookies.
Step Four: Combine the Two
Combining wet and dry ingredients ensures the ingredients are evenly distributed, promoting uniform flavor, texture, and leavening throughout the entire dough.
You will want to add the dry ingredients to the wet ingredients gradually which allows for thorough incorporation.
Use your mixer on low speed when combining ingredients, and do not over- mix.
Overmixing at this stage can result in dense or tough cookies, so aim for just enough mixing to form a consistent dough. When using a mixer, switch to a gentle folding motion or use a spatula when the dough starts coming together. This helps prevent overworking the gluten in the flour, which can lead to tough cookies.
Step Five: Scoop and Bake
One of the most awesome parts of this cookie recipe is it requires no need to chill the dough!
Using a cookie scoop is a simple yet highly effective technique to get the best cookies. Here is why I highly recommend using a cookie scoop:
- Uniform Size: It helps ensure a consistent and uniform cookie size and even baking.
- Better Appearance: Cookie scoops create perfectly round, uniform shapes that give your cookies a great appearance.
- Efficiency: Cookie scoops streamline the process of portioning your dough, saving you time and effort.
- Less Mess: They help minimize mess. Who doesn’t love less mess?
- Consistent Baking Time: The scoop means the cookies are all the same size, and will bake consistently so you end up with all the cookies done at the same time.
- Portion Control: Cookie scoops make it easy to control the size of your portions, and help you get the right size of cookie.
- Consistent Results: Bottom line, using a cookie scoop helps you achieve consistent results!
Tips and Tricks
Making this recipe is Eazy Peazy, but here are some tips and tricks for getting great results every time:
- Use Quality Ingredients: Start with the best ingredients, because these are chocolate cookies, the quality of cocoa powder you use is imperative. Better ingredients will enhance the flavor and texture of your Chocolate Christmas Cookies.
- Invest in Peppermint Extract: Because peppermint is so festive, it is key that you get a good peppermint extract to add to your chocolate drizzle.
- Choose the Right Chocolate: Part of what makes these cookies so visually appealing is the chocolate drizzle, so you want to choose a great chocolate, which will give your cookies a deep, indulgent flavor.
- Use the Cookie Scoop: Use a cookie scoop to get the right size cookie dough balls, as this will help you get consistent results.
- Bake in Batches: Do not overload your tray, instead, bake in batches of 6 to a tray for the best results.
- Watch the Baking Time: Every oven is different, so keep a close eye on the baking time, these cookies are not nearly as good if they are overcooked, as they will be dry and chalky. So, watch them closely and remove them when the edges are set but the centers still look soft.
- Add Sprinkles Immediately: In order to make them cute, you want those sprinkles, just be sure to add the sprinkles while the chocolate drizzle is still wet! This will help the sprinkles adhere well and become a festive part of the cookie.
- Cool Completely: Allow the cookies to cool completely on a wire rack before serving. This helps them set and develop their final texture.
- Store Properly: To keep your chocolate Christmas cookies fresh, store them in an airtight container at room temperature. Or, freeze for longer storage.
Make Ahead and Storage
These are my favorite Christmas cookies, but I know how hectic the holiday season is, so if you want to make them ahead of time, here is what you need to know to store them:
- Room Temperature Storage:
- Airtight Containers: Store most cookies in airtight containers at room temperature.
- Layering: If stacking cookies in a container, place a sheet of parchment paper between layers to prevent them from sticking together from the chocolate drizzle.
- Refrigeration:
- Airtight Containers: You can store them in the refrigerator in an airtight container, to prevent absorption of odors from the refrigerator, for slightly longer storage.
- Freezing: The best way to store if making more than 5 days ahead.
- Double Wrapping: To freeze cookies, double-wrap them in plastic wrap or place them in airtight containers. This helps prevent freezer burn and maintains freshness.
- Labeling: Label containers with the type and date of the cookies for easy identification later.
- Thawing: When ready to enjoy frozen cookies, thaw them in the refrigerator or at room temperature to avoid condensation.
- Reviving Stale Cookies:
- If cookies become stale, you can try to revive them by placing a slice of bread in the air tight container with them overnight. The cookies will absorb the moisture from the bread and regain some of their freshness.
Other Great Recipes:
- Peppermint Glazed Butter Cookies
- Toffee Pecan Christmas Cookies
- Brownie Cookie Sandwiches with Peppermint Icing
- Peppermint Chocolate Cookies
- Christmas Sugar Cookies
- Chocolate Crinkle Cookies
WANT MORE EZPZ? Subscribe to my newsletter and follow along on Facebook, Pinterest and Instagram for all of the latest updates.
Chocolate Christmas Cookies
Ingredients
- 1 1/2 cup salted butter
- 3 cups granulated sugar
- 4 large eggs
- 3 teaspoons vanilla extract
- 4 cups all-purpose flour
- 1 1/2 cups unsweetened cocoa powder
- 2 teaspoons baking soda
- 1 teaspoon salt
Topping
- 1 cup semi-sweet chocolate chips
- 2-4 drops of peppermint extract
- Christmas sprinkles
- Coarse sea salt
Instructions
- Preheat oven to 350 degrees F.
- Line a cookie sheet with parchment or a silicone baking mat, and set aside.
- Using a stand mixer with a paddle attachment, beat butter and sugar together until it is light and fluffy. The butter should be soft when you start, and after beating it together, it will be lighter in color.
- Meanwhile, in a large bowl, whisk together the flour, cocoa powder, baking soda, and salt.
- To the butter mixture, add eggs, one at a time, while continuing to mix. And the vanilla extract.
- Once mixed together, combine slowly, adding the flour mixture to the butter mixture a little at a time, making sure you don’t overmix, or it will make the cookies tough.
- Using a large cookie scoop (3 Tbs), scoop out dough, and place 2-3 inches apart on prepared cookie sheet (I put 6 on each sheet, makes 18-20 cookies)
- Bake 10-12 minutes, until no longer gooey in the center.
- Remove from oven, let sit on the pan for 1 minute, then transfer to a cooling rack.
To Top
- Place chocolate chips in a microwave safe bowl.
- Microwave for 20-30 second intervals, stirring between each time.
- Once chocolate is melted, add peppermint to the bowl, and stir well to combine.
- Using a spoon, drizzle chocolate over the top of the cookies, and sprinkle with Christmas sprinkles for a fun pop of color.
- Sprinkle with a little salt.
- Let the chocolate set up, and enjoy!
Our recipe card software calculates these nutrition facts based on averages for the above ingredients, different brands, and quality of produce/meats may have different nutritional information, always calculate your own based on the specific products you use in order to achieve accurate macros for this recipe.
Pin to your Cookies board on Pinterest:



Leave a Reply