
How to Bake Bacon: The Ultimate Guide
Bacon is a universally loved ingredient that makes everything better—from breakfast plates like Breakfast Casserole to gourmet dishes and sides like Twice Baked Potatoes. While there are many ways to cook bacon, baking it in the oven is hands-down the best method. Not only is it easier and less messy, but it also results in perfectly crispy, evenly cooked bacon every single time. Let’s dive into why baking is superior, the step-by-step process, and tips for making cleanup and storage a breeze.
Why Baking Bacon Is Better
- Even Cooking: Baking ensures consistent heat distribution, so every strip is evenly cooked, with no soggy or burnt spots.
- Hands-Off Cooking: No flipping or splattering grease on the stovetop—just pop it in the oven and let it do its thing.
- Batch-Friendly: Cooking for a crowd? A single sheet pan holds multiple slices, making it perfect for entertaining or meal prep.
- Less Mess: No splattering grease all over your stove! Cleanup is much easier when using foil or parchment paper.
Step-by-Step: How to Bake Bacon
Ingredients and Tools Needed
- Bacon (choose your favorite brand—we’ll share our top pick!)
- Aluminum foil
- A rimmed, shallow baking pan
- Optional: A metal cooling rack
- Tongs
- Paper towels
- A large plate
1. Preheat the Oven
Set your oven to 400°F. While the oven heats, line your baking sheet with aluminum foil. This helps catch grease for easy cleanup later.
Pro Tip: Use an oven thermometer to double-check the temperature. Many built-in thermometers can be inaccurate, and it may take longer, or less time to cook if your oven isn’t accurate.
2. Prepare the Pan
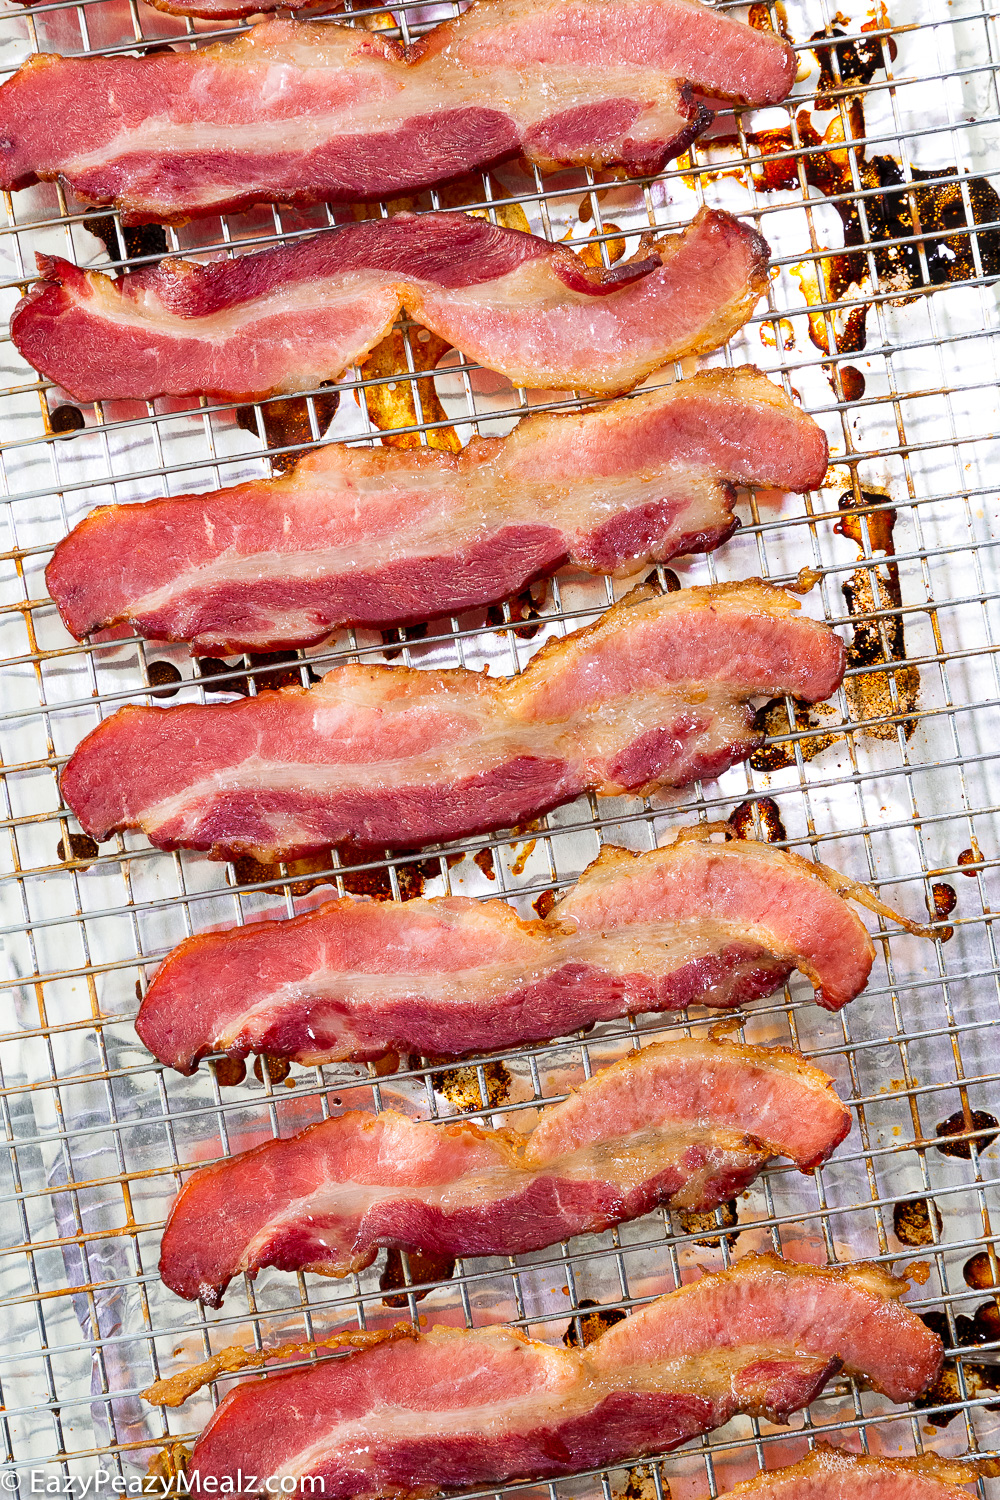
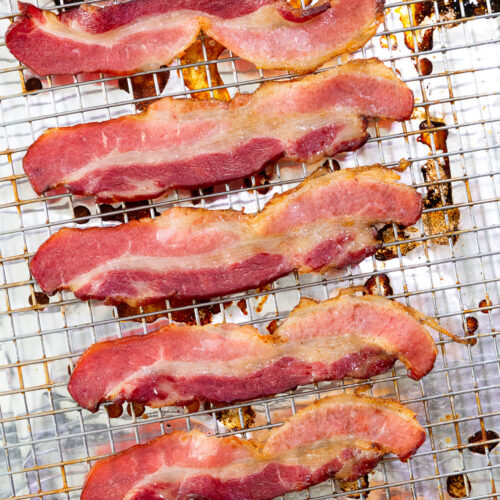
- For extra crispy bacon: Place a metal cooling rack on the foil-lined sheet pan. This elevates the bacon, allowing air to circulate and cook it evenly on all sides.
- For chewier bacon or simplicity: Skip the rack and place the bacon directly on the foil. It will still turn out amazing.
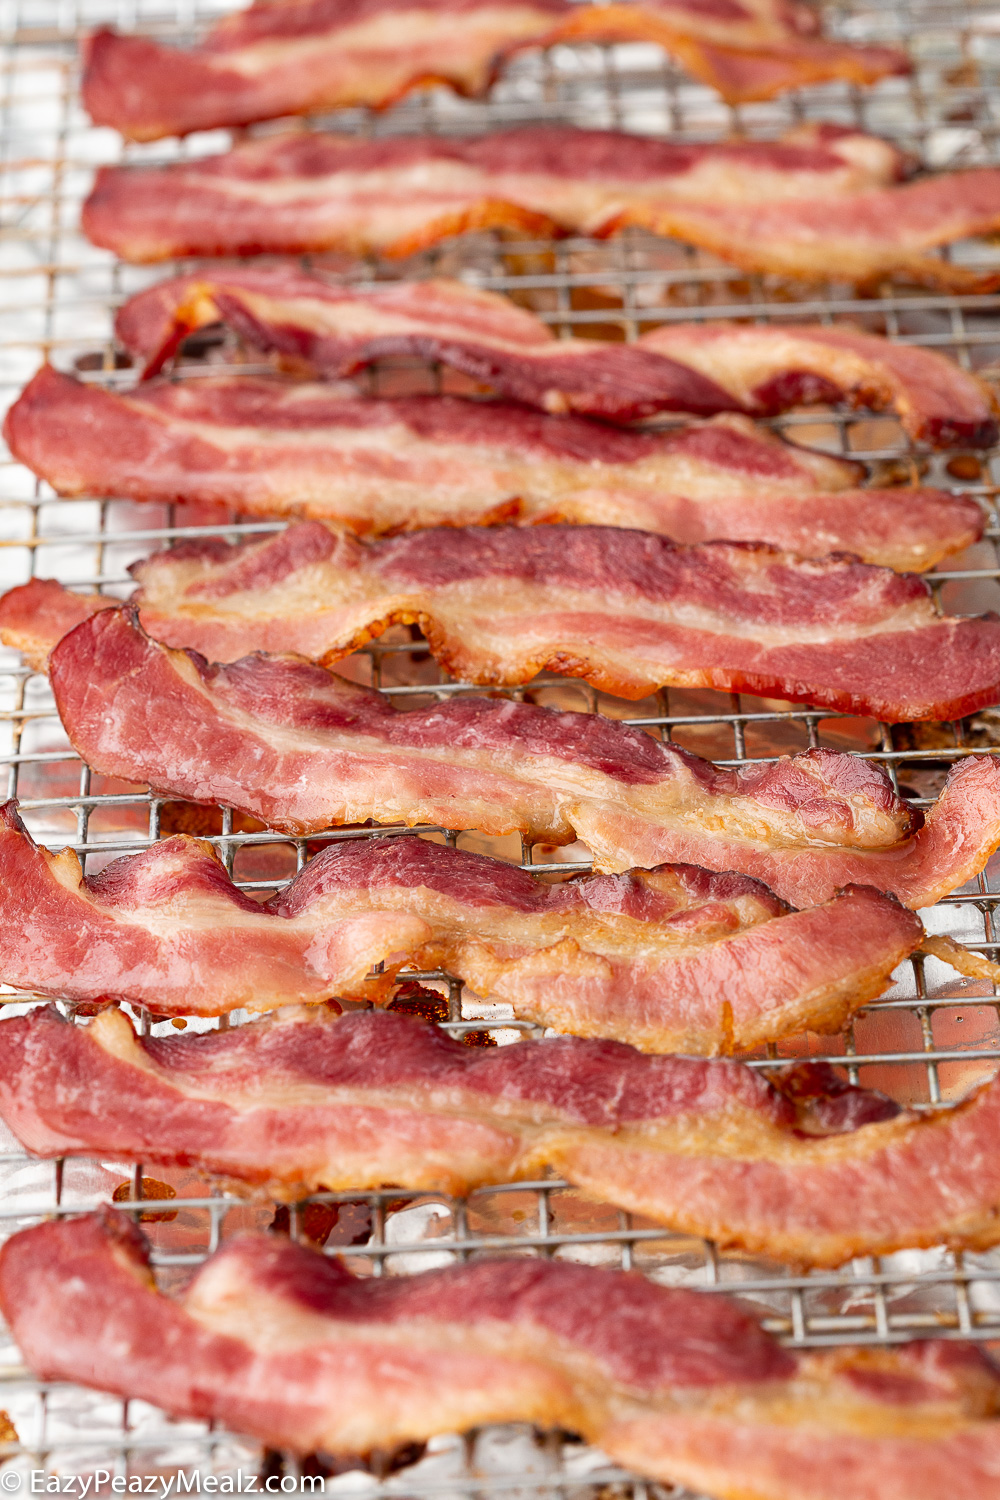
3. Lay Out the Bacon
Arrange the bacon strips in a single layer, ensuring they don’t overlap. Overlapping causes uneven cooking and sticking.
4. Bake the Bacon
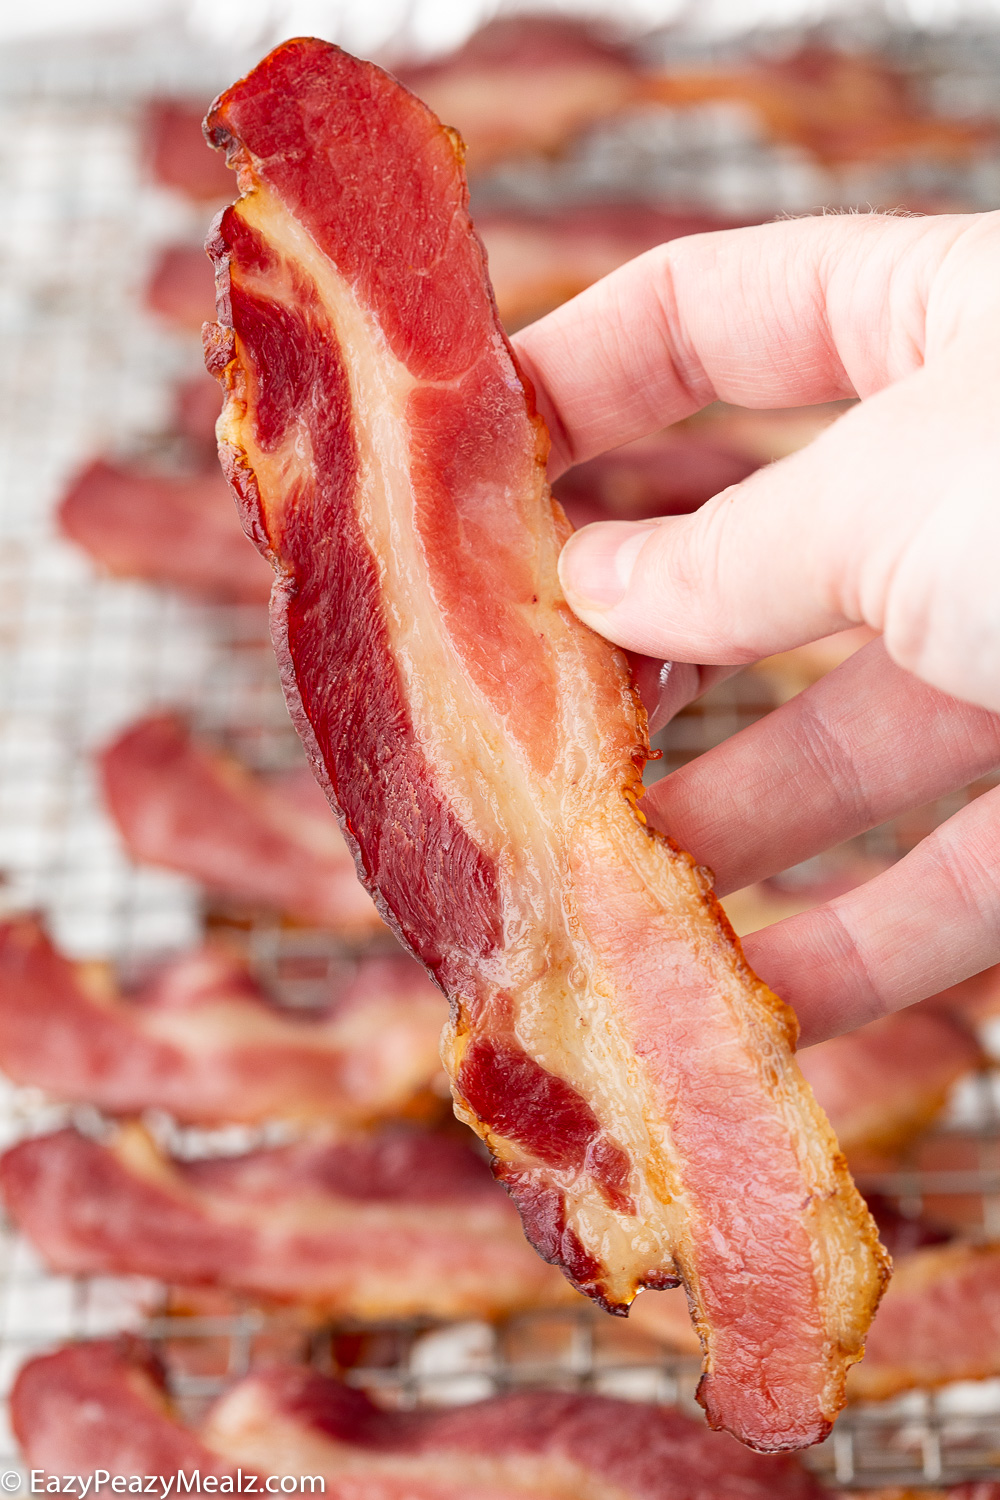
Place the sheet pan in the oven and bake for 15–20 minutes, depending on the thickness of the bacon and your desired crispiness.
- Start checking around the 15-minute mark, as ovens can vary.
- Remove when the bacon reaches your preferred level of crispiness.
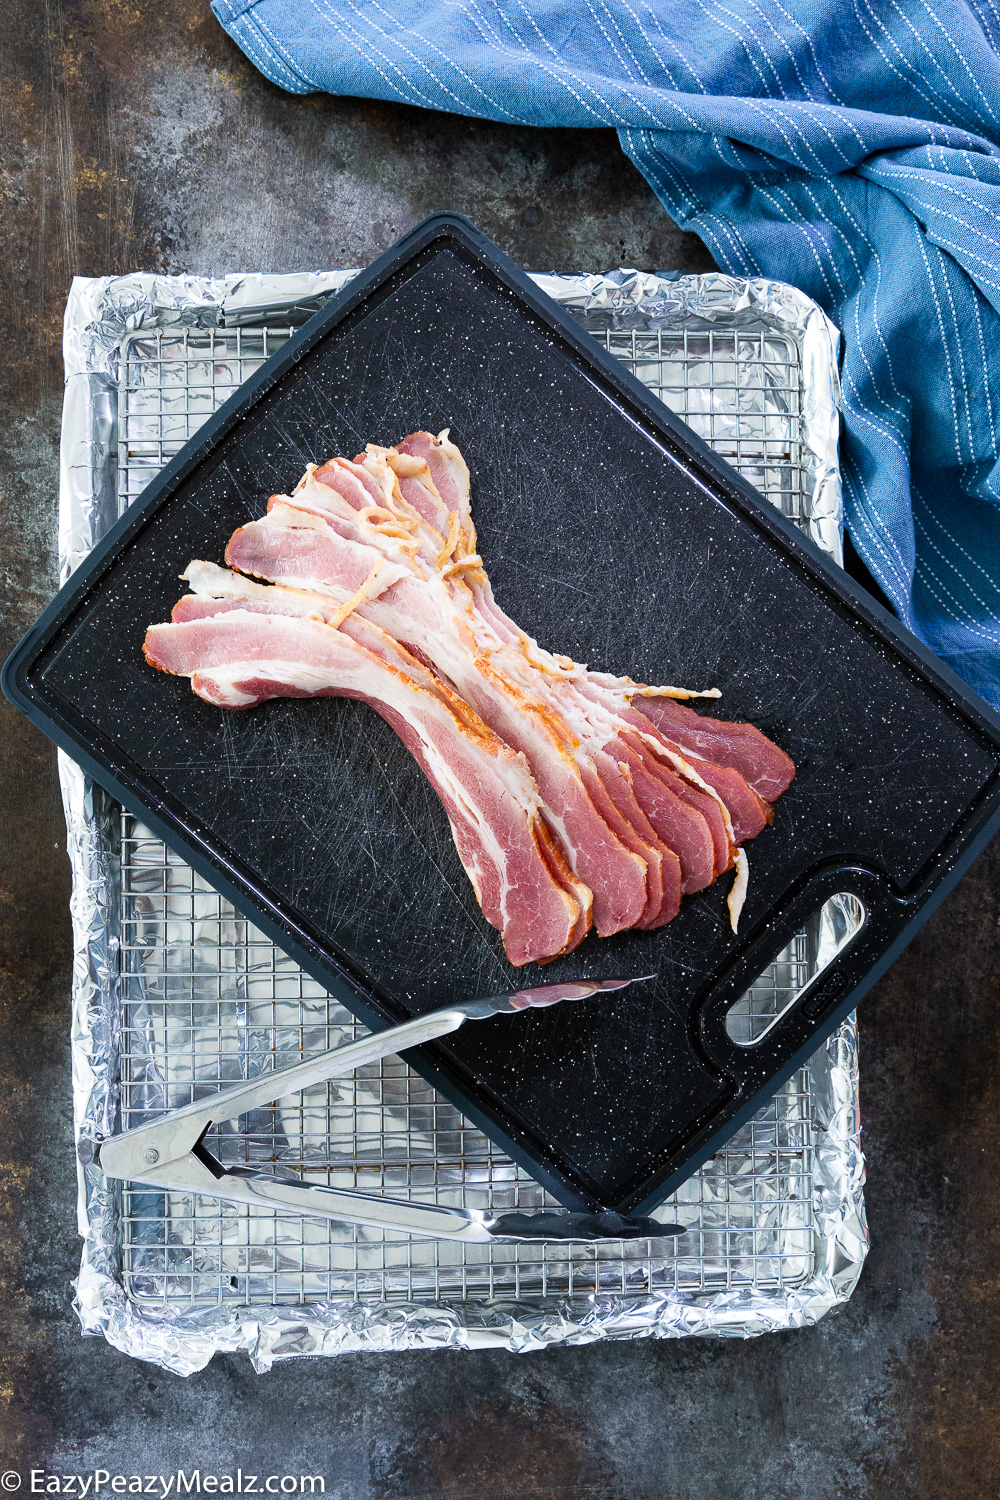
5. Drain the Bacon
Use tongs to transfer the cooked bacon to a plate lined with paper towels. Let it drain for a minute or two to remove excess grease if needed. Serve immediately.
6. Save the Bacon Grease
Don’t toss the grease, it is liquid gold! Carefully pour the bacon grease into a heatproof container (like a mason jar) and store it in the fridge. Use it to:
- Fry eggs or potatoes
- Roast vegetables for a smoky flavor
- Pop popcorn with a savory twist
Tips and Tricks for Baking Bacon
- Choose the Right Bacon: Thick-cut bacon is perfect for baking, as it holds its shape and texture better than thin-cut varieties.
- Line Your Pan: Aluminum foil or parchment paper will save you time scrubbing grease later.
- Season It Up: For a fun twist, sprinkle brown sugar, black pepper, or chili powder on the strips before baking.
- Cook to Your Liking: Prefer extra crispy bacon? Leave it in a few minutes longer. Like it chewy? Check it sooner.
- Make It Ahead: Bake bacon in batches and refrigerate for up to 5 days. Reheat in the microwave or oven for quick meals.
Easy Cleanup
- Allow the grease to cool completely before discarding the foil or parchment paper.
- For racks, soak them in hot, soapy water immediately after cooking for easier scrubbing.
Delicious Uses for Bacon
- Breakfast: Pair with eggs, pancakes, or waffles.
- Salads: Crumble over a Caesar salad, spinach salad, or cobb salad.
- Sandwiches: Add to BLTs, grilled cheese, or club sandwiches.
- Appetizers: Wrap around dates, asparagus, or shrimp for easy party snacks.
- Main Dishes: Sprinkle on pasta, soups, or baked potatoes.
- Desserts: Yes, bacon belongs in desserts! Try it with chocolate or maple-glazed donuts.
Storing Leftovers
- Refrigerate: Store cooked bacon in an airtight container or zip-top bag for up to 5 days.
- Freeze: For longer storage, freeze bacon strips on a baking sheet, then transfer to a freezer-safe bag. Reheat straight from frozen in the oven or microwave.
Baking bacon is the easiest, cleanest, and most foolproof way to achieve crispy, perfectly cooked strips every time. Whether you’re meal prepping, cooking for a crowd, or just indulging in a Sunday brunch, this method guarantees delicious results. Now that you know how to bake bacon like a pro, it’s time to fire up your oven and enjoy!
When To Not Bake Bacon
While I am a huge fan of baking bacon, there are a few times it just doesn’t make sense, here is when to not bake bacon:
- When only cooking a couple slices.
- When sauteing it and other parts of the recipe will be cooked int he grease/fat from the bacon.
- When it is chopped up and cooked with other things, like breakfast potatoes.
However, most of the time, baking bacon is the way to go!
How to Bake Bacon
Equipment
- Aluminum Foil
- Baking Sheet
- Wire rack
- Tongs
Ingredients
- 1 lb Bacon
Instructions
Preheat the Oven
- Set your oven to 400°F. While the oven heats, line your baking sheet with aluminum foil. This helps catch grease for easy cleanup later.
- Pro Tip: Use an oven thermometer to double-check the temperature. Many built-in thermometers can be inaccurate, and it may take longer, or less time to cook if your oven isn't accurate.
Prepare the Pan
- For extra crispy bacon: Place a metal cooling rack on the foil-lined sheet pan. This elevates the bacon, allowing air to circulate and cook it evenly on all sides.
- For chewier bacon or simplicity: Skip the rack and place the bacon directly on the foil. It will still turn out amazing.
Lay Out the Bacon
- Arrange the bacon strips in a single layer, ensuring they don’t overlap. Overlapping causes uneven cooking and sticking.
Bake the Bacon
- Place the sheet pan in the oven and bake for 15–20 minutes, depending on the thickness of the bacon and your desired crispiness.
- Start checking around the 15-minute mark, as ovens can vary.
- Remove when the bacon reaches your preferred level of crispiness.
Drain the Bacon
- Use tongs to transfer the cooked bacon to a plate lined with paper towels. Let it drain for a minute or two to remove excess grease if needed. Serve immediately.
Notes
Our recipe card software calculates these nutrition facts based on averages for the above ingredients, different brands, and quality of produce/meats may have different nutritional information, always calculate your own based on the specific products you use in order to achieve accurate macros for this recipe.

Leave a Reply