Salt Baked Potatoes
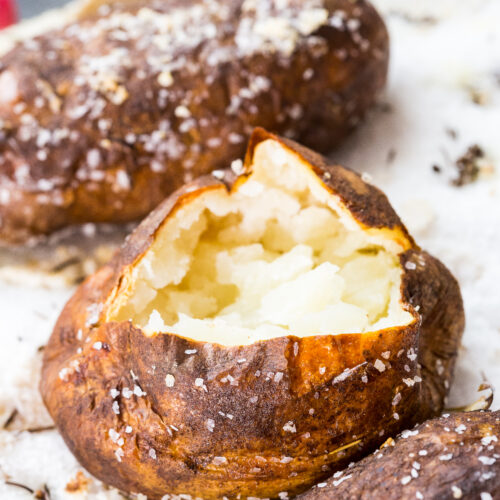
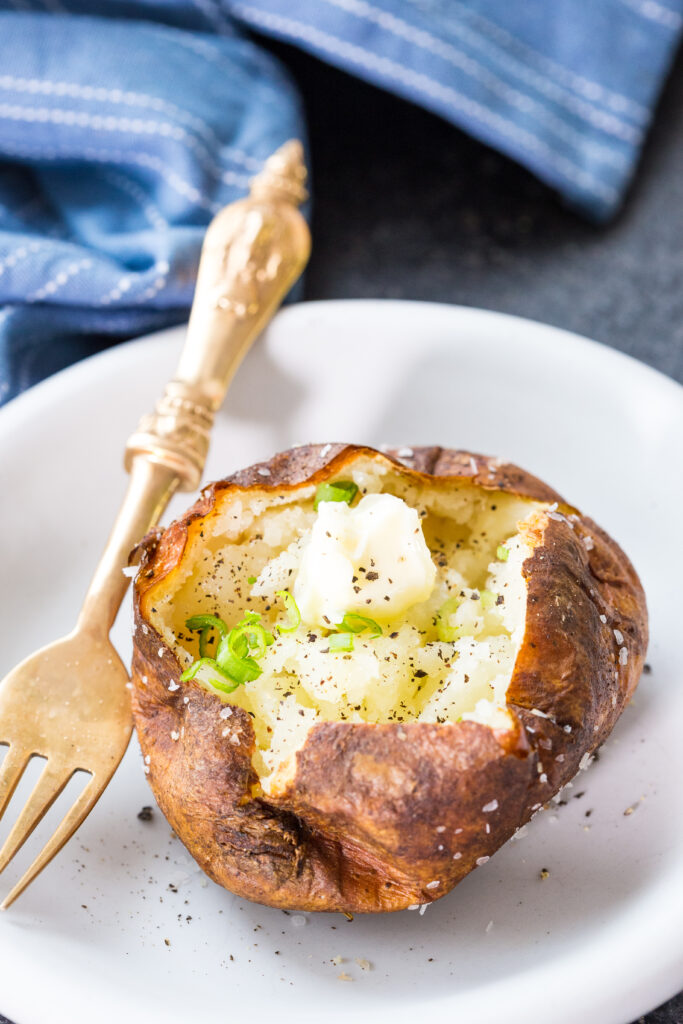
Tender, fluffy, creamy potatoes with a crispy, flavorful, browned skin. These salt baked potatoes are so easy to make, require only about 3 ingredients, and offer the perfect baked potato.
Serve with Roast Chicken and Roasted Carrots for the perfect meal.
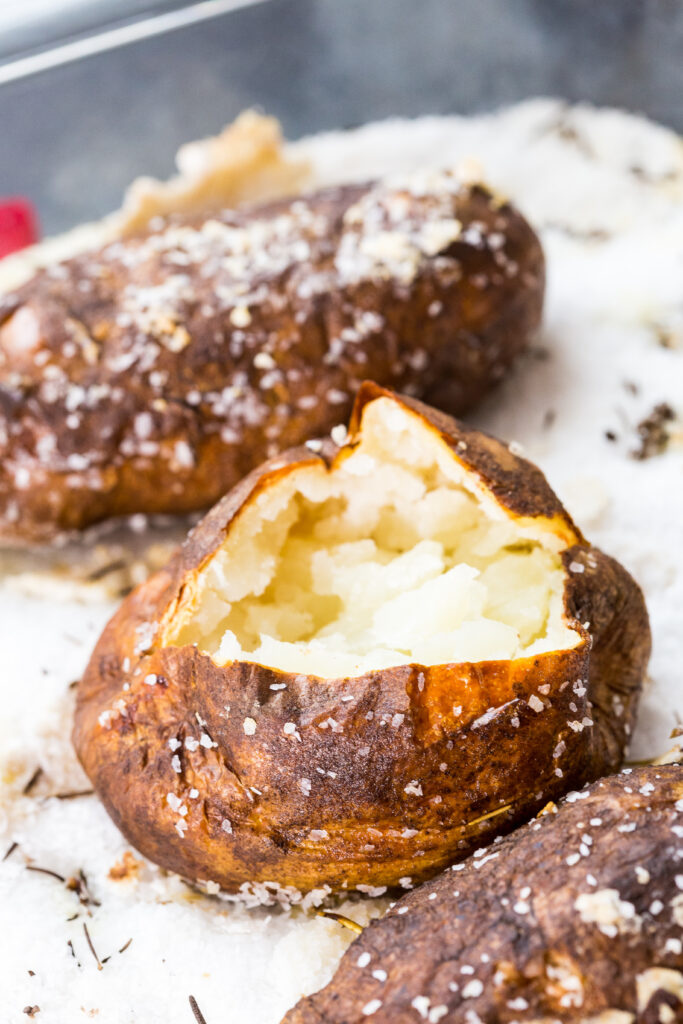
Why We LOVE Salt-Baked Potatoes
When it comes to baked potatoes, you have tons of options for how to cook them, from air fryer baked potatoes, instant pot baked potatoes, crock pot baked potatoes, oven baked, and even microwave baked potatoes. But despite all the options, salt-baked might be my favorite method. Here is why:
- Hands off: This method of baking potatoes offers perfectly baked spuds, with very little required of you.
- Only a few ingredients: You really just need 3 ingredients, and a wide baking dish to make these salt baked potatoes.
- Incredible flavor and texture: Every “baking” method for making the best baked potato offers a little something different. But what I love about this recipe is, it produces superior results–tender, fluffy, creamy, with that crispy, flavorful skin! When making something like Twice Baked Potatoes starting with great baked potatoes is a must, and these are it!
My favorite dish to serve these easy potatoes with is Schnitzel, which is a little more hands on, so I appreciate how simple these are to make.
What are Salt Baked Potatoes?
Salt-baked potatoes are essentially potatoes that are buried in salt, or laid on a bed of salt, and sometimes some fresh herbs are mixed in.Then they are baked in the salt filled baking dish. When they are done being baked, they are dug out of the salt bed, and enjoyed. They are typically covered in a salt crust, and have delightful flavor, taking a basic baked potato, and elevating it to the best baked potato ever. Perfect for serving with Slow Cooker Roast Lamb with Lemon, Rosemary and Garlic or Instant Pot Sirloin Roast Beef with Mushroom Sauce or Easy Crock Pot Roast.
Why Bake Potatoes On a Bed of Salt?
Why the salt? What does it do? One of the cool things about burying a potato in salt and then baking it, is the salt acts like an insulator, helping the potato cook evenly. Since potatoes aren’t typically perfectly symmetrical, this is a nice perk. It slows the cooking time some, keeps the item moist and tender. This means for the potato, flavor is locked in, and the texture turns out perfectly creamy, fluffy, and delicious.
The salt traps the moisture that escapes the potatoes while cooking, allowing it to be reabsorbed by the potatoes, and produce awesome results. And if you uncover the potatoes from the salt for the latter part of the baking process, you get crispy potato skin too. Which means, seasoned, delicious potatoes with super fluffy interiors and a light and crispy exterior. The ultimate goal.
The Trick to Perfect Baked Potatoes
As an avid food lover, I wanted those light fluffy potatoes, with the crispy skin, but it seemed like all I could get were dense, crumbly potatoes if I wanted that crisp skin. I knew salt baking gave the moisture a chance to be reabsorbed, and resulted in a tender, fluffy potato, but it also meant tender, thin, soft skin. Which isn’t what I wanted.
However, with a little fine tuning, I was able to figure out a way to get those soft, fluffy potatoes I dreamed about AND the crispy, flavorful skin. Here are the tricks:
- Salt– Use it, love it! You will want about 2 ½ cups for a 9 x 13 pan, and while you can use a number of types of salt. You can use rock salt, coarse sea salt, kosher salt, etc. Kosher produced the best results for me.
- Hot oven– The salt is going to help regulate the temperature and keep the potatoes baking evenly, but you want the oven to be 500 degrees F.
- Uncover potatoes near the end of the cooking time– To get the crispy skin you have to uncover the potatoes.
- Space– Use a large enough baking dish that the potatoes have room to bake. Otherwise the moisture released from each potato will simply steam the other potatoes around it, rather than bake them.
- Herbs and spices for more flavor– Potatoes are wonderful vessels for added flavor, so adding a few sprigs of rosemary, or a clove of garlic to the salt can really amp up the flavor of your potato dish. Use the herbs and flavorings of your choice: rosemary, garlic, thyme, bay leaf, parsley, etc.all work well here.
How to Make Salt Bake Potatoes
Step 1: Pick Your Potato
What are the best potatoes for baking?
There are a lot of varieties of potatoes, and some are better suited for baking, and in particular salt baking than others. I typically select Russet potatoes, or potatoes sold as “baking potatoes” or “jacket potatoes” at the grocery store. Idaho, desiree, and even Yukon Gold are great for salt baking.
The trick is finding a potato that is low in moisture content, but high in starch, as this will give you the lightest, fluffiest inside.
Step 2: Clean and Prep the Potatoes
The next thing you want to do is clean your potatoes. You can run them under water, use a scrubber, etc. But be sure to clean off any dirt or debris, and check the eyes for built up dirt. I like to brush the dirt off first, then run them under water and give them a light scrub.
Next, pat them dry with a kitchen towel or paper towel. Try to get rid of any excess moisture.
Step 3: Prepare the Baking Dish
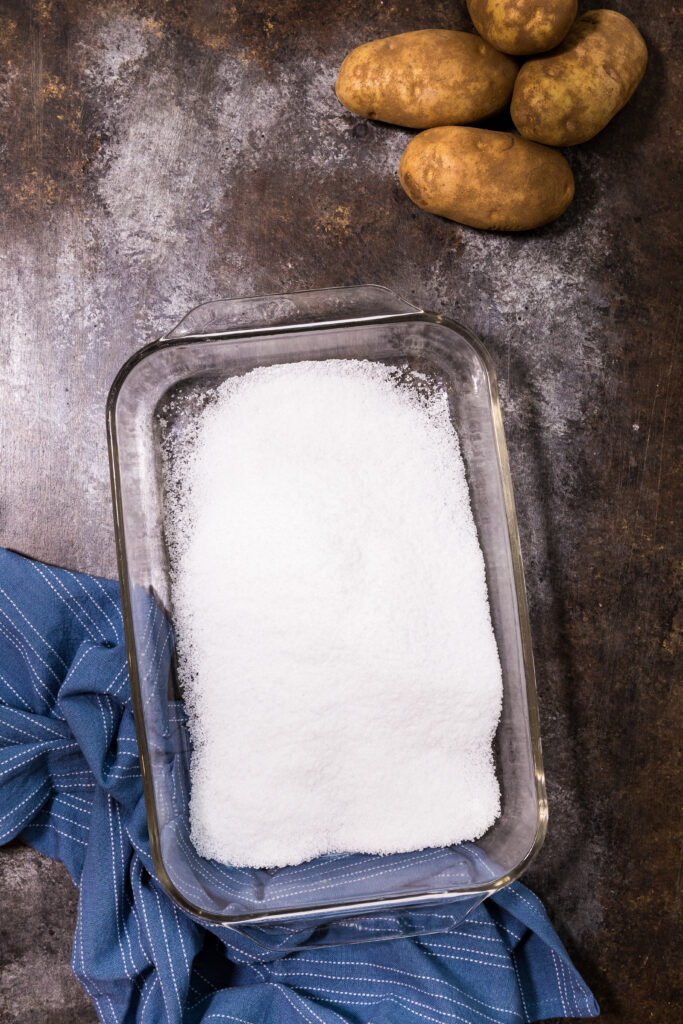
You want to select a good sized baking dish, I recommend a 9×13 for 4 russet potatoes. If you select larger potatoes, choose a baking dish big enough to comfortably fit all of the potatoes. The real key is making sure the potatoes are not touching, and that the dish is tall enough to cover/ have a lid.
Pour the salt into the baking dish – you will need roughly 2 ½ cups, but if using a different sized dish, or baking more potatoes, just fill the dish until the salt is about an inch in height.
(Optional) Add the herbs of your choice and mix them into the salt to flavor it.
Step 4: Start Baking the Potatoes, Covered
Preheat your oven to 450 degrees F.
You will want to add the clean and dry potatoes to the dish. Don’t pierce them. I know typically when baking potatoes you poke holes in them so they do not explode in the oven, but it is not necessary for this method.
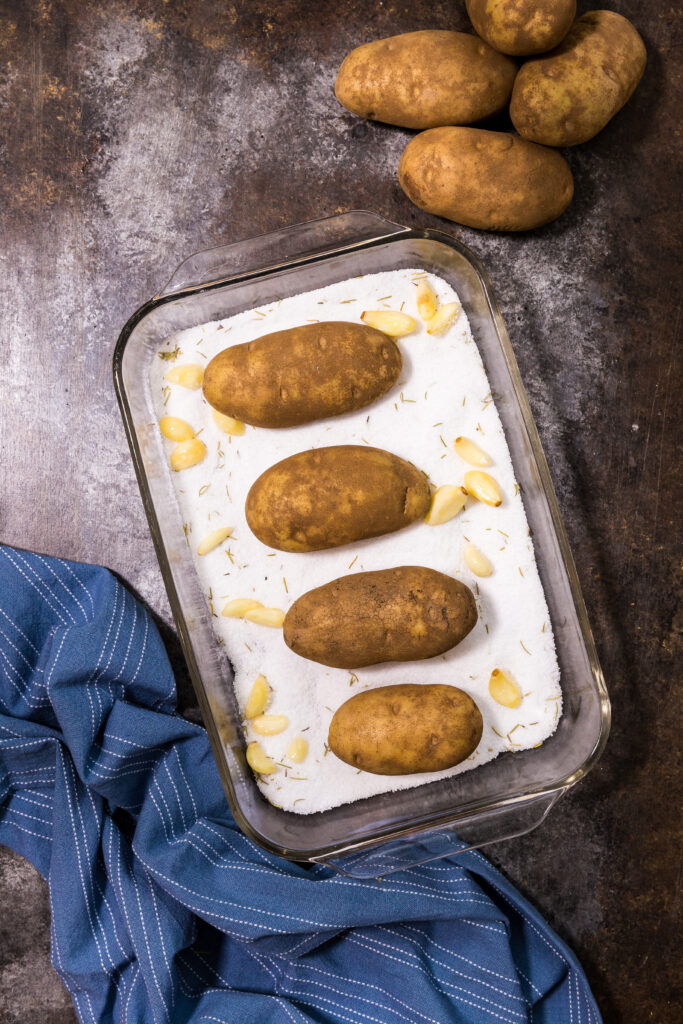
Nestle the potatoes down into the salt, then, cover the dish with an oven safe lid or some aluminum foil, tightly.
Bake in pre-heated oven for 1 hour, 15 minutes at 230ºC/450ºF.
Step 5: Uncover, Baste, and Finish Baking Potatoes
After the hour and 15 minutes, (depending on the size of the potatoes, longer for larger potatoes), you will want to remove the dish from the oven and increase the temperature to 260ºC/500ºF.
At this point you will remove the lid from your baking dish, or the goil, and brush you potatoes with some canola oil or butter (do not use olive oil, as it imparts a slightly bitter taste, and is not ideal for this method).
Pro Tip: If you plan to serve these baked potatoes as loaded baked potatoes, or use them for Twice Baked Potatoes, consider rubbing them in bacon grease instead of oil or butter for even more flavor.
Place the dish back in the oven without the lid/foil, and bake for an additional 15 minutes at the new, higher temperature.
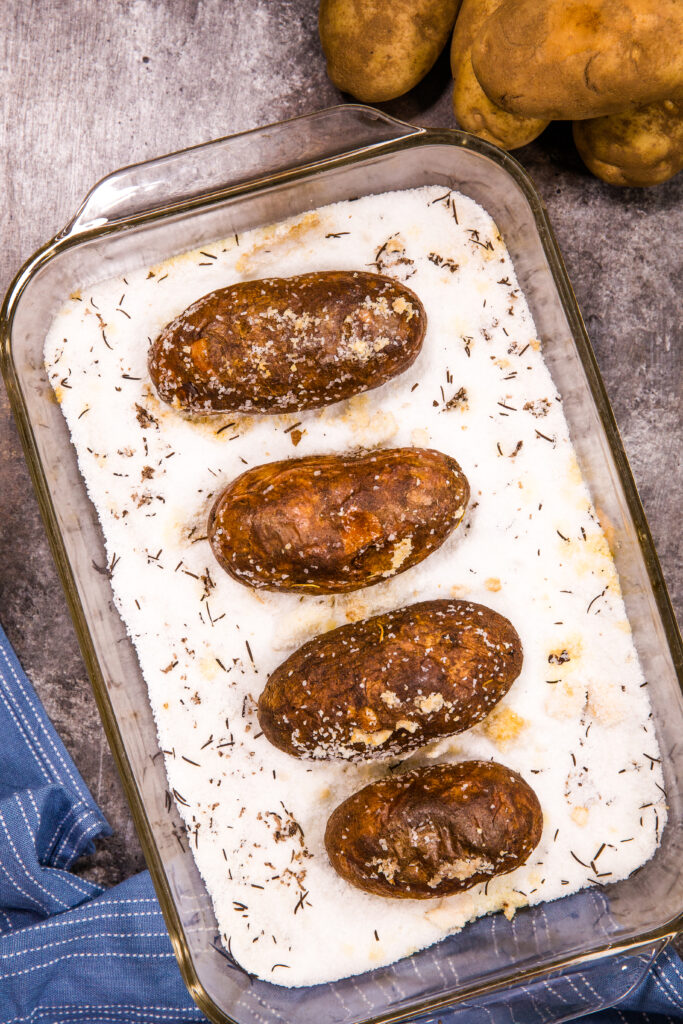
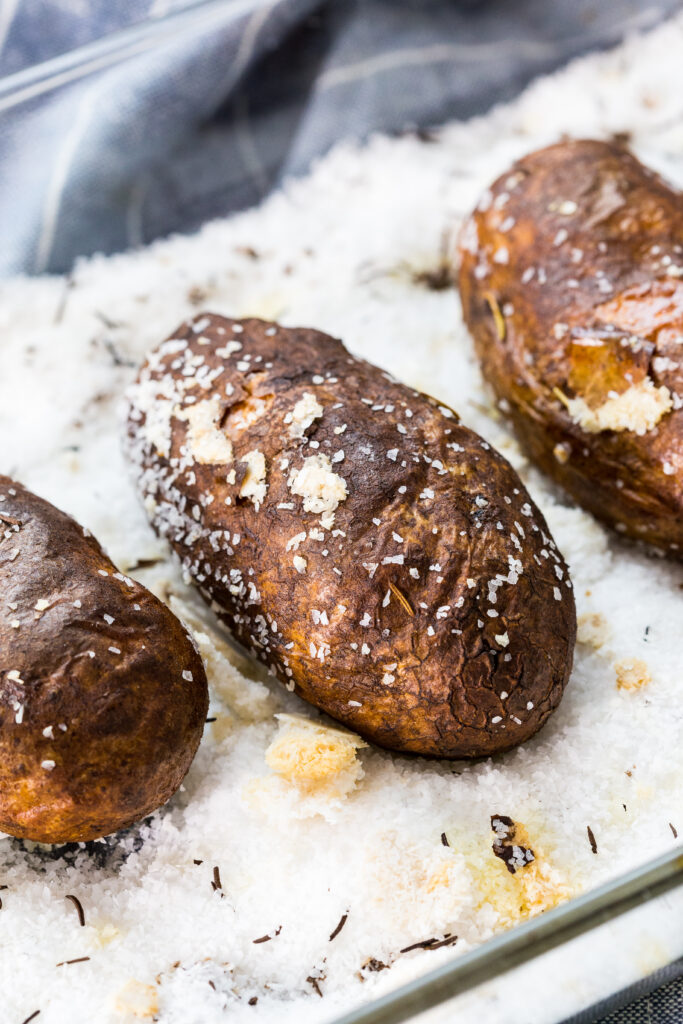
During this baking time, the skins of the potatoes will crisp up, but the insides will remain light and fluffy.
Step 6: Remove Salt-Baked Potatoes From Oven
When the baking time is up, check your potatoes to determine if they are done baking. Then remove them from the baking dish, and brush any excess salt off the skin. The potatoes will be very hot, so be sure to use hot pads or handle with care.
Step 7: Open Potatoes
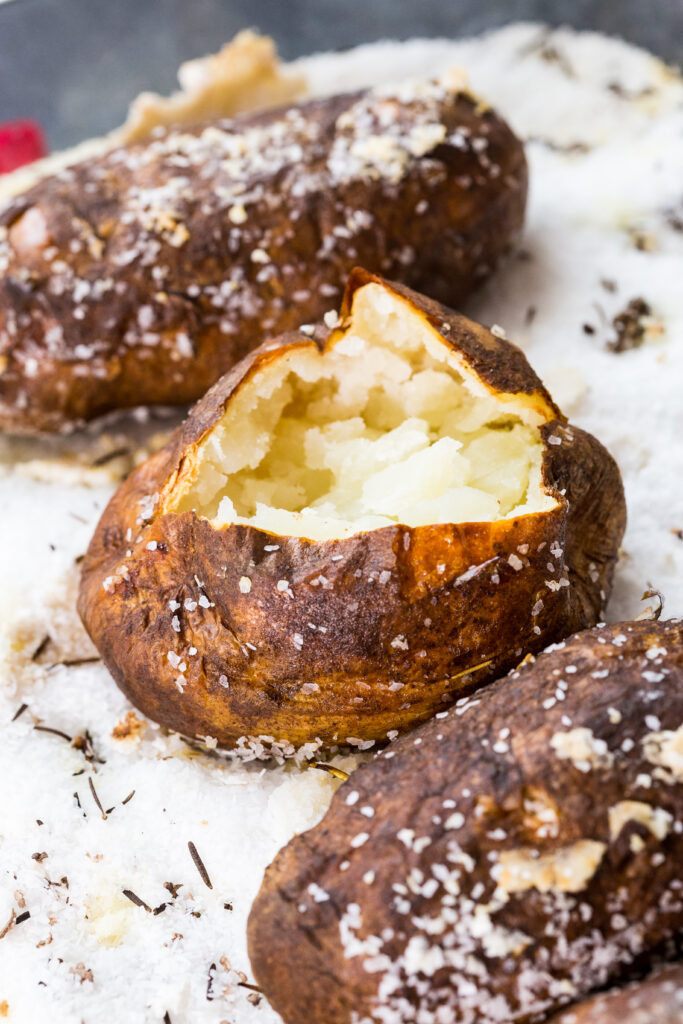
Use a fork to puncture the crispy skin of the potatoes in a cross shape, then gently squeeze the edges of the potatoes to pop them open. This will reveal that light, fluffy inside.
Serve with your the toppings of your choice.
How To Serve Salt-Baked Potatoes
You might be worried that you need to serve these potatoes with something mild and not salty, but don’t worry, these potatoes will not have a super salty flavor. It does impart some flavor, and helps the naturally delicious flavors of the potatoes to stand out, but they won’t be particularly salty.
Serve them as you would any baked potato, with your favorite toppings and fillings. I love butter, salt, and pepper. Or maybe even sour cream and chives. But here are a few ideas for serving these delicious baked potatoes:
- With a little butter, or a compound butter with your favorite herbs.
- With some olive oil for a similar flavor to butter, but a lighter option.
- With sour cream or yogurt and chives or onions.
- With cheese and bacon bits
- With homemade chili
- Smothered in beef stew
- With this broccoli cheese sauce
- Roasted garlic
Baked Potato FAQS
Should you poke holes in the potatoes?
Growing up, this was a standard practice at our house, but I have since learned that while this can help keep potatoes from breaking open during the cooking time, it can also allow all the moisture to steam out of the potatoes, and leave you with dry, dense baked potatoes. So skip the fork pokes.
What do the herbs do for the potatoes?
The herbs and garlic are totally optional, though I love the addition. The salt is part of the technical cooking process, but it also helps flavor the potatoes. By mixing some herbs into the salt, you can help create even more flavor in the potatoes. Think of it like a flavored oil, or infused oil, it still tastes like oil, but has hints of the herbs, spices, etc. used. The skin of the potato will carry a hint of the flavor, which just adds dimension to your baked potato.
How do I know when the potato is baked fully?
If you use standard baking potatoes or russet potatoes that are medium sized, the baking time listed will be accurate. But if you opt for a different size, you will want to test the potatoes for doneness. There are a few ways to do this:
- Use an oven mitt to pick up one of the potatoes and give it a little squeeze to see if it is tender. If it is still really firm, continue cooking in 5 minute increments until desired tenderness is reached.
- Or, you can skewer them with a fork or toothpick to see if they are tender. But do not do this to all of them, as it can let out moisture and make them less fluffy.
Tips and Tricks
Pick the Right Potatoes: Russet, Idaho, or Baking Potatoes are best.
Don’t throw away the salt! It is a lot of salt, and trust me when I say you are going to love the results you get for these baked potatoes. Well the nice thing is, you can reuse the salt several times for making even more baked potatoes.
And, if for some weird reason you don’t love the potatoes (inconceivable), the salt can be used to make Turkey Brine or clean your cast iron pans.
When you are done baking your potatoes, just let the salt dry out a little on the counter, break up and clumps, and store it in a zip top bag until you are ready to use it again.
Try salt baking other potato types too. I love using this method with fingerling potatoes to pair with skirt steak or ribeye. And it is so great with baby red potatoes for my red potato salad.
Roast Garlic Alongside. Take advantage of the baking time to roast some garlic to serve with the potatoes. The garlic can be roasted right in the pan alongside the potatoes, just stick it on top of the salt, and then after it is roasted, simply crush it into butter, oil, or ghee for serving over the potatoes.
Serve immediately. While the potatoes will remain delicious, the crispy skin will lose its crispiness as it cools, and the interior will not be as light and fluffy if you are reheating it over and over.
Make Ahead and Storage
If you want to make these potatoes ahead and store them, you can. The skin won’t be as crispy, however, you can bake the potatoes as directed, then store in the fridge for 3-5 days and reheat in the oven for 15-20 minutes to crisp the skin back up and heat the potato through. Just be careful not to overcook, or they will be dry, rather than tender.
What to Serve Your Baked Potatoes With:
Baked potatoes make the best side, and we especially love them with steaks, roasts, roasted chicken etc. Here are a few of our favorite dishes to serve these potatoes alongside.
- Steak with Chimichurri
- Smoked Prime Rib
- Sirloin Steak
- Roasted Chicken Thighs
- Oven Fried Chicken
- Roast Beef Tenderloin
- Classic Roast Beef with Gravy
Salt Baked Potatoes
Ingredients
- 2 ½ cups Kosher salt
- 4 russet potatoes medium sized scrubbed and dried
- 2 sprigs fresh rosemary minced
- 1 whole head garlic garlic cloves removed from papery part
- 4 teaspoons canola oil
- 4 tablespoons unsalted butter softened (optional, only if you want to make garlic butter for serving)
Instructions
- Adjust oven rack to middle position and heat oven to 450 degrees.
- Select and wash your potatoes, removing any dirt. Then dry off.
- Spread 2 1/2 cups salt in even layer in 9 by 13-inch baking dish. Stir rosemary into the salt.
- Nestle potatoes into the salt, leaving plenty space between potatoes so they are not touching.
- Add the head of garlic, cut side up, to baking dish.
- Cover baking dish with foil or a lid, covering tightly.
- Bake 1 hour, 15 minutes, about 30 minutes in, remove garlic from pan so it doesn't burn. Then after the baking time, remove the pan from oven. And remove the foil or lid.
- Increase oven temperature to 500 degrees.
- Brush the potatoes with canola oil (1 tsp for each potato), and return to the baking dish, and the baking dish to the oven,
- Bake another 15-20 minutes until potatoes are tender.
- While potatoes finish baking, add garlic to melted butter to serve with potatoes, whisking it with a fork to evenly distribute garlic through the butter.
- When potatoes are finished baking, brush any excess alt from the skin of the potatoes (carefully, they will be hot).
- Use a fork to pierce potatoes in a cross shape, and squeeze potatoes to split them open to reveal the fluffy interior.
- Serve immediately with the garlic butter or toppings of your choice.
- Serve immediately.
Notes
Nutrition
Our recipe card software calculates these nutrition facts based on averages for the above ingredients, different brands, and quality of produce/meats may have different nutritional information, always calculate your own based on the specific products you use in order to achieve accurate macros for this recipe.
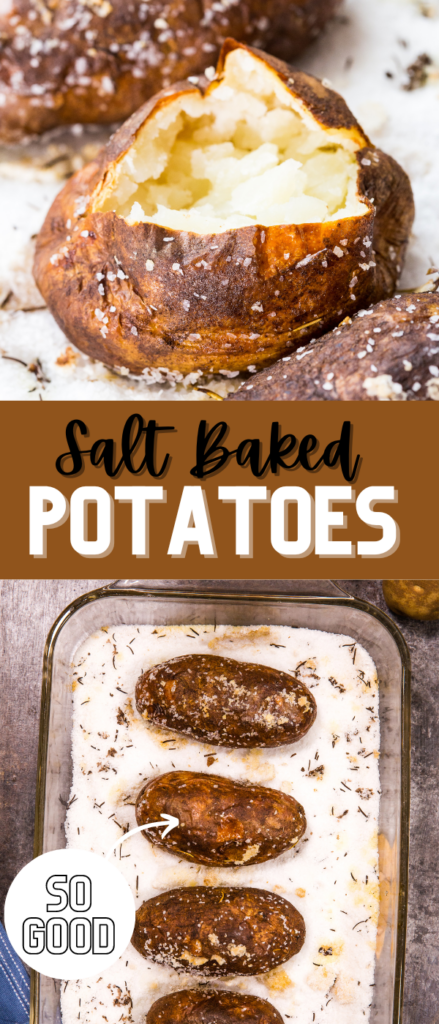
Pin to your SIDES board on Pinterest:


Leave a Reply