Ham and Cheese Rolls:
Whether for back to school lunches or a weeknight dinner, these ham and cheese rolls are soft, fluffy, flavorful, and delicious.
These rolls are delicious with your favorite soups, like, Ham and Bean Soup, Baked Potato Soup, or Summer Corn and Crab Chowder
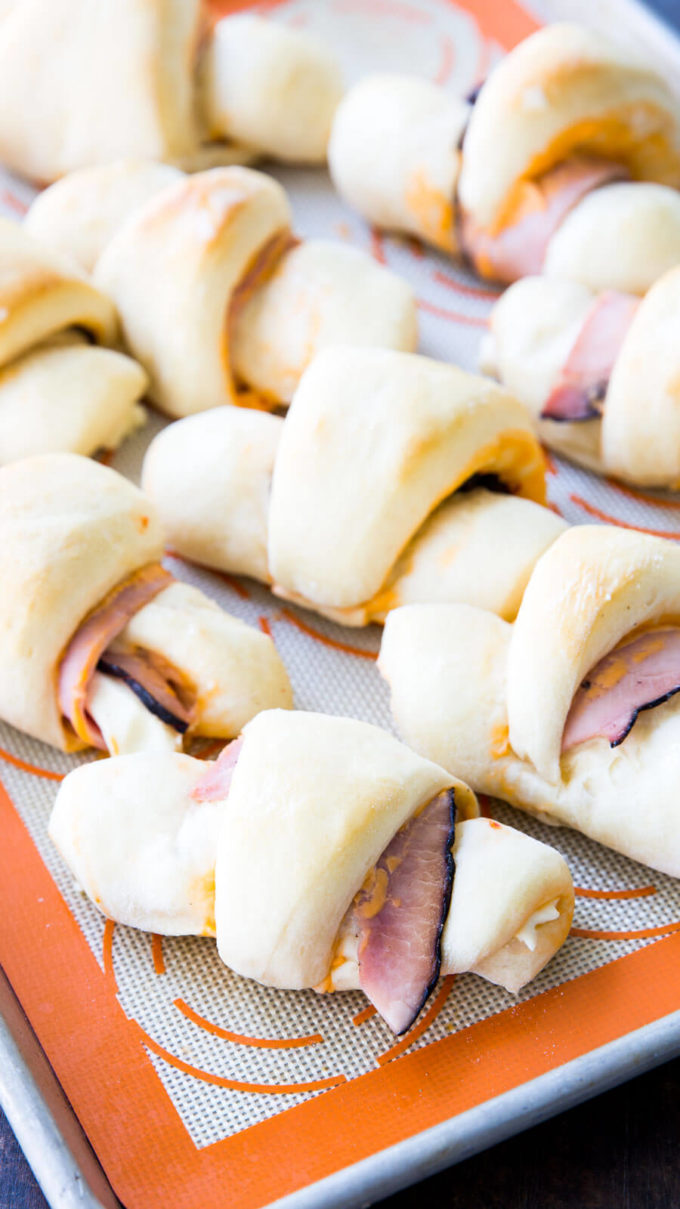
I know there are a lot of different preferences when it comes to rolls. Some like harder, more rustic rolls, like these ones: Rustic Rolls But I prefer my rolls to be soft, fluffy, and nice and buttery, like these simple and quick dinner rolls. If you are anything like me, you are going to absolutely LOVE these easy to make Ham and Cheese Rolls. They start with the simple and quick dinner roll recipe, and are then layered with pimento cheese spread, black forrest ham, and cream cheese. Looking for more simple and tasty ideas, try these sweet potato fries.
This Ham and Cheese Rolls recipe is a friend’s family favorite. She makes them for her kids, and mentioned to me that I really should put them on my blog. I totally agreed because they are such a fun meal, and even one you can make ahead for things like school lunches. (P.S. If you are hurting for school lunch ideas, I made a list of 16 of my favorite, no hassle, throw together (no cook), lunchbox ideas, and you can find it here.)
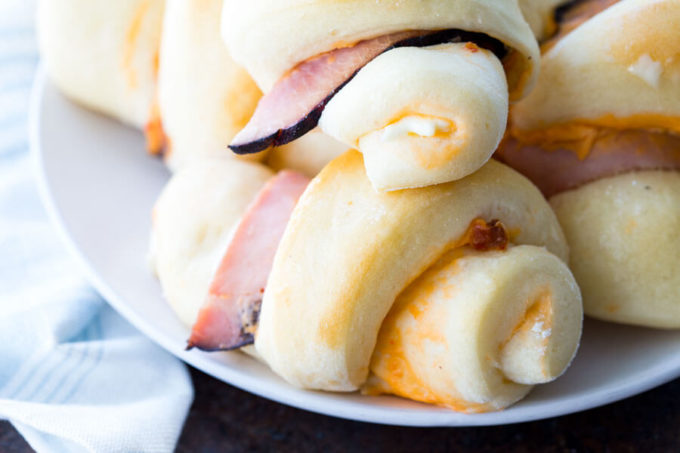
These fluffy dinner rolls with layers of meat and cheese make an excellent meal. Throw in a nice spinach salad and some oven steak fries, and you have a complete meal.
When making theseHam and Cheese Rolls there are a couple things to keep in mind:
- Dough Enhancer is a great help. Just a spoonful of dough enhancer will help you get a better dough. I have a jar in my cupboard and I add it to my homemade doughs, and love the results. However, it is not a necessity, so if you don’t have it, you can skip it. Or you can order it here: Dough Enhancer.
- Dough consistency is key. With baking you can’t be so exact sometimes. The recipe may call for x amount of flour, but you need to pay attention to your dough. You want your dough to be sticky enough to stick to your finger, but you want it to pull lose as you pull your finger away, without leaving a mess on your hands. So add flour and knead to get to the proper consistency.
- Let rise. If you are in a big hurry, you can skip the second rise time, but they will be slightly denser in consistency.
- Bake longer if needed. As you can see from these photos mine are slightly under cooked. They were still delicious. But because they are rolled up, you want to make sure the inside is cooked through. So check that the top is nice and browned.
- Adjust the filling to your preference, not a cream cheese fan? Leave it out. Can’t find pimento spread? Leave it out. Prefer roast beef? Add it. Have fun with these.
- Bake on silicone baking mats. They make clean up a breeze, the rolls won’t stick to them, and they are just plain awesome. I love them and bake just about everything on them.
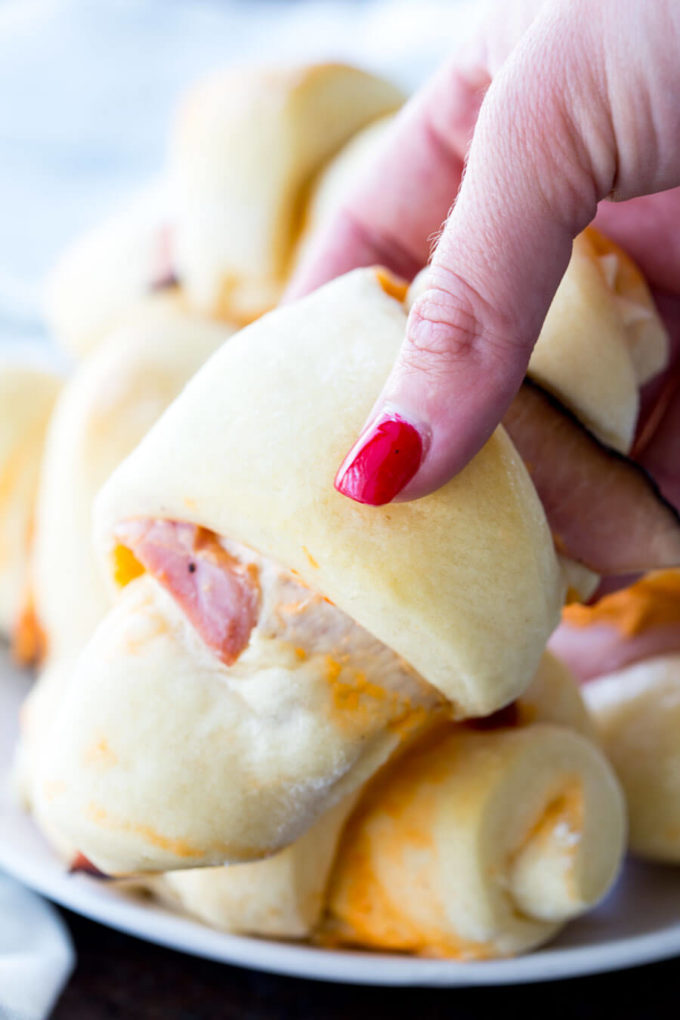
One thing you will love about these Ham and Cheese Rolls is that they do not require too much active cooking time. This means you can mix them up, and leave them alone, then roll them out, then leave them alone. So you could make them on any old day of the week, as long as you give yourself a few minutes here and there. And isn’t it nice to have a hot roll with dinner? Or a hot ham and cheese roll for dinner?
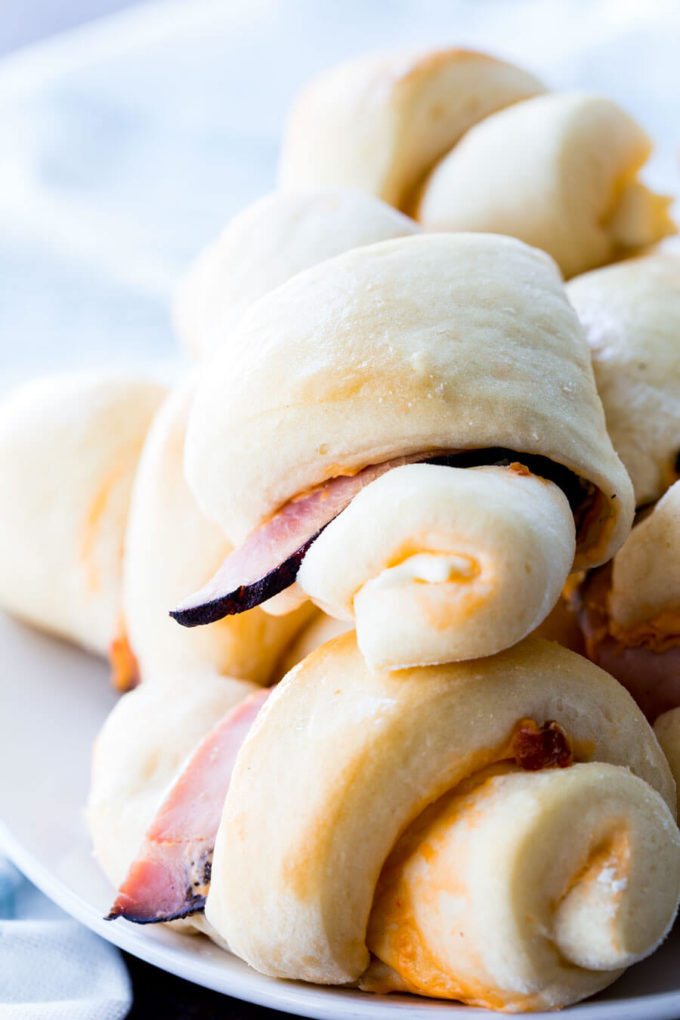
My kids love these rolls! Kid approved.
Consider serving with:
- The Ultimate Easy BBQ Baked Beans
- Mexican Corn Salad
- Rainbow Macaroni Salad
- Light Creamy Cucumber Salad
- Summer Fruit Salad

Ham Cheese Rolls
Ingredients
- 1 1/2 C warm water
- 2 Tbs instant yeast
- 1/3 C sugar
- 3 eggs
- 5-6 C flour
- 2 tsp salt
- 1 Tbs dough enhancer
- 1 jar pimento cheese spread
- 12 pieces black forrest ham
- 8 ounces cream cheese
- 1/4 cup of butter
Instructions
- Dump water, (110 degrees or if you don't have a thermometer, it should be hot enough to still touch, and still be able to leave your hand in) yeast, and sugar in a mixing bowl. **see note
- Mix briefly then add eggs one at a time while the mixer is still going.
- Start adding flour one cup at a time. Mixer should still be going.
- After adding 2 C of flour, add the salt. This will stop the yeast activation so it doesn't get out of control, and adds flavor.
- Then add the dough enhancer.
- Then add 2 more cups of flour.
- At this point you have to start watching your dough. It should pull away from the side.
- Continue to add flour as needed, adding 1/2 C at a time until it's not too sticky and pulls gently away from the sides of the bowl.
- Once enough flour is added, set mixer speed to low and set a timer for 5 minutes to allow the mixer to do the work of kneading for you.
- Check the dough by pushing your finger into it it should stick to your finger, but as you pull away it should pull off.
- Once kneaded, cover with saran wrap (spray with non-stick baking spray before you place it over dough) or a damp dish towel.
- Let it rise to double in size (about 30 minutes) but if in a hurry, you can pull it out of the mixer and start to roll it. (the texture is better if you give it that first rise, but they still taste good if you don't)
- Cut dough in half with a dough cutter. Here's a Dough Cutterthat is stainless steel, one inch markings, and is dishwasher safe.
- Roll one of the dough balls out in a circle using a rolling pin. Roll onto a silicone mat (this is worth the investment and saves your counter from the mess as well as the cutting marks. It also helps it to stick less to the counter)
- Brush with pimento cheese spread, then cut into 12 pieces using a pizza cutter.
- Cut ham slices in half, and lay one piece on each slice of roll.
- Cut the cream cheese into pieces, and lay one piece on each slice of ham.
- Roll from the fat end towards the middle and place on a silicone lined baking tray
- Repeat with the second ball of dough.
- Cover with saran wrap (spray with non-stick baking spray before you place it over rolls) or a damp dish towel.
- Allow to rise until double. You can do the poke test to tell if they are ready to bake (poke your finger in the dough, it should bounce back, but slowly. Too quick to bounce back and they aren't ready to bake, if your finger poke stays in the are over-proofed)
- Bake in a pre-heated 375 degree oven from 12-15 minutes. When hot out of the oven, brush with melted butter.
Notes
Bake until golden brown so not gooey in the middle. I undercooked them a little for the photos, so bake more based on color then time.
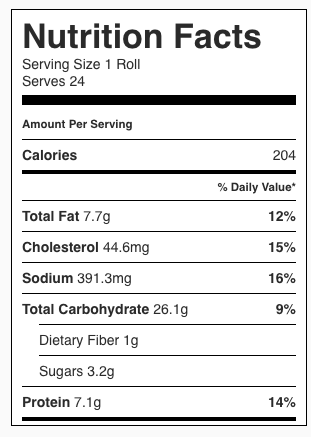
Nutrition
Our recipe card software calculates these nutrition facts based on averages for the above ingredients, different brands, and quality of produce/meats may have different nutritional information, always calculate your own based on the specific products you use in order to achieve accurate macros for this recipe.


wingsio says
I ate it at the restaurant and enjoyed it. I tried many times but failed. Today saw your guide I learned a lot and drawn many useful things. I believe this time I will succeed. Thanks a lot!
the impossible game says
I like the helpful info you provide in your articles.I’ll bookmark your blog and check again here frequently.I am quite sure I’ll learn a lot of new stuff right here! Good luck for the next!
Animeyt says
These are absolutely amazing and I can’t wait to try them.
Beth Pierce says
So delicious! My family and I love them! Thank you!
Eden says
These were so good! Easy to make and very flavorful. We loved them!